


 My Orders




W3S3CVK2ENS (ABLEEUS) LG Washer - Overview
Diagrams for W3S3CVK2ENS
See every part. Know exactly what you need.


Enter a part description. DIY Heroes keep it simple, eg. "belt" or "pump".
Search filter:
Clear Filter
Your search term must have 3 or more characters.

$138.79
In Stock
4 PACK ROLLER ASSEMBLY
Part #4581EL2002L
This part is sold individually. The drum support roller is found in your dryer. It is used to hold the drum in place in the cabinet while letting the drum rotate on the support rollers. It is recommended that you replace both rollers at once. You may notice that this part needs to be replaced if you are experiencing a squeaking noise, whi...Read morech could be due to the bearing going bad. The bearing could be severely damaged if you hear a very loud thumping noise, much like you would when you are drying a pair of shoes.
Read less

$46.34
In Stock
Lint Screen Housing
Part #MCK49049101
This is an authentic dryer lint filter cover sourced directly from the manufacturer. It protects the more delicate lint filter in your dryer, so that it doesn’t get damaged and lint can’t mix in with your clothes. This product is gray in color and is made of plastic. It is sold individually. The manufacturer has modified the part and sugg...Read moreests replacing the filter guide, part number MEA49050001 and the lint filter, part number ADQ56656403. The filter screen part#ADQ56656401 will have to be replaced as well.
Read less

$21.45
In Stock
Moisture Sensor
Part #6500EL3001A
The sensor controls the temperature in your dryer and will turn off once your clothes have reached the desired dryness level. If you notice that your dryer is not giving off enough heat to dry the clothes or is taking too long to dry, this may indicate that a repair to the senor is required. To access this part, you will need to remove th...Read moree front bulk head. To remove this, you will need to remove the screws securing the top. Uninstall the screws that support the control panel and lift. Remove screws holding the support bracket in place so you can detach this piece. Detach the wire harness and remove the wire, then set the bracket aside. You will now open the dryer door and release it by taking out the bottom two screws. Disconnect the wire harness and moisture sensor wire harness, remove screws from front bulk head, and remove screws that secure the duct housing. You should be able to completely remove the bulk head. You will find the sensor underneath the lint filter grill, which will also need to be removed.
Read less

$35.80
In Stock
Dryer Drum Belt
Part #4400EL2001F
The belt wraps the length of the dryer drum, secured by a tension pulley and then loops around the motor pulley. If you find that the drum is not turning properly or at all while your dryer is in succession, it might be due to the belt being broken.

$103.35
Special Order
Dryer Thermistor
Part #6323EL2001B
This dryer thermistor temperature sensor helps monitor and regulate the temperature inside a dryer. This part includes the wire harness. If your dryer overheats, does not produce enough heat, or takes too long to dry, then the thermistor might be defective or damaged. This can cause a fault code and could begin either prolonging or shorte...Read morening drying time. As a safety precaution, make sure to unplug the dryer from the power source before beginning this installation, and wear gloves to protect your hands. Refer to the installation instructions provided by the manufacturer for further guidance.
Read less

$51.61
In Stock
Blower Thermostat
Part #6931EL3002M
The thermostat is a part for your dryer, and it is roughly 1 inch long by roughly 1.5 inches wide. The purpose of the thermostat is to measure the temperature of the air inside your dryer drum. As the air is being measured, it will turn the heat on or off in order to maintain a stable temperature within the drum. The most common reason yo...Read moreu would need to replace your thermostat is if your dryer is not receiving enough heat, or any heat at all.The tools you will need to complete this repair include a Phillips screwdriver, and a flat-head screwdriver.
Read less

$96.17
In Stock
High Limit Thermostat and Thermistor Kit
Part #AGM30045804
This dryer thermistor temperature sensor helps monitor and regulate the temperature inside a dryer. This part includes the wire harness. If your dryer overheats, does not produce enough heat, or takes too long to dry, then the thermistor might be defective or damaged. This can cause a fault code and could begin either prolonging or shorte...Read morening drying time. As a safety precaution, make sure to unplug the dryer from the power source before beginning this installation, and wear gloves to protect your hands. Refer to the installation instructions provided by the manufacturer for further guidance.
Read less

$31.58
In Stock
Filter Guide
Part #MEA49050001
This is a replacement lint screen guide for your dryer. The lint screen guide attaches to the front bulkhead and supports the lint screen. If your lint screen will not stay in place, or if you are noticing marks left on your clothes, a broken lint screen guide could be to blame. The lint screen guide is approximately 13 inches wide on its...Read more straight edge. It is made of plastic and is sold individually. This is an OEM part, directly from the manufacturer.
Read less

$42.12
In Stock
Washer Hose with Bellows
Part #4738ER1004B
This washer hose with bellows, also known as a dispenser hose, is a genuine OEM replacement part for your washer. Replacing this part can be helpful if your washer is leaking. The dispenser hose connects the dispenser assembly to the tub. Before beginning the repair, unplug the washer and turn off the water supply. You will need a Phillip...Read mores head screwdriver to complete this repair; a clamp tool can also be helpful. Remove the screws holding the lid of the washer in place, and take off the lid. Locate the dispenser hose and remove its clamps. Place the clamps on the new hose, using the arrows for a guide in positioning the clamps. Install the new hose and reassemble all other parts.
Read less

$21.45
Special Order
Locking Pin
Part #4774FR3118B
This is a locking pin, and it works in conjunction with your washer. The part measures to be roughly 3 inches long, and less than an inch wide. The pin is cylindrical, off-white in color, and made entirely of plastic. This part is used to hold the shock absorber on the washing machine. There is a pin used at the bottom and top of the shoc...Read morek absorber. This model is sold individually. If your washing machine is experiencing an above-average amount of shaking and moving this part may be the reason.
Read less

$44.95
Special Order
Shock Absorber Assembly
Part #ACV72909503
This friction damper assembly in your washer stabilizes the tub or drum. It absorbs the movements and vibrations during the spin cycle to keep the machine steady and reduce noise. It connects the tub to the cabinet. If the assembly is broken, your washer may be excessively noisy or shaky. This genuine OEM replacement part is sold individually, and separately from the shock absorbers.

$125.62
In Stock
Gas Igniter
Part #5318EL3001A
This spiral-style gas burner igniter is designed for use in select gas dryers and plays a crucial role in generating the heat needed to dry clothes. Operating at 120 volts, the igniter glows red hot during the drying cycle to ignite the gas that heats the drum. If your dryer runs but fails to produce heat, the igniter may be faulty and sh...Read moreould be replaced. The assembly includes the igniter, bracket, wire harness, and plug for straightforward installation. Always disconnect the dryer from power before beginning any repairs to ensure safety.
Read less
Common Symptoms of the W3S3CVK2ENS
How this model fails, and the parts that fix it.
Noisy
Fixed by
these parts
these parts


Show All
Leaking
Fixed by
these parts
these parts


Show All
Not Heating
Fixed by
these parts
these parts


Show All
Marks left on clothes
Fixed by
these parts
these parts


Show All
Drum Not Spinning
Fixed by
these parts
these parts

Show All
Door won’t close
Fixed by
these parts
these parts

Show All
Locking Issues
Fixed by
these parts
these parts

Show All
Spinning Issues
Fixed by
these parts
these parts


Show All
Won’t Start
Fixed by
these parts
these parts


Show All
Lid or door won’t close
Fixed by
these parts
these parts
Show All
Shaking and Moving
Fixed by
these parts
these parts
Show All
Will Not Start
Fixed by
these parts
these parts
Show All
Water Filling Issues
Fixed by
these parts
these parts

Show All
Door Pops Open
Fixed by
these parts
these parts
Show All
Timer Not Working
Fixed by
these parts
these parts
Show All
Watch our pros, then fix it yourself.
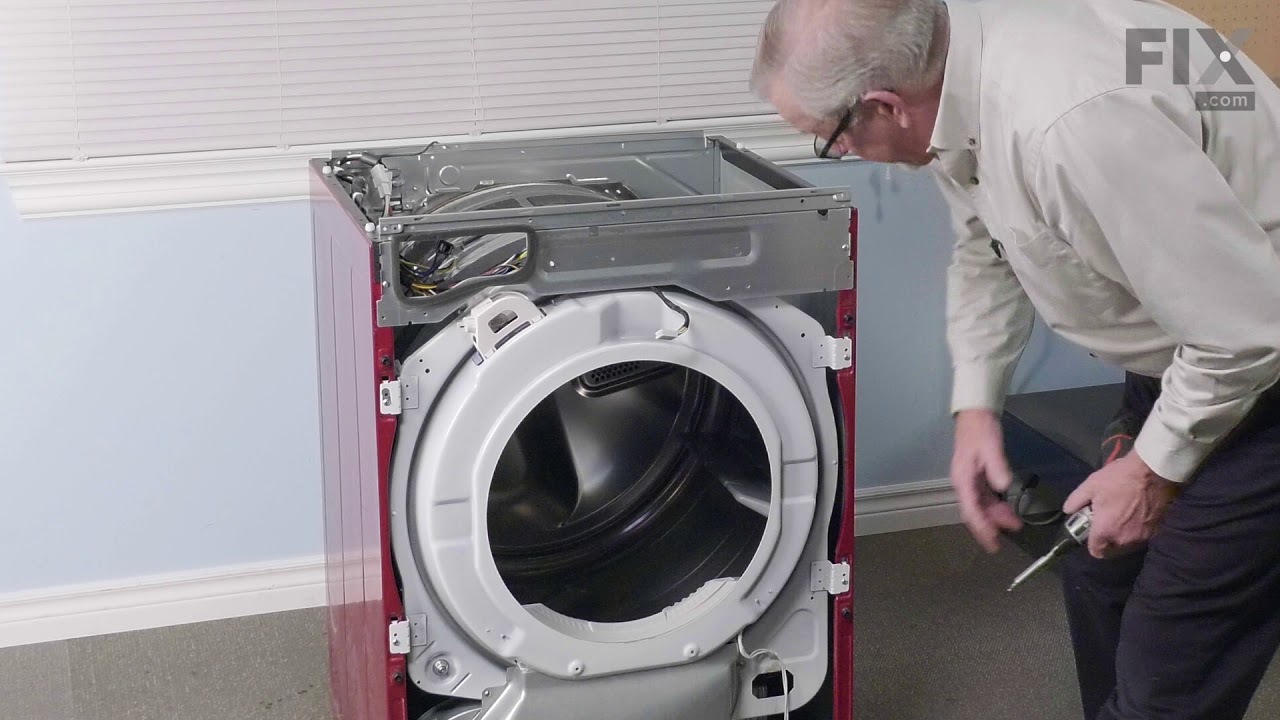
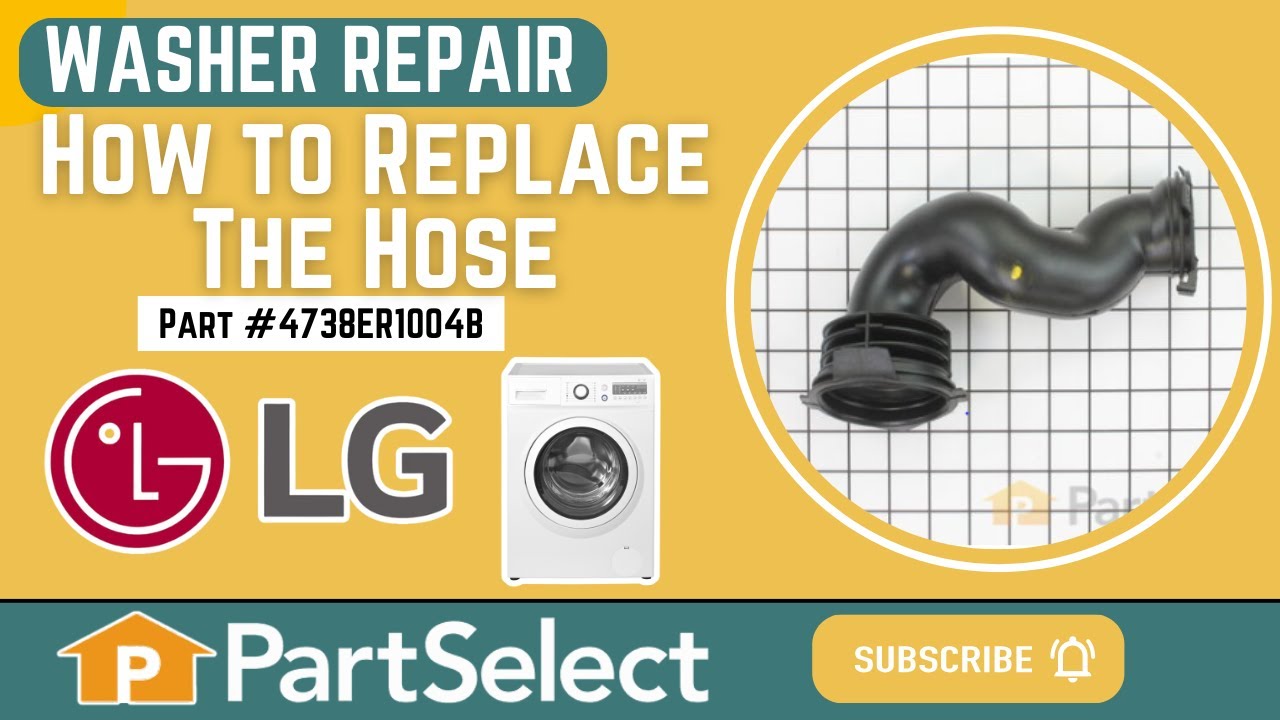
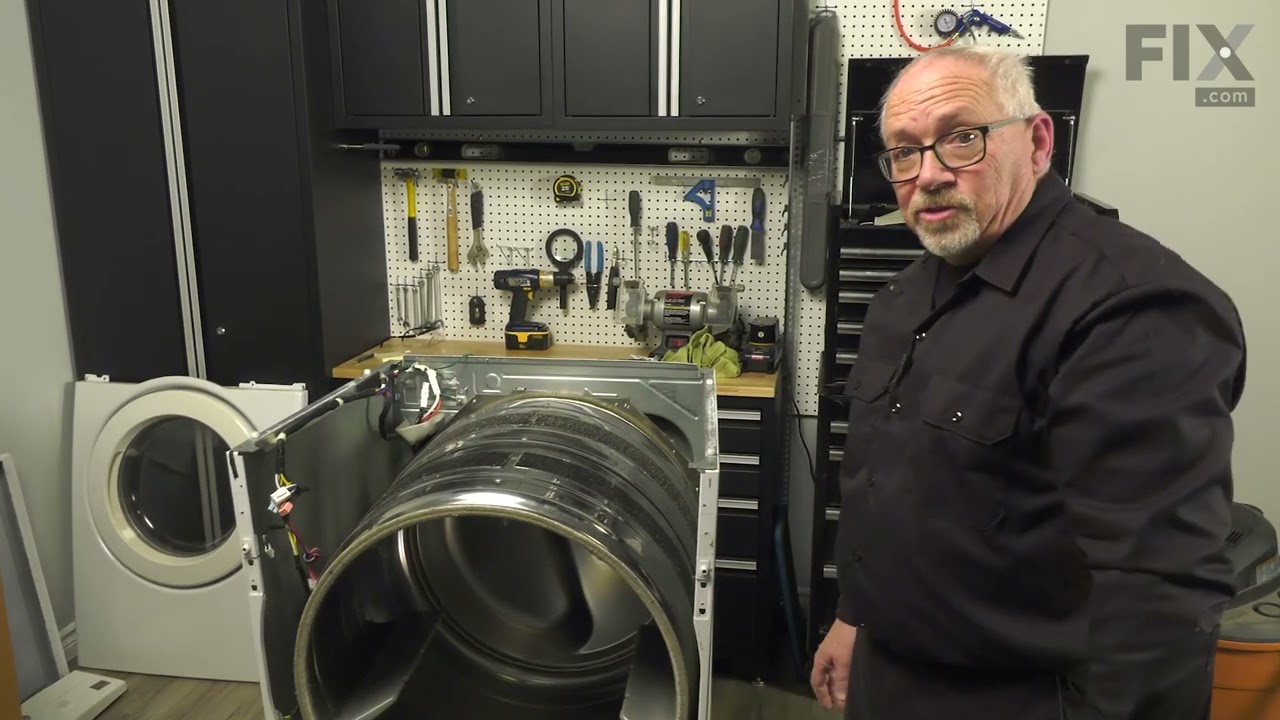
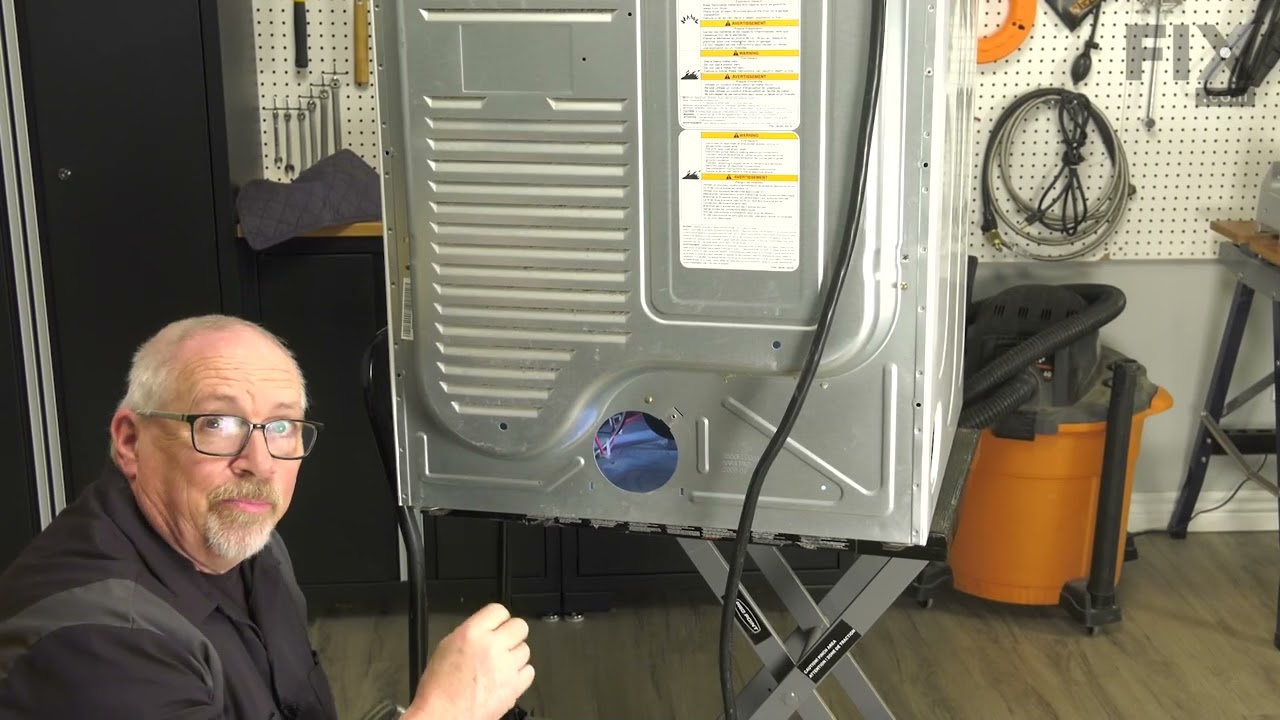

See how others fixed this model. Time, tools, difficulty, and steps that lead to victory!
View More