


 My Orders




W3S2CVK2EHM (ABLEEUS) LG Washer - Overview
Diagrams for W3S2CVK2EHM
See every part. Know exactly what you need.


Enter a part description. DIY Heroes keep it simple, eg. "belt" or "pump".
Search filter:
Clear Filter
Your search term must have 3 or more characters.

$21.45
In Stock
Moisture Sensor
Part #6500EL3001A
The sensor controls the temperature in your dryer and will turn off once your clothes have reached the desired dryness level. If you notice that your dryer is not giving off enough heat to dry the clothes or is taking too long to dry, this may indicate that a repair to the senor is required. To access this part, you will need to remove th...Read moree front bulk head. To remove this, you will need to remove the screws securing the top. Uninstall the screws that support the control panel and lift. Remove screws holding the support bracket in place so you can detach this piece. Detach the wire harness and remove the wire, then set the bracket aside. You will now open the dryer door and release it by taking out the bottom two screws. Disconnect the wire harness and moisture sensor wire harness, remove screws from front bulk head, and remove screws that secure the duct housing. You should be able to completely remove the bulk head. You will find the sensor underneath the lint filter grill, which will also need to be removed.
Read less

$42.12
In Stock
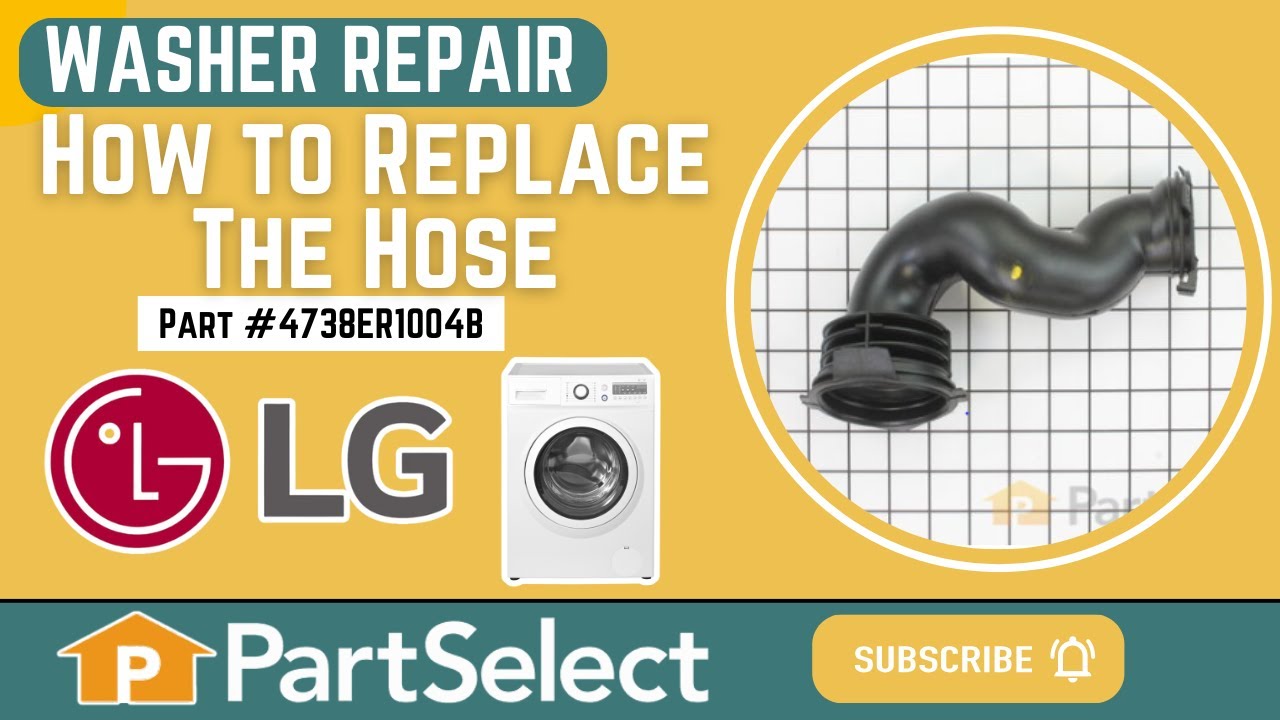
Washer Hose with Bellows
Part #4738ER1004B
This washer hose with bellows, also known as a dispenser hose, is a genuine OEM replacement part for your washer. Replacing this part can be helpful if your washer is leaking. The dispenser hose connects the dispenser assembly to the tub. Before beginning the repair, unplug the washer and turn off the water supply. You will need a Phillip...Read mores head screwdriver to complete this repair; a clamp tool can also be helpful. Remove the screws holding the lid of the washer in place, and take off the lid. Locate the dispenser hose and remove its clamps. Place the clamps on the new hose, using the arrows for a guide in positioning the clamps. Install the new hose and reassemble all other parts.
Read less

$21.45
Special Order
Locking Pin
Part #4774FR3118B
This is a locking pin, and it works in conjunction with your washer. The part measures to be roughly 3 inches long, and less than an inch wide. The pin is cylindrical, off-white in color, and made entirely of plastic. This part is used to hold the shock absorber on the washing machine. There is a pin used at the bottom and top of the shoc...Read morek absorber. This model is sold individually. If your washing machine is experiencing an above-average amount of shaking and moving this part may be the reason.
Read less

$44.95
Special Order
Shock Absorber Assembly
Part #ACV72909503
This friction damper assembly in your washer stabilizes the tub or drum. It absorbs the movements and vibrations during the spin cycle to keep the machine steady and reduce noise. It connects the tub to the cabinet. If the assembly is broken, your washer may be excessively noisy or shaky. This genuine OEM replacement part is sold individually, and separately from the shock absorbers.

$21.45
In Stock
Clamp Assembly
Part #ACA56078801
This is an outer seal clamp designed for use within LG washing machines. This clamp tightens and secures the gasket that seals the washer tub from the door. If your gasket is loose fitting and is not damaged or warped, this clamp is likely worn out and in need of replacing. This clamp is an OEM part and is made entirely of metal, with a s...Read moretrong tension spring in the middle. This outer seal clamp is sold individually and will require a set of pliers to replace.
Read less

$15.00
In Stock
Clamp
Part #4861FR3068A

$130.68
In Stock
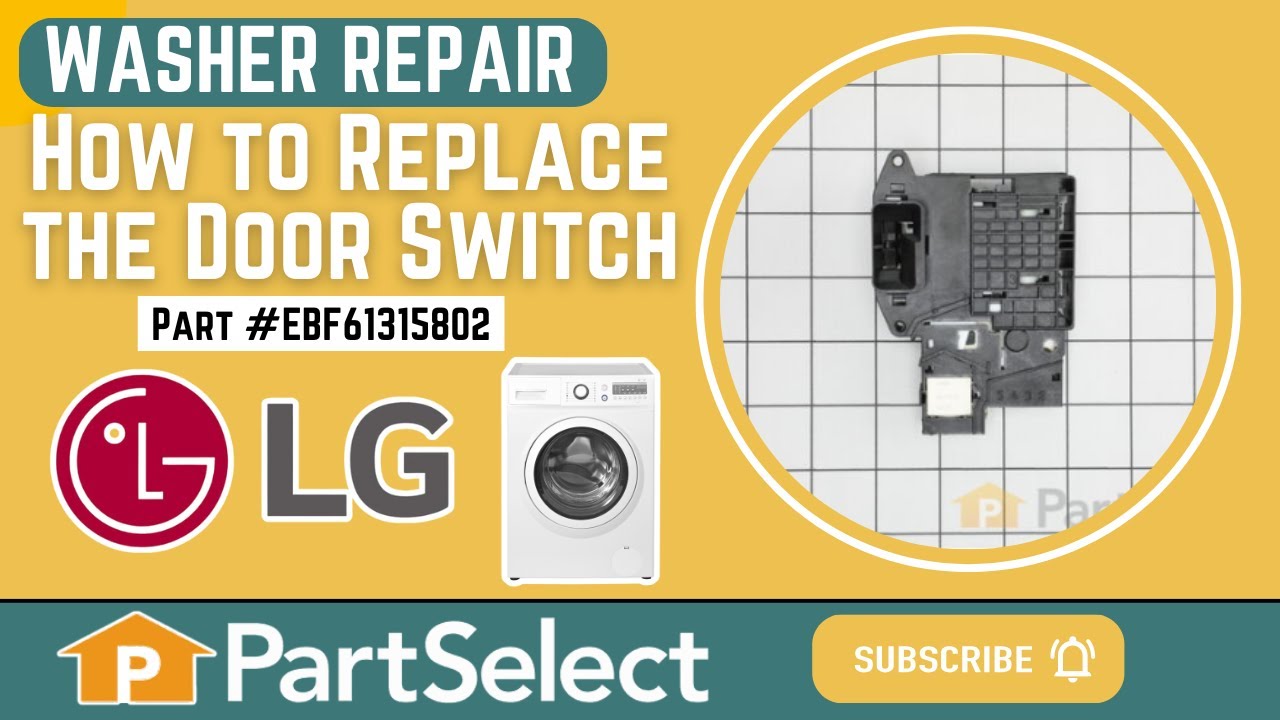
Washer Switch Assembly
Part #EBF61315802
This is a door lock switch, compatible with various models of LG washing machines. This door lock switch is designed to communicate to the control board when the door of the washer is closed, so the door can lock and allow the washing cycle to safely begin. If your washer is having difficulty locking before it begins its washing cycle, or...Read more if it has difficulty starting in general, you may need to replace this lock switch. This switch is made primarily of black, gray, and white plastic, and will require a screwdriver/drill, and a pair of needle nose pliers to replace. This door switch is a genuine OEM part that will require you to disassemble part of your washing machine to completely replace it.
Read less

$47.40
In Stock
Washer Gasket
Part #MDS62058301
This part is the replacement rear tub gasket for your washer. It is made of black plastic and is approximately 3-1/4 inches in diameter. The rear tub gasket forms a watertight seal between the rear tub and the drive shaft. If the gasket is worn or damaged, it may not be able to create this seal, and you may experience a water leak from yo...Read moreur washer. Be sure to disconnect the washer from the water and power sources before you begin this repair. This is an OEM part sourced directly from the manufacturer and it is sold individually.
Read less

$47.40
In Stock

$21.45
In Stock

$65.73
In Stock
Tub Bearing
Part #4280FR4048N
This washing machine tub bearing supports the inner drum and allows it to spin smoothly during wash and spin cycles. It helps reduce friction, maintain proper drum alignment, and keep the washer running quietly and efficiently. If the bearing is worn or damaged, you may notice excessive noise, vibration, drum movement, or rough spinning p...Read moreerformance. Replacing a faulty bearing can help restore smooth drum operation and improve overall washer performance. Because washers may use more than one bearing, it is important to verify the correct part for your model before ordering. It is also a good idea to inspect related components, such as the tub seal, while performing this repair.
Read less

$29.47
In Stock
Washer Float Assembly
Part #4769ER4001B
Common Symptoms of the W3S2CVK2EHM
How this model fails, and the parts that fix it.
Leaking
Fixed by
these parts
these parts


Show All
Not Heating
Fixed by
these parts
these parts

Show All
Locking Issues
Fixed by
these parts
these parts

Show All
Spinning Issues
Fixed by
these parts
these parts


Show All
Lid or door won’t close
Fixed by
these parts
these parts
Show All
Shaking and Moving
Fixed by
these parts
these parts
Show All
Water Filling Issues
Fixed by
these parts
these parts


Show All
Will Not Start
Fixed by
these parts
these parts
Show All
Timer Not Working
Fixed by
these parts
these parts
Show All
Watch our pros, then fix it yourself.
See how others fixed this model. Time, tools, difficulty, and steps that lead to victory!
View More