EasyApplianceParts is now PartSelect! We've merged our sites to provide a better shopping experience for you.   Full Details

Find Parts

Parts Departments

Top Model Types

Top Brands

Repair Help

Expert Repair Videos

Keep typing for more specific results...

W205KGW Magic Chef Washer - Overview

Diagrams for W205KGW

See every part. Know exactly what you need.

Enter a part description. DIY Heroes keep it simple, eg. "belt" or "pump".

Search filter:
Clear Filter
Your search term must have 3 or more characters.
Snubber Ring – Part Number: WP21002026
$10.70
In Stock
Snubber Ring
★★★★★
★★★★★
(17)
Part #WP21002026
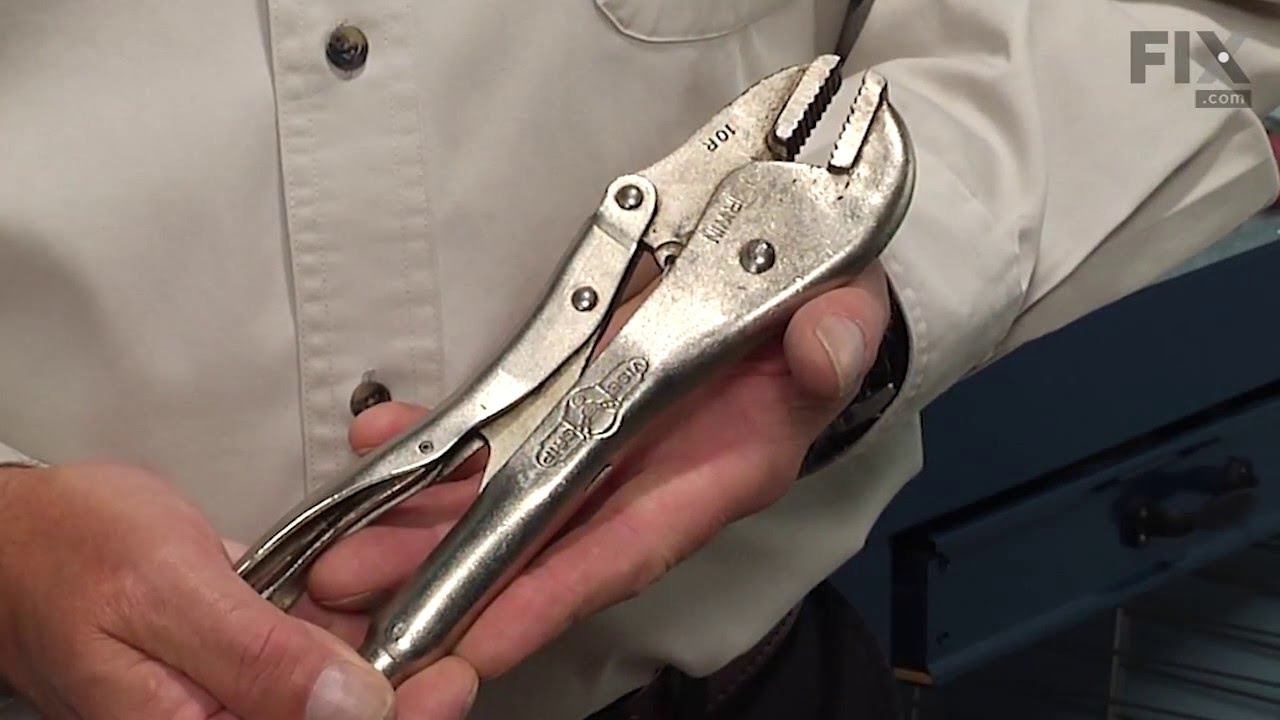
The snubber ring is a piece that is specific to your washing machine. The function of the snubber ring is to reduce noise and vibrations within your washer. It fits in between the leg and the dome assembly. If during your spin cycle you notice your washer jumping and making loud whirring noises, you may need to replace your snubber ring. The tools you will need for this repair include: a putty knife, a 5/16 nut driver, a 1/4 inch nut driver, a 3/8 socket and a ratchet, a small flat blade screwdriver, a pair of locking pliers, and a pair of slip joint pliers.
Leveling Leg and Pad – Part Number: WP25001119
No Longer Available
Leveling Leg and Pad
★★★★★
★★★★★
(2)
Part #WP25001119
This leveling leg, which includes a lock nut and a pad, is used to keep washing machines still and balanced. If your washer shakes and moves excessively, then this could be an easy and quick solution to your washers problem. To install, the damaged pulley must be removed to install new pulley. The suggested tools are pliers, a socket set, and/or screwdrivers. For safety precautions, make sure to unplug washer from power source or shut off the house circuit breaker. Remember to wear gloves prior to starting this installation project. Refer to the instructional diagram provided by the manufacturer for further guidance. Customers suggested the detailed diagram as helpful.
Rear Leveling Leg and Foot with Pad – Part Number: WP22004469
$22.52
In Stock
Locknut – Part Number: WPY707702
$7.47
Special Order
Locknut
Part #WPY707702
Motor Plate Isolator – Part Number: WP35-3646
$9.62
In Stock
Motor Plate Isolator
Part #WP35-3646
Sold individually.
Motor Insolator Pad – Part Number: WP33-9946
$7.11
In Stock
Motor Insolator Pad
Part #WP33-9946
This OEM motor insolator pad, also known as an insulating pad or an isolation pad, is a component used in your washer that acts as a barrier between the motor and the metal parts of your appliance. It helps to prevent electrical shocks and dampen vibrations. A broken insolator pad will be worn out or have signs of damage. You may find that your washer is excessively noisy or vibrating. To replace an insolator pad, make sure that your washer is completely powered off first. Use your user guide to gain acess to the motor area and locate the pad. You may need a screwdriver or a wrench to remove any bolts or screws attaching the motor to the mounting surface. Once you lift away the motor from your machine, you can access the insolator pad. Peel it off before discarding it. Please take note that this replacement part is sold individually.
Motor Insolator Pad – Part Number: WP33-9967
$6.40
In Stock
Motor Insolator Pad
Part #WP33-9967
Motor Pivot Washer – Part Number: WP35-3570
$49.09
Special Order
Motor Pivot Washer
Part #WP35-3570
Drive Belt – Part Number: WP35-2279
No Longer Available
Drive Belt
Part #WP35-2279
Spacer – Part Number: WP25-7831
No Longer Available
Spacer
Part #WP25-7831
Sold individually.
Motor Pivot Slide – Part Number: WP35-3571
No Longer Available
Motor Pivot Slide
Part #WP35-3571
Stabilizer Pin – Part Number: 35-2052
No Longer Available
Stabilizer Pin
Part #35-2052

Common Symptoms of the W205KGW

How this model fails, and the parts that fix it.

Watch our pros, then fix it yourself.
See how others fixed this model. Time, tools, difficulty, and steps that lead to victory! View More

Search repair tips from other customers using simple keywords like "replace", "fit", "remove", "inspect". DIY doesn't mean you have to do it alone!

Search filter:
Clear Filter
Your search term must have 3 or more characters.
Washer shakes violently during spin cycle
37 of 42 people found this instruction helpful.
  • Hank from Alpharetta, GA
  • Easy
  • 1- 2 hours
  • Pliers, Socket set
I used the instructions from others and modified them with tips and details based on my own experience:
1. Unplug the power, turn off the hot/cold water valves and disconnect the hot/cold water hoses and drain hose. Tip: plug the drain hose with some paper towels to keep the stale water from dripping on your floors.
2. Move th e washer to an open area like a garage, and position it near a wall (or have a helper on hand who can help you prop up the washer top later). Tip: to simplify things, you’ll want to avoid removing the top completely. Removing the top completely involves removing the inlet water hose and all wires leading to the control panel and the door switch.
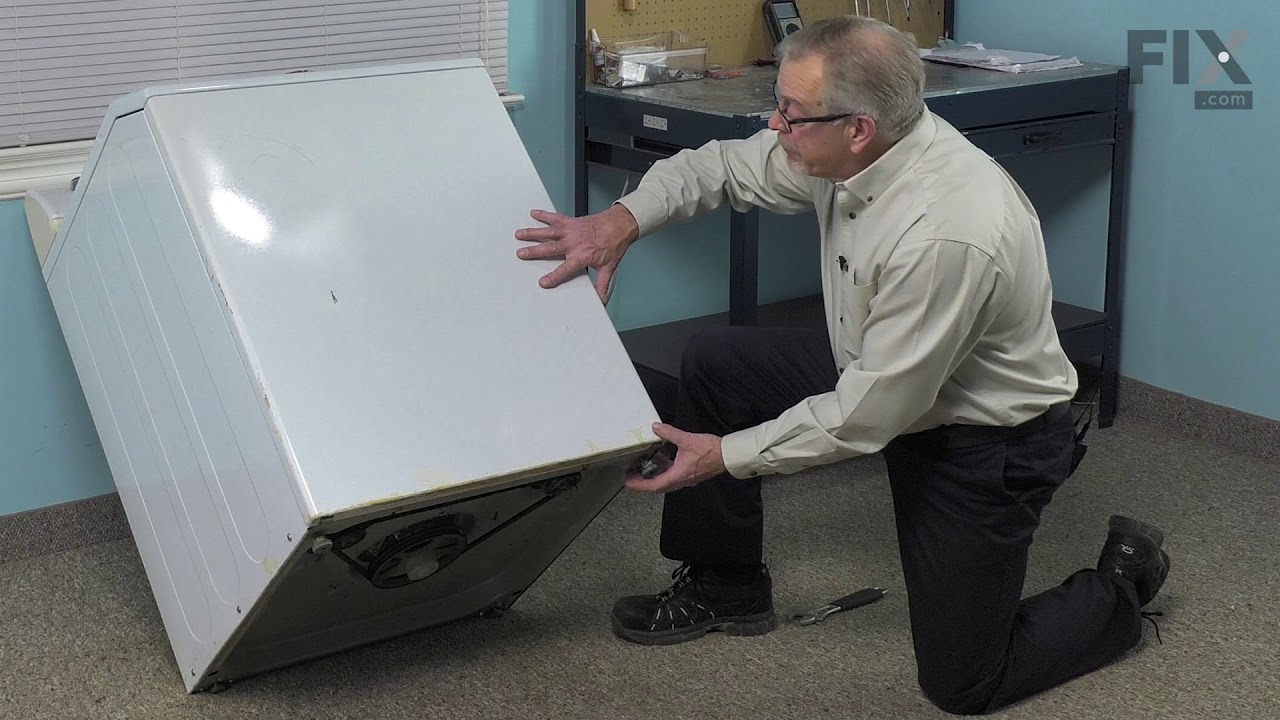
3. Lay the washer on its side and remove the drive belt from the bottom of the washer.
4. Place the washer upright again and remove the lower rear panel held by eight ¼” hex screws.
5. With the rear panel off, you will see a black drain hose that connects the tub to the pump. Remove the hose at the pump with a pair of pliers. The hose is just held on with a spring clamp.
6. Remove the front panel: pry the top off at 2 front hinge points with a flat head screwdriver. With the top up, remove two 5/16” hex screws holding the front panel and remove the front panel.
7. Remove suspension springs: To easily remove the suspension springs, you will need about 12 quarters (or nickels) for each spring. I hope I can describe this part clearly. For the removal of each spring, tilt the top of the tub away from you as far as you can in order to stretch out the spring. Now insert coins between the gaps in the spring coil, alternating the coins on each side of the coil to keep the spring coil straight. Then tilt the top of the tub back toward you to release the tension on the spring and you should now be able to easily unhook the spring from the tub. The coins keep the coil stretched out for re-installation later. Repeat for the other 5 coils. Note: Others have mentioned using a metal electrical box for this, but I can’t visualize it.
8. Now raise the washer top and prop it against the wall (or have a helper hold it vertical). Follow the small clear “water level” hose that runs from the control panel to the rear of the tub and disconnect it from the tub. It is just held by a small spring clamp.
9. Remove the tub assembly. Remember the position of the tub before you take it out. Place a couple of 4”x4”s (or equivalent) on the ground to support the edges of the washer tub when you turn it upside down. With the springs removed, the drive belt off, and the water level hose and drain hose detached, you should be able to simply lift the tub assembly out. Lay the tub upside down on the 4x4s.
10. Remove the snubber ring: There is no need to remove the flywheel if you have a small or fairly shallow socket (or an angled open end wrench). My small socket worked fine. As others have mentioned, remove the snubber ring by backing out the six 5/16” hex bolts that hold the snubber ring in place. Do not remove the bolts completely. The metal retaining plate is supposed to be under spring tension, but mine did not rise when I loosened the bolts, so I had to pry it up slightly with a flat screwdriver to form enough of a gap to insert the new snubber ring. Make sure the new snubber ring is seated evenly and re-tighten the 6 bolts.
11. Reinstall: Place tub back into the cabinet, reconnect the thin water level hose, reconnect the drain hose at the pump.
12. Spring re-installation: As you hook each spring to the tub, make sure the bottom of the spring is hooked properly to the bottom of the cabinet. Then tilt the top of the tub away from you to stretch the spring out in order to remove the coins. Then tilt it back toward you to remove the tension. Repeat for the other 5 springs.
13. Re-install the front panel and the rear panel and place the washer top back in place.
14. Lay the washer on its side to reinstall the drive belt.
15. Hook up your hot/cold water, drain hose, tur
Was this helpful?
Thank you for voting!
replaced snubber ring and springs to stop unbalanced spinning
22 of 24 people found this instruction helpful.
  • Kim from qPeachland, NC
  • A Bit Difficult
  • More than 2 hours
  • Nutdriver, Screw drivers
Move washer to area with plenty of room. I took mine out to the deck. take off front of cabinet remove back panel, remove old springs, (a bit hard) remove belt, lift out tub turn over and loosen screws do not remove!! remove old snubber and replace with new, Not bad. Put tub back in washer put on new springs(didn't think I'd ever get them on, not enough upperbody strength)Video would have been priceless!
reattach belt and panels put washer back in place. No noise upon spinning but I now have issues with the agitator, Need a new washer!
Was this helpful?
Thank you for voting!
Washer jumping all over the place even with a small load.
22 of 25 people found this instruction helpful.
  • Gary from Sioux City, IA
  • Easy
  • 1- 2 hours
  • Screw drivers, Socket set
I checked out your other repair information and deided I could do this. Ordered the part and it as her several days before I expected it.

Ok, let's do this thing.

MAGIC TOOLS:
5/16" socket or wrench and #2 Phillips screwdriver and something to remove hose clamps - I recomend a 6" to 8" vice grips and a 6" to 8" plires.

1. Pulled the washer out in the middle of the floor and disconnected the hoses and removed the rear access cover, disconnected the pump hose, released the top using a 1/8' common screwdriver in that narrow space between the top and the front panel. Removed the 2 screws holding the front panel on and removed the front panel.

2. Disconnected fill level hose- toward the left rear side - turned the machine on it's side and walked the drive belt off, tipped it back up right and removed the 6 springs - be sure to note their orientation and location.

3. Lifted the whole assembly out of the top of the machine and set it upside down next to the machine.

4. Loosened the screws holding the snubber in place - NOTE I did not remove the screws - loosen them sequentially little by little untill you can get the snubber to come out. I did not remove the pulley as my Craftsman ratchet and standard - short - socket allowed me to get between the pulley and the screws to loosen them.

5. I removed the old well worn snubber, cleaned the area up and the new snubber actually fell into place and I retightened the screws in the reverse order until they were solid feeling.

6. I lifted the assembly back into the frame, reconnected the springs and the pump hose and the fill level hose. I reinstalled the front cover - AND HERE IS THE IMPORTANT PART!

7. You are so happy this is going so well that you forget to put the BELT back on before you hook up the hoses, so you have to unhook the hoses to put the belt back on and then rehook the hot and cold hoses and drain hose again.

8. Except for number 7 this is a piece of cake. My only concern is how often will I have to do this. The machine is only 8 years old.
Was this helpful?
Thank you for voting!