


 My Orders




W18DY2 Magic Chef Washer - Overview
Diagrams for W18DY2
See every part. Know exactly what you need.


Enter a part description. DIY Heroes keep it simple, eg. "belt" or "pump".
Search filter:
Clear Filter
Your search term must have 3 or more characters.

$7.47
In Stock

$7.47
In Stock
Washer Hose Clamp
Part #WP596669
This hose clamp is used in a wide variety of household appliances. Most often it is found in washers, dishwashers, refrigerators, freezers, dehumidifiers, garbage disposals, or air conditioners. This clamp is used to securely attach a hose to another part of your appliance, which helps prevent leaks from those connections. Depending on th...Read moree appliance, it can attach hoses to drain pumps, water inlet valves, pressure switches, and injector nozzles. We recommend you refer to model-specific diagrams for appropriate uses and exact placement. This hose clamp is made of metal, and is sold individually. To access and replace this part you will need a nut driver, pliers, and screwdrivers. Before you begin any repair work, make sure you have unplugged your appliance, and shut off the water supply if applicable.
Read less

$7.47
In Stock

$7.47
In Stock

$9.62
In Stock
Hose Clamp
Part #WP285655
The hose clamp is used to hold the water hose in place which will prevent the hose from leaking water. Sometimes the clamp may lose its ability to latch on, causing a leaking washer. For the installation, you will need a flat head screw driver to replace the clamp and a drill to access the screws to remove the front of the washer. Be care...Read moreful if you do not have specific clamp pliers as the clamp could fly off. Once the front of the washer has been removed, take a quick look for water damage or any obvious signs of where the leak is coming from. If it is not obvious, run water to test.
Read less

$49.50
Special Order
Lid Switch Actuator - Black
Part #WP43-0057
This is part of the lid switch actuator mechanism and activates the lid switch, when the lid is closed, to start the wash cycle and when the lid is open, it stops the cycle.

$19.30
In Stock

$7.47
In Stock

No Longer Available
Lid Switch Kit
Part #12001187
The lid switch kit is an assembly for replacing your washer lid switch. The function of this part is to detect if your washer lid is open or closed. If it detects that it is open it will prevent the washer from rotating and agitating until it is closed. This kit includes the bracket, actuator, switch, screws, and wire harness. To complete...Read more this installation, you will need a number two Phillips screwdriver, and a 5/16 nut driver. Before beginning this repair, make sure the power supply to your washer is disconnected. In order to install this part, you will need access to the rear of the unit.
Read less

$9.62
In Stock
Plate Nut
Part #WP3400029
This size 10 plate nut with 32 threads per inch is located in your household appliances. It securely fastens various parts together, such as panels, brackets, and accessories, to the frame. It features a built-in washer and is also known as a captured nut or a caged nut. If the secured components feel loose, wobbly, or are coming apart, i...Read moret may indicate that the nut has lost its grip or become stripped. To maintain stability and safety, it is crucial to replace a broken or faulty plate nut. Refer to your user guide to access the plate nut on your specific appliance model, which could be near the console, along the door, or on the tub support. Once located, loosen it using a wrench or pliers. Keep in mind that this OEM fastener is sold individually, so make sure to determine the quantity needed before making a purchase. It is also advisable to keep spare plate nuts on hand for future repairs.
Read less

$7.47
In Stock
Washer Screw Ground
Part #WP3351614

$35.80
Special Order
Cabinet Top Hinge
Part #35-2846
Common Symptoms of the W18DY2
How this model fails, and the parts that fix it.
Leaking
Fixed by
these parts
these parts


Show All
Will not drain
Fixed by
these parts
these parts


Show All
Will Not Start
Fixed by
these parts
these parts
Show All
Will not agitate
Fixed by
these parts
these parts
Show All
Lid or door won’t close
Fixed by
these parts
these parts
Show All
Watch our pros, then fix it yourself.



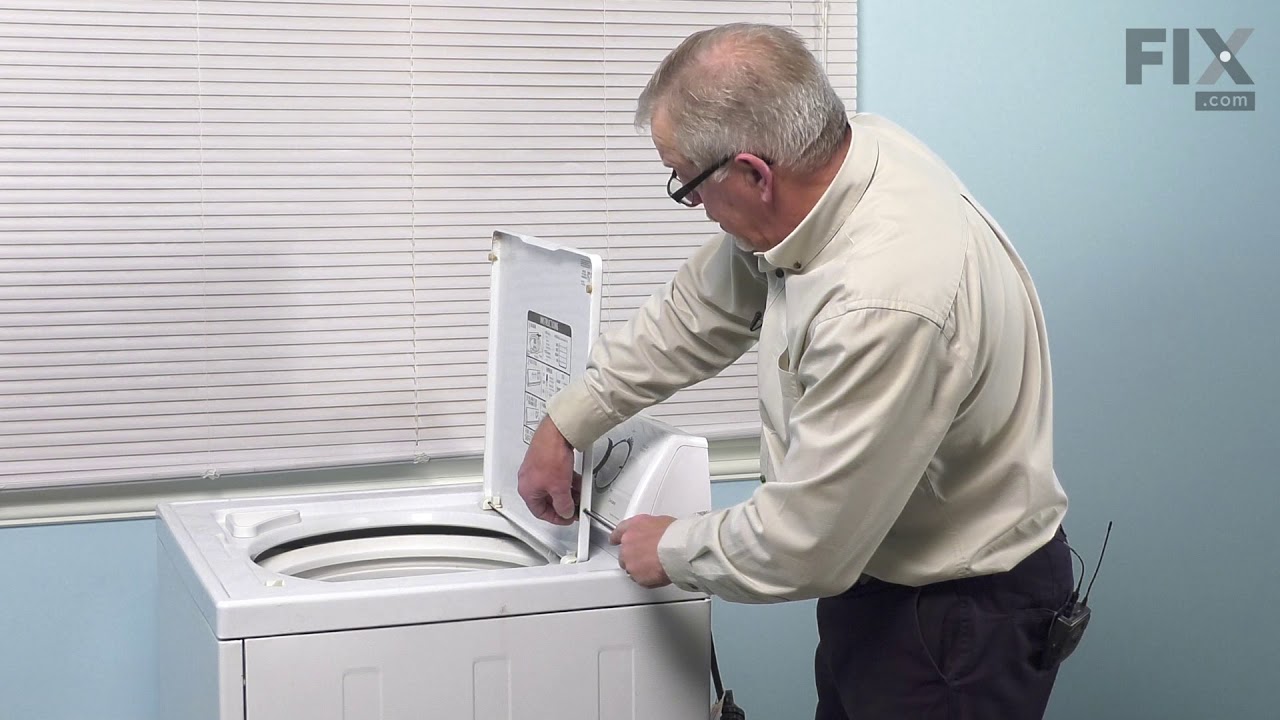
See how others fixed this model. Time, tools, difficulty, and steps that lead to victory!
View More