



 My Orders




VT910203 Campbell Hausfeld Compressor - Overview

Enter a part description. DIY Heroes keep it simple, eg. "belt" or "pump".
Search filter:
Clear Filter
Your search term must have 3 or more characters.

$6.40
In Stock
Ferrule
Part #ST085200AV
Designed for use in compressors, this genuine replacement part is used to provide a seal and prevent leaks. It is red, made of rubber, is not part of a kit or assembly, and is sold individually.
When this part is worn, you will notice leaks from your machine, and it will need to be replaced. As with most rubber seals, this part is known...Read more to wear with regular use of your compressor, and will no longer be able to properly seal when it needs to be replaced. It is found at the bottom of the air tank, and you will need a wrench to complete this repair.
Customers rate this repair as Easy.
Read less

$20.76
In Stock
Flapper Valv
Part #VS001800AV
This is an authentic part that is supplied directly from the original equipment manufacturer for use with Craftsman Air Compressors. The exhaust flapper valve attaches on the valve plate under the cylinder head. The most common reasons for replacing the flapper valve is if there is poor performance, or the air leaks out of the intake air ...Read morefilter while the unit is running, damaged/sticking valves is a common issue when you have low compression, and can also cause the motor/engine to stall and too much pressure in the pump's crankcase. This part is sold individually. Here is a list of tools that are needed to install the flapper valve are a screwdriver, socket wrench, and a wrench.
Read less

$67.62
In Stock
Flapper Valve .015 Thick
Part #VS001801AV
This replacement flapper valve is a high quality item that is sourced from original equipment manufacturer for use with Campbell Hausfeld air compressors. This part is secured under the cylinder head helping to control the fuel-air mixture admitted to the cylinder. As the piston rises in the cylinder a vacuum is created in the crankcase b...Read moreeneath the piston. This part is made from durable metal and it is sold individually.
Read less

$60.47
In Stock
Check Valve
Part #CV221502SJ
This OEM Check Valve is an exact replacement for certain air compressors. The purpose of this part is to allow pressurized air into the tank and stop it from flowing back into the pump. It is made of metal, is gold, is not part of a kit or assembly, and is sold individually.
When the check valve is defective, the compressor will funcyio...Read moren normally until the tank fills with air. At that point, the pump will try to restart, but the engine will only produce a humming noise. Similarly, if the tank is full of air, the motor will make a humming noise without engaging. This part is located on the tank to the discharge tube and will need to be replaced if broken or worn. You will need a wrench set and a socket set to complete this repair.
Customers rate this repair as Easy.
Read less

$10.50
In Stock
Compression Nut
Part #ST033001AV
Genuine Campbell Hausfeld replacement part, this item is sold individually. The ST033001AV Compression Nut is used to attach the copper tubing to certain components of the compressors listed below. Along with the Compression Nut you will need to use a compression sleeve ( or Ferrule) to seal the tube from leaking air. The Compression Nut will go on the tubing first then the Ferrule will slide into the nut.

$35.72
In Stock
Asme Safety Valve
Part #V-215100AV
This ASME safety valve is constructed of high-qualty metal, and is made for use with many air compressor models. Fastened to the manifold, the safety valve diminishes air pressure when the pump is not shut off at the proper setting. This important component is sold individually. A screwdriver, adjustable wrench and a pair of pliers are of...Read moreten necessary for the removal and replacement. Please refer to the specific manual for additional repair information.
Read less

$6.40
Special Order
1/4-In Plug
Part #ST022500AV
Sourced directly from the manufacturer, this plug is an exact replacement part for a variety of air compressors. This part is sold individually, not as part of a kit or assembly. It is gold, made of metal, and will be found on the pressure switch.
This part will leak when it has become defective and will need to be replaced if it is dam...Read moreaged or worn. When you install the part, apply Teflon tape to the threads before tightening it in place. You will need a wrench to complete this repair.
Customers rate this repair as Easy.
Read less

$119.00
Special Order
Handle
Part #HL001801BH
This handle is an original replacement part supplied by the manufacturer. It is commonly used in Campbell Hausfeld air compressors. It is compatible with over 150 models. This handle is attached to the top of the tank (part AR040500CG). A screwdriver is needed to remove and replace the screws that secure this part.

$7.66
Special Order
Axle Bolt
Part #ST033400AV
This part is an OEM from Campbell Hausfeld. The axle bolt is compatible with many air compressors, and is sold individually. The metal bolt fastens the wheel to the base of the tank, providing movement to the device. A wrench and pliers are needed for the removal and replacement.

$47.86
In Stock
Wheel 10 In. Black Hub
Part #WA004000AV
This is an authentic replacement part sourced directly from the manufacturer. The wheel is commonly found in Campbell Hausfeld air compressors. This part is made of high-quality plastic and rubber, and is placed on the sides of the tank to make the machine easier to relocate. You will require a wrench when replacing this item. The wheel is provided as an individual replacement part.

$17.98
In Stock
Drain Valve
Part #SR060513SV
This is a genuine Campbell Hausfeld replacement drain valve, sold individually. When using an air compressor, moisture naturally condenses inside the tank. If this water is left sitting for too long, it can lead to internal rust and damage. The drain valve allows you to release this built-up moisture easily. It's especially important to d...Read morerain your tank after each use—particularly if you tend to leave air in the tank for extended periods. Regular draining helps extend the life of your compressor and maintain its performance. Be sure to open the valve regularly to prevent water buildup and potential tank corrosion.
Read less

$6.40
In Stock
Nipple
Part #HF002401AV-S
This genuine OEM replacement nipple is designed for use in air compressors, serving as a critical connector between the pressure switch, the tank, and the regulator. A damaged or corroded nipple can lead to air leaks and inconsistent pressure, affecting overall performance. To check for leaks, apply soapy water to the fittings around the ...Read morepressure switch and watch for bubbles. If replacement is necessary, the process typically involves disassembling the pressure switch. Begin by draining the tank using the valve at the bottom, then remove the coupler from the regulator and unthread the nipple. Access the wire connections by removing the pressure switch shroud, and carefully note the position of each wire before disconnecting them—starting with the motor wire, followed by the cord wires and ground wires. Remove the strain relief, pressure gauge, and the airline connecting the check valve to the switch. Finally, unthread the pressure switch from the tank nipple and remove the nipple itself. When reassembling, it is recommended to use thread tape to ensure a proper seal. This replacement part is sold individually.
Read less
Common Symptoms of the VT910203
How this model fails, and the parts that fix it.

Watch our pros, then fix it yourself.

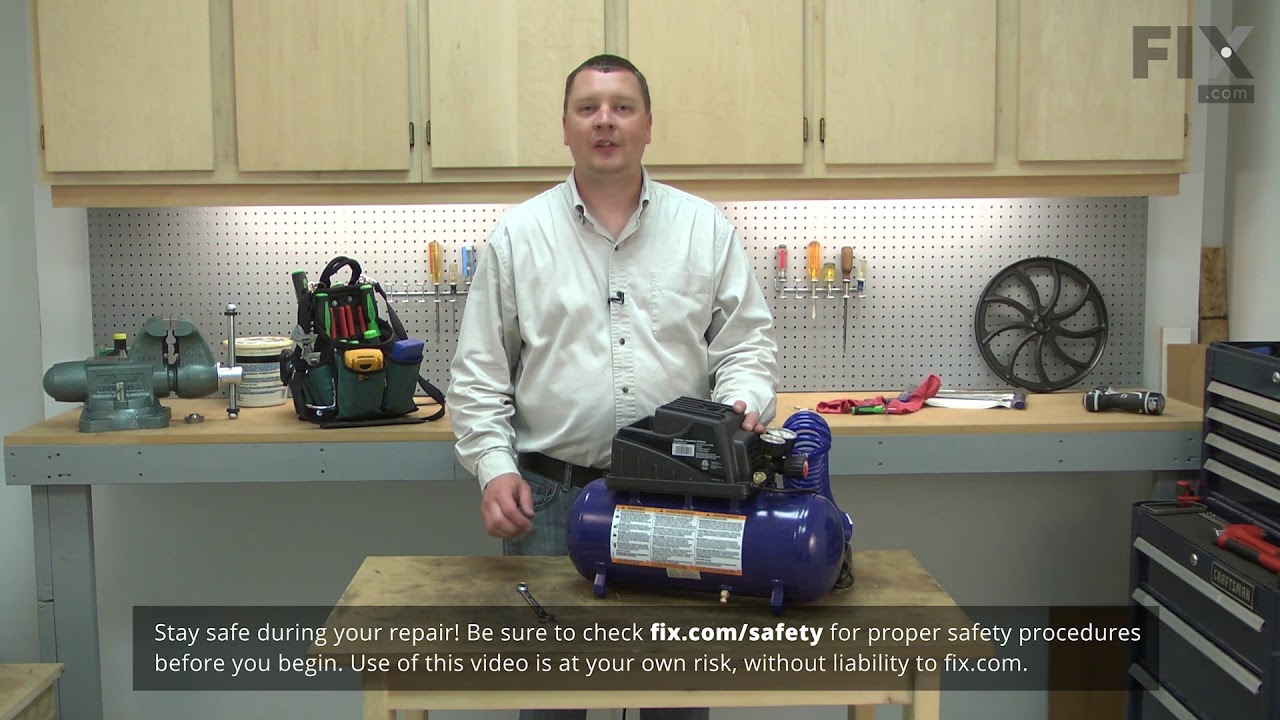

See how others fixed this model. Time, tools, difficulty, and steps that lead to victory!
View More