


 My Orders




VISR208DTAWW Hotpoint Washer - Overview
Diagrams for VISR208DTAWW
See every part. Know exactly what you need.


Enter a part description. DIY Heroes keep it simple, eg. "belt" or "pump".
Search filter:
Clear Filter
Your search term must have 3 or more characters.

$24.67
In Stock
Selector Knob with Clip
Part #WH1X2721
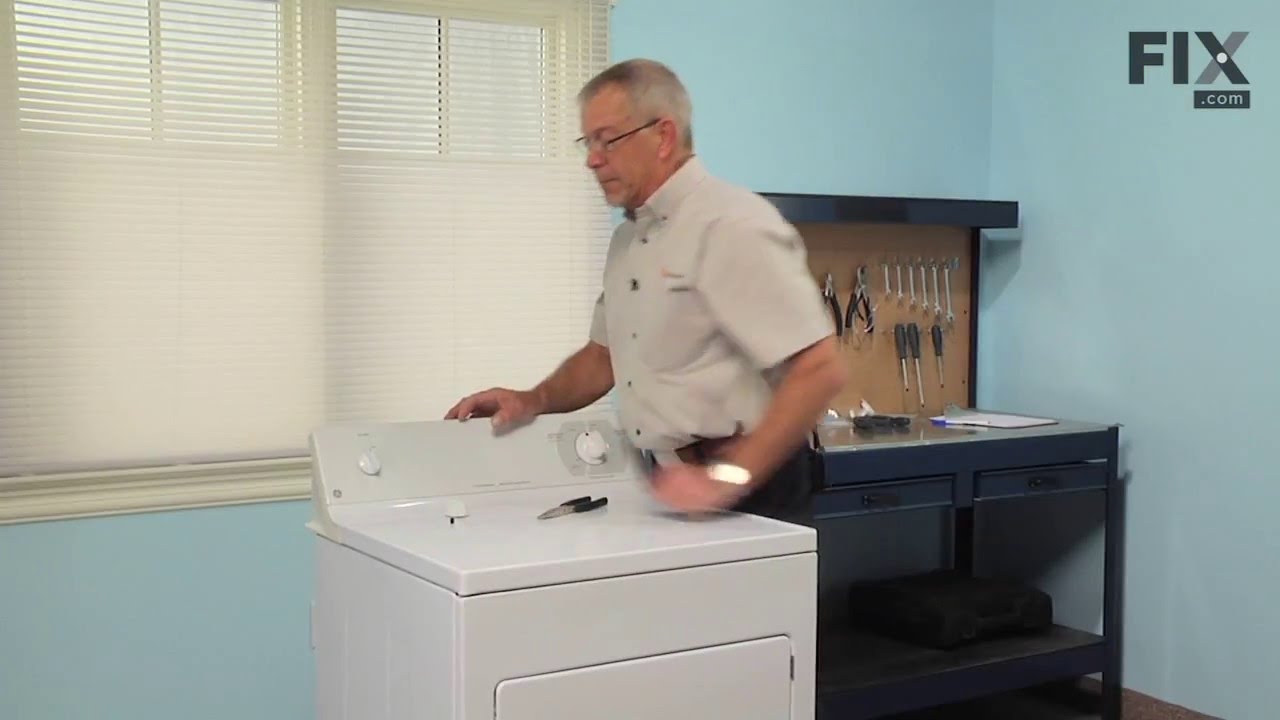
The selector knob is what you use to start the dryer. This replacement knob comes with a retaining clip. This is a very easy repair, the only tool you may need is a pair of needle nose pliers. Remove the existing knob by pulling it off, making sure to remove the retaining clip as well. Line up the new knob with the D-shaped shaft and slide it into place.

$44.23
In Stock
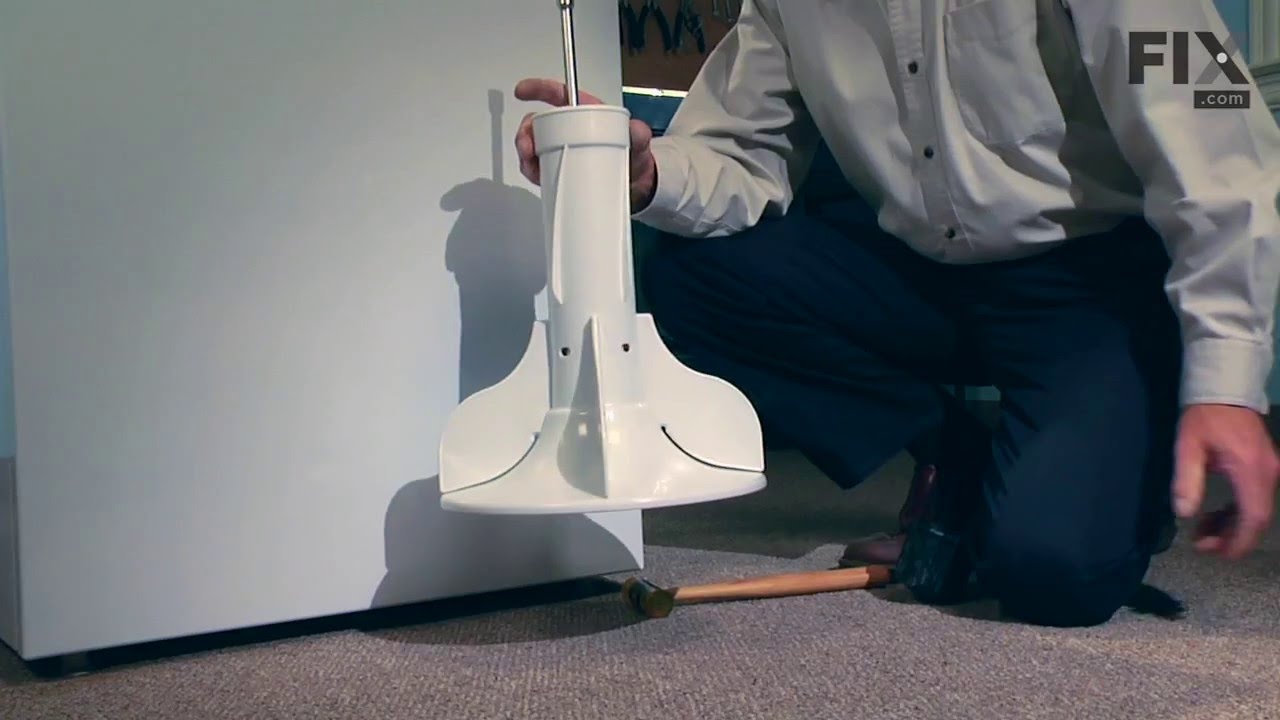
Agitator Coupling Kit
Part #WH49X10042
The agitator coupler connects the agitator to the agitator shaft. Common symptoms of a damaged coupler include: a grinding sound during the wash cycle, the washer refusing to agitate or spin, or the washing machine shakes and moves during the wash cycle. Unplug the washer and pull the agitator straight up. Remove the bolt that holds the c...Read moreoupler onto the shaft of the transmission and pull the coupler off. Be sure to clean any dirt, rust, or residue off the transmission spline grooves, and make sure the grooves on the agitator splines are clean and undamaged. We recommend using the gasket and bolt that come with the replacement coupling.
Read less

$16.05
In Stock
Tub Bearing Washer
Part #WH2X1197
This is a tub bearing and it is meant to work in conjunction with your washing machine. The purpose of this part is to aid in keeping the inner tub of your washing machine spinning smoothly during a wash cycle. The most common reasons for needing to change your tub bearing is if your appliance is noisy or shaking/moving during the wash cy...Read morecle, another common symptom is leaking water. This part is sold individually and measures to have an inner diameter of roughly 1 inch, and an outer diameter of roughly 2 inches.
Read less

No Longer Available
Split Ring
Part #WH02X10265
This split ring is supplied by the original equipment manufacturer, and it is designed to secure the tub bearing in washing machines. It is a circular metal ring, with an outer diameter of 2 inches. The ring has a split or gap, which allows it to expand and contract for easy installation and removal. It is typically located on the inner s...Read moreide of the washing machine outer tub, where it provides stability and prevents the washer from excessively shaking during use. It is normal for the split ring to become worn, corroded, or damaged due to age, exposure to moisture, and excessive stress. A faulty split ring will lead to a noisy, unstable washer and eventually cause the tub assembly to fall out of alignment. Remove the washer panels to access the outer tub and split ring. Carefully detach the damaged split ring from the tub and position the new split ring in its place. Ensure that it is properly aligned and securely fastened before reattaching the panels.
Read less

$15.00
In Stock
Socket Rod Support - White
Part #WH01X10001
This part is a replacement socket rod support for your washer. The socket rod support is found at the top of the washer frame in the front part of the washer. It supports the suspension rod, so the rod can prevent the tub from shaking too much during operation. If your washer is shaking excessively or emitting an odd sound during use, it ...Read moremay be because the rod support is broken, and the suspension rod is not able to do its job. This part is made of white plastic and is sold individually.
Read less

$82.87
In Stock
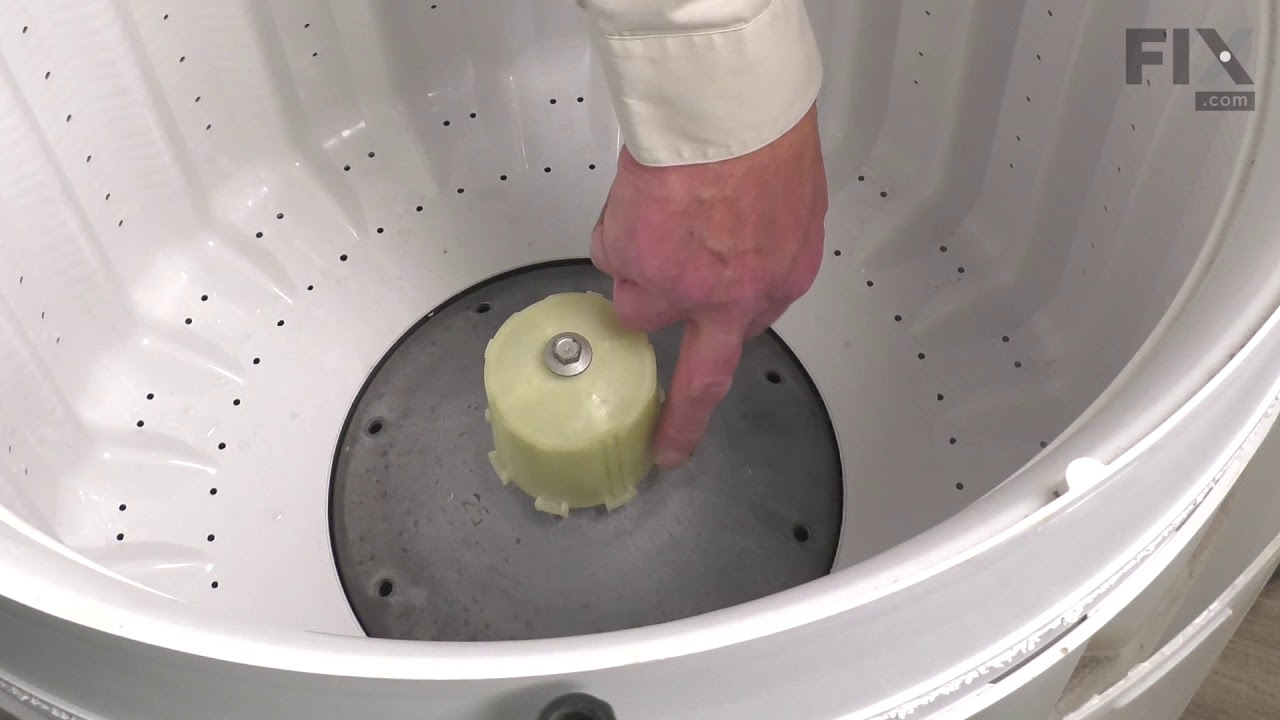
Inner Tub Base Hub
Part #WH45X10027
This part is the replacement inner tub base hub for your washer. It is made of metal and is approximately 15 inches in diameter. The inner tub base hub fits between the wash tub and the spin basket, and it holds the spin basket on the gear case shaft. The main reason you would want to replace the hub, is if the washer will not agitate, or...Read more if you notice excessive noise or shaking when the washer is in use. Be sure to disconnect the washer from the water and power sources before you begin this repair. This part is sold individually and is and OEM part from the manufacturer.
Read less

$15.00
Special Order

No Longer Available
Transmission and Brake Assembly
Part #WH38X10002
This transmission and brake assembly comes with a new tub seal. This kit aids in the spinning or agitating cycles.

$26.40
In Stock
Dishwasher Hose Clamp Kit
Part #WH1X2036
This is a water hose clamp kit for a variety of appliances including dishwashers and washers. This is a genuine replacement part. The kit includes two hose clamps. The smaller of the two is 1 inch in diameter while the larger one is 2 inches in diameter. The hose clamps secure the end of the water hose in place to prevent the hose from le...Read moreaking. If you notice leaking from the hose of your appliance, you may need to replace this kit. Protect your hands with work gloves during this repair to avoid injury.
Read less

$16.05
In Stock
BAFFLE SCREW AND WASHER
Part #WE02X30757

$16.05
Special Order

No Longer Available
Common Symptoms of the VISR208DTAWW
How this model fails, and the parts that fix it.
Will not agitate
Fixed by
these parts
these parts


Show All
Leaking
Fixed by
these parts
these parts


Show All
Won’t Start
Fixed by
these parts
these parts

Show All
Will Not Start
Fixed by
these parts
these parts
Show All
Spins slowly
Fixed by
these parts
these parts
Show All
Noisy
Fixed by
these parts
these parts
Show All
Noisy and Marks Left on Clothes
Fixed by
these parts
these parts
Show All
Spinning Issues
Fixed by
these parts
these parts
Show All
Watch our pros, then fix it yourself.
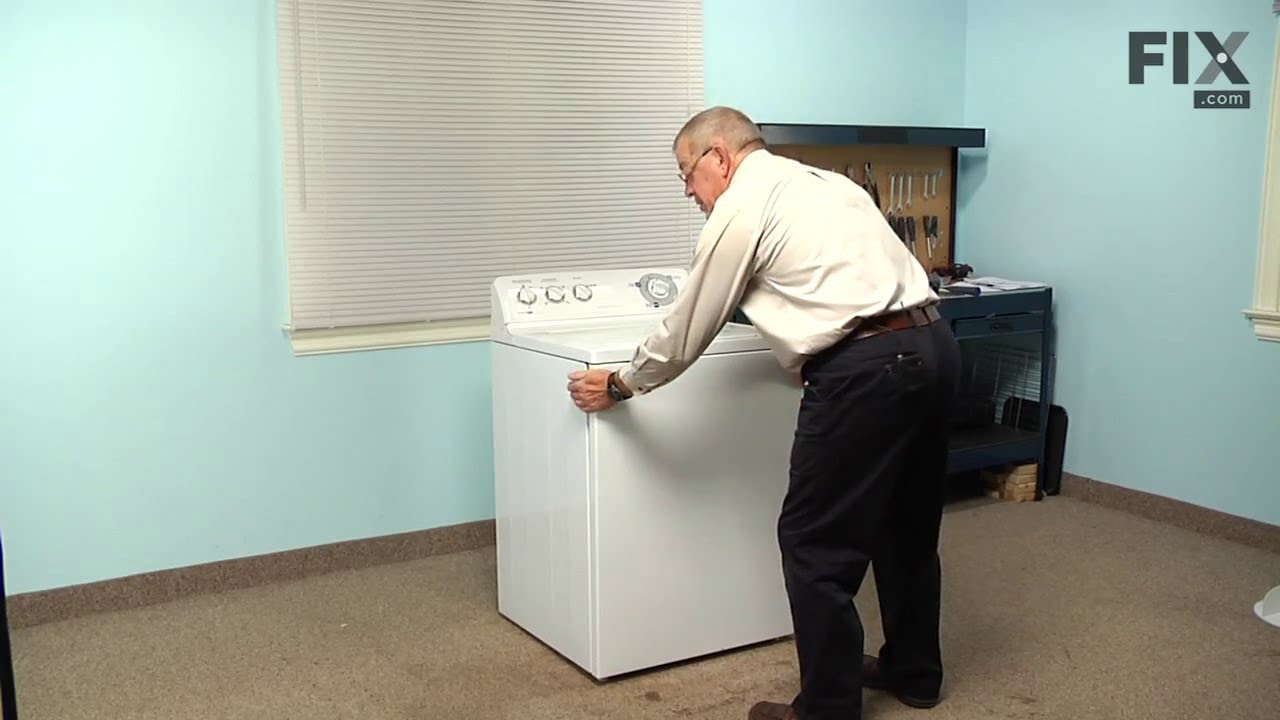
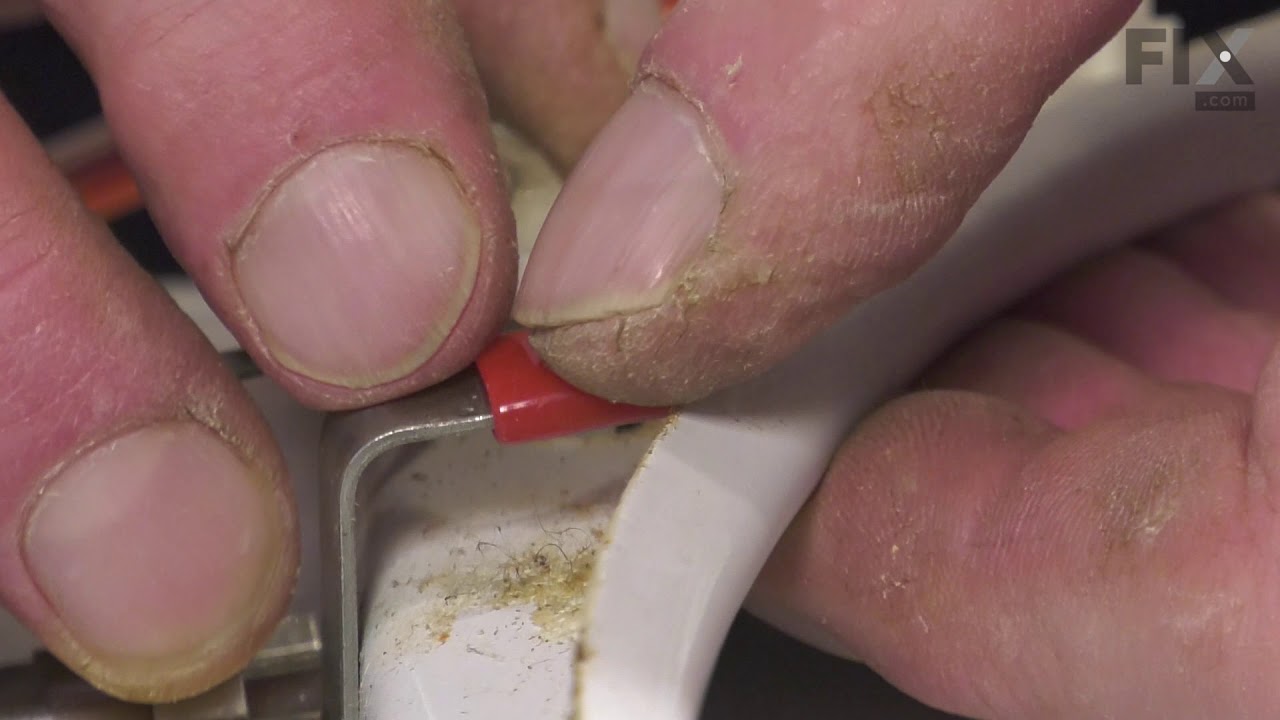
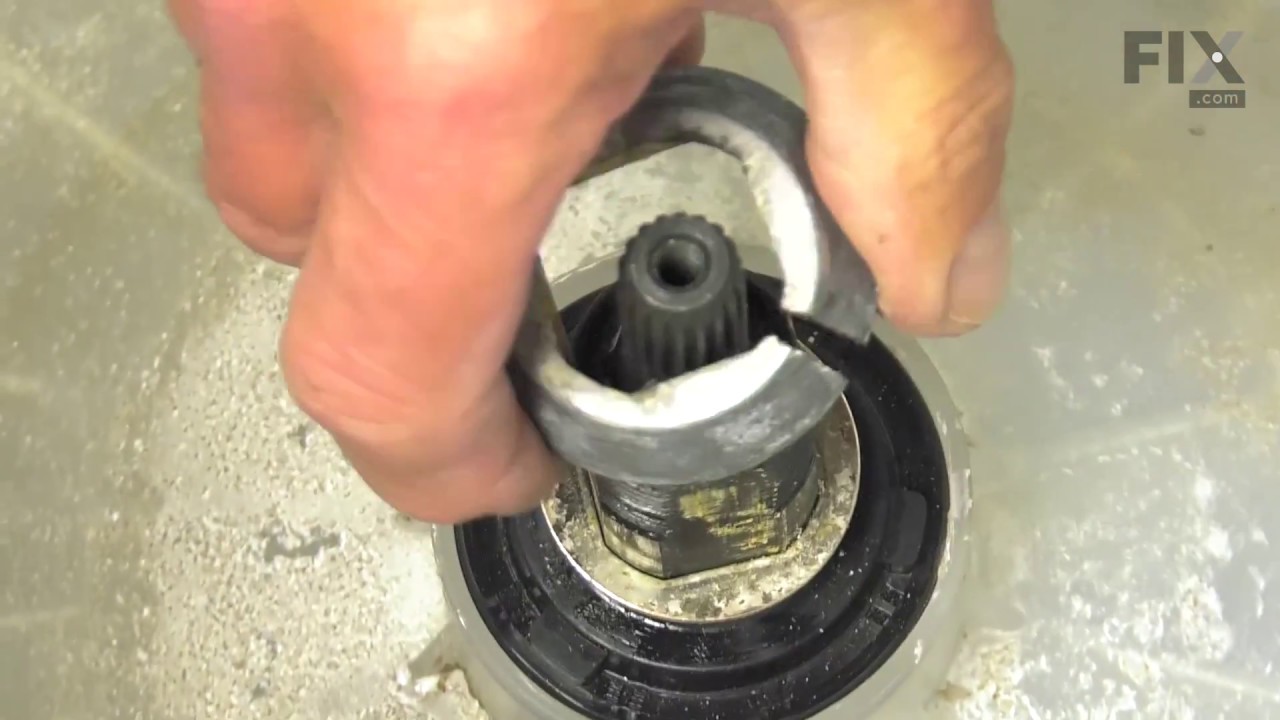
See how others fixed this model. Time, tools, difficulty, and steps that lead to victory!
View More