


 My Orders




UL2100CA2 Electrolux Freezer - Overview


Enter a part description. DIY Heroes keep it simple, eg. "belt" or "pump".
Search filter:
Clear Filter
Your search term must have 3 or more characters.

$14.18
In Stock
Freezer Door Key
Part #297147700
This freezer door key is designed for use with most upright and chest freezers. It is an authentic OEM replacement part. Your appliance has a lid or door that locks and unlocks, this key controls that function. If your key is lost or damaged this is the replacement you need. Be sure to store this key someplace safe, we also recommend that...Read more you store it away from the freezer. This part is made of plastic, is white in color, and it is sold individually.
Read less

$126.45
In Stock
Freezer Door Gasket
Part #5304507199
This gasket is used to seal the freezer door when closed to keep the cool air inside and the warm temperature surrounding the freezer from getting in. It is white in color. If you notice that your freezer is not shutting with ease, is not maintaining your desired temperature, or there is frost build up, it could be due to the door gasket ...Read morebeing damaged. You might also notice that there is a leak coming from the door and this could also be caused by the gasket being worn, damaged, or no longer aligned properly. You will need to remove the existing screws before installing the gasket.
Read less

$56.05
In Stock
Run Capacitor
Part #5304464438
The run capacitor helps the compressor kick on and off while maintaining a constant temperature in your fridge and freezer. You may need to replace your run capacitor if your refrigerator or freezer section will not start, if they are too warm, or if your refrigerator has become too noisy. Replacing the run capacitor is a relatively easy ...Read moreproject. For this repair you will only need a 1/4 inch nut driver and needle nose pliers. Remember to disconnect the power and water supply line to the unit before you begin this repair. For full step by step instructions, simply click on the video below.
Read less

$63.72
In Stock
Refrigerator Light Bulb
Part #5304517886
This is an LED light for a variety of refrigerator models. This 3.8W LED light is used to shine and adequately light the contents of your refrigerator when you open its door. If your current light is significantly dimmer than normal, or simply not working anymore, it will need to be replaced. To replace this bulb, unplug your fridge momen...Read moretarily, and then simply unthread the old one and screw in the new one. This bulb is sold individually and does not come with any other parts.
Read less

No Longer Available
Door Handle
Part #216446900
This door handle is used for both refrigerators and freezers to easily open and close the door. If your handle is broken, loose, or damaged, you should replace this part to ensure easier access to your appliance. Please note: handle insert and screws are not included. Buy screws separately. The door handle is white in color. Refer to the ...Read moremanual provided by the manufacturer for installation instructions and accurate guidance. Remember to wear work gloves as a safety precaution.
Read less

$70.35
In Stock
Gasket Retainer Clip Kit - 24 Pieces
Part #5303922007
This gasket retainer clip kit is for freezers. There are 24 pieces in this kit. The clips are what secure the gasket and liner to the freezer lid. The clips are white in color and made of plastic. If you notice frost build up in your freezer or that is it is not maintaining its temperature, this might be because the retainer clips have br...Read moreoken, and this has caused the gasket to become loose. This is a genuine OEM part that is obtained right from the manufacturer, ensuring a quality repair.
Read less

$39.94
Special Order
Adjustable Leveling Foot - Black
Part #216396900
This part could be found underneath a fridge, dryer, or freezer. The original foot may be cracked, broken, or perhaps missing altogether. If you notice the appliance is uneven to the floor or wobbling, it may indicate that the levelling foot needs to be replaced. You will need pliers and a block of wood to perform this task. There will be...Read more one adjustable foot found in the package. Lift the dryer and place the wood to keep it propped up. You may need to use the pliers to remove the old foot. Screw the new foot into place using your hand. Once the new leveling foot is in place, lift the appliance and remove the block. Test the machine out to ensure it is now sitting level.
Read less

$25.25
In Stock

$109.93
In Stock
Refrigerator Compressor Start Relay Kit
Part #5304491941
Compressor start relay kit is an original equipment manufacturer (OEM) part that fits some Kenmore, Frigidaire, Electrolux, Crosley, Gibson and White-Westinghouse refrigerators. It also fits some Kenmore, Frigidaire and Gibson upright freezers.
Compressor start relay kit includes the compressor start relay, run capacitor, wire harness ...Read moreadapter, 2 wire terminals, 2 wire connectors, 2 pieces of wire connection shrink tubing, the wire retaining clip and kit instructions sheet.
Clarification of instructions: Kit 5304491941 now uses a wire harness with white wires; attach the red compressor power wire to the wire harness adapter's white wire that plugs into the start device terminal at the outside edge of the start device.
Replaces original refrigerator and freezer compressor start relay part numbers 216649316, 218721119, 241524601, 241524605 and 5304468029.
Fits some refrigerators in the following series: Kenmore and Kenmore Elite 253; Frigidaire FRS, FRT, FRX, FSC, GLH, GLR, GS2, NGS, PHS, PLH and PLRS; Electrolux E23; Crosley CRSE; Gibson GRS and GRT; and White-Westinghouse WRS and WRT. Also fits some upright freezers in these series: Kenmore 253; Frigidaire FFU; and Gibson GFU.
Read less

$69.59
In Stock

$24.67
Special Order
White Touch up Paint
Part #5303321319
This is white touch up paint for refrigerators, microwaves, ranges, dryers, and freezers. It is used to cover, or touch up, nicks and scratches on the appliance from wear and tear. It is an 18ml bottle that contains paint and a small brush for easy application. It is a little over 2 inches tall. This is an OEM part that is sourced directl...Read morey from the genuine manufacturer, and is meant to be an exact match to the color of the appliance. If the appliance is not white, please see other colors such as almond or black.
Read less

$53.85
In Stock
Handle Insert
Part #3017682
This is not the handle. This is the decorative front insert. This part is for your freezer and is white in color. The insert measures approximately 10 inches long. This part is often replaced along with the handle itself. If this part has broken, cracked, or fallen off, it may need to be replaced after repeated use. To install the new han...Read moredle insert, you must simply pry the old one off and snap the new one into place; no tools required. This is an original OEM part that comes right from the manufacturer.
Read less
Common Symptoms of the UL2100CA2
How this model fails, and the parts that fix it.
Frost buildup
Fixed by
these parts
these parts


Show All
Will Not Start
Fixed by
these parts
these parts


Show All
Fridge too warm
Fixed by
these parts
these parts

Show All
Too warm
Fixed by
these parts
these parts

Show All
Freezer section too warm
Fixed by
these parts
these parts
Show All
Won’t start
Fixed by
these parts
these parts
Show All
Fridge and Freezer are too warm
Fixed by
these parts
these parts
Show All
Light not working
Fixed by
these parts
these parts

Show All
Doesn’t stop running
Fixed by
these parts
these parts
Show All
Noisy
Fixed by
these parts
these parts
Show All
Fridge runs too long
Fixed by
these parts
these parts
Show All
Too cold
Fixed by
these parts
these parts
Show All
Clicking sound
Fixed by
these parts
these parts
Show All
Watch our pros, then fix it yourself.
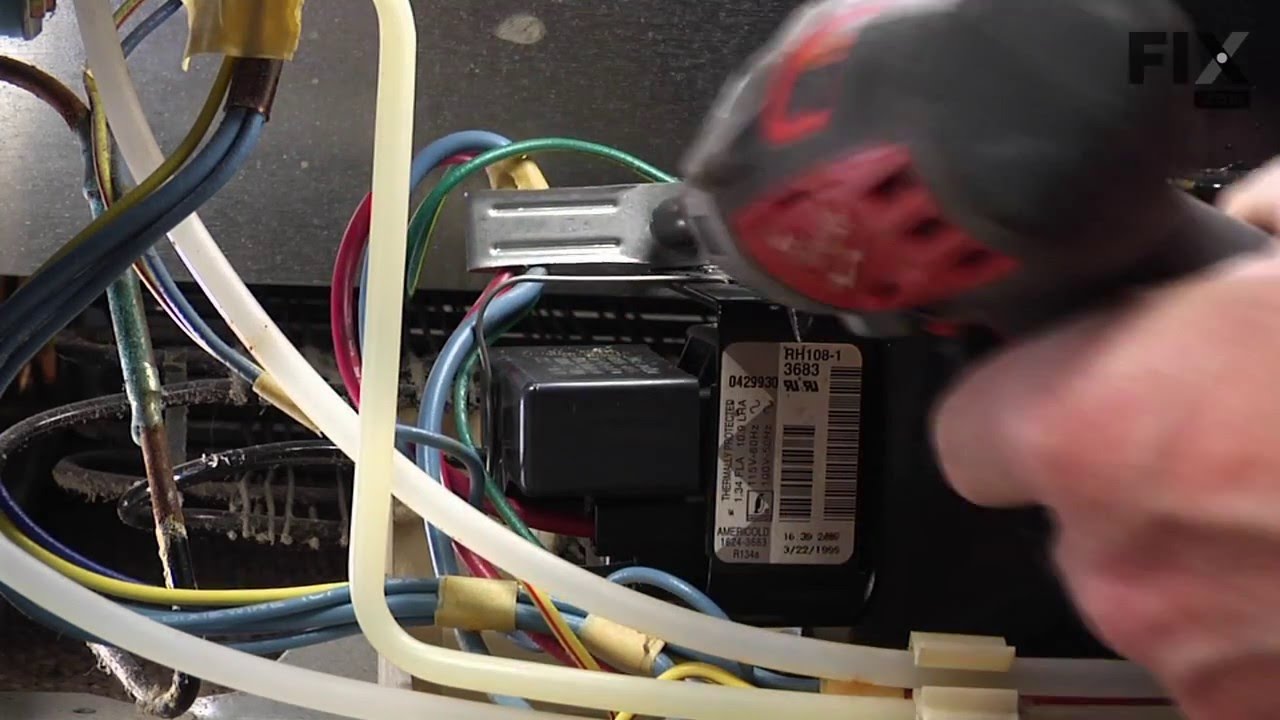
See how others fixed this model. Time, tools, difficulty, and steps that lead to victory!
View More
Search repair tips from other customers using simple keywords like "replace", "fit", "remove", "inspect". DIY doesn't mean you have to do it alone!
Search filter:
Clear Filter
Your search term must have 3 or more characters.
Rear of upper shelf would freeze, while the rest of the freezer was dripping wet
68 of 81 people
found this instruction helpful.
We opened our freezer last week only to find the bottom 2/3 was barely cold, while only the rear of the upper shelf was cold. In fact, it was covered in frost, despite being a frost-free model. Our frozen veggies were slushy, not rock hard, and our frozen juices were all liquid. We defrosted the freezer, plugged it back in, but immediat
... Read more
ely noticed that we didn't hear the 'whhoooooosh' that you typically hear when you close the freezer door. After 30 minutes, the rear upper shelf was frosty again, but the rest was still at room temp. We figured the freezer was a goner, so we started looking at new freezers. I headed online to see if I could fix it, and I eventually found this site. I had learned online that these symptoms can be caused by either a bad capacitor, or a bad controller (which the capacitor plugs in to). I guess you can't necessarily tell which of the two parts is defective, so I chose to order/replace both of them. I ordered the correct parts from partselect.com, and they alerted me that Frigidaire has a new replacement part for the capacitor. When the parts arrived (quickly, ftw!), I unplugged the freezer and snipped the two wires leading to the controller. Next I unplugged the controller from the compressor housing. I spliced the replacement controller's wires into the freezer's wires (using my own wire nuts...as none were included with my order :( ). I snapped the new controller onto the compressor mounting, and then plugged the capacitor in. I plugged the freezer back in, and it was time for the moment of truth. The interior light of the freezer came on, and I could hear the compressor 'humming'. I could hear it humming before the repair, so the big test was to see if it got cold. I was nervous because the freezer DIDN'T make the 'whoooshing' noise right away, but after just an hour, the 'test' mug of water was already turning into ice. It was fixed!!!! If you have these symptoms, you CAN do this!!! Unplug the freezer. Cut two wires. Unplug the controller. Splice two wires. Plug in the new controller. Snap in the new capacitor. DONE!!!
Read less
Other Parts Used:
Was this helpful?
Thank you for voting!