



 My Orders




TX518VE (P1322502W E) Amana Refrigerator - Overview
Diagrams for TX518VE
See every part. Know exactly what you need.


Enter a part description. DIY Heroes keep it simple, eg. "belt" or "pump".
Search filter:
Clear Filter
Your search term must have 3 or more characters.

$30.53
In Stock

$7.47
In Stock

$35.80
In Stock
Refrigerator Water Fill Cup & Bearing
Part #WP628356
This refrigerator ice maker fill cup dispenses the water into the ice cube mold during the fill cycle. Replacing the water fill cup is a possible solution if you notice that the ice maker is leaking, or not making/dispensing ice. If you notice the fill cup has been damaged or cracked; replace the part straight away. This water fill cup is...Read more a genuine OEM part and will fit most refrigerators, but check the list of compatible brands to make sure yours is included before purchasing.
Read less

$31.58
In Stock

$7.47
In Stock

$55.29
On Order
Ice Maker Shutoff Arm
Part #WP67004028
The icemaker shut off arm, used in a refrigerator, gives the icemaker a signal to stop making ice once the bin has a reached a certain limit. This helps monitor ice production. If your icemaker is not making ice properly or consistently, replacing this part could be a solution to your problem. The tools required for this installation are ...Read morea 1/4 inch nut driver, a Phillips screwdriver, and needle nose pliers. Refer to the manual guide provided by the manufacturer for further guidance and instructions. Remember to safely store food when the refrigerator power is off to keep it from deteriorating.
Read less

$104.20
Special Order
Ice Bucket
Part #WP67001255
The ice bucket in your freezer catches and holds the ice when it is released by the icemaker. If your ice bucket is cracked or damaged, you may need to replace it to prevent a potential leak. This part is made of white plastic and is sold individually. This ice bucket is approximately 15 inches long by 12 inches wide. Many of our customer...Read mores have rated this repair as very easy. To complete this repair, simply remove the old ice bucket and replace it with the new one. Be sure to remove any broken pieces of the old ice bucket before replacing it.
Read less

$11.77
In Stock
Refrigerator Compression Nut
Part #WP627018
The compression nut is used as a connection between the water supply line and other components in your refrigerator such as your ice maker and your water dispenser. Tools required for this repair include a pair of pliers and a socket set. Before installing this part you should take all perishable foods out of your refrigerator and store t...Read morehem somewhere cool, unplug the refrigerator from the power source, and shut off the water supply. This repair may require you to wear work gloves to protect your hands, and is considered an easy do-it-yourself fix.
Read less

No Longer Available
Refrigerator Kick Plate Retaining Clip
Part #WP10551502
This kick plate retaining clip is sold individually and is made entirely of metal. If you are needing the kick plate as well, remember to check with your model number as these clips may already be included.

$40.65
In Stock
Refrigerator Tray
Part #WP841180A
This fourteen cube ice cube tray is eleven inches long. It is all white in color and is made entirely of plastic.

$17.15
In Stock
Refrigerator Plastic Tubing
Part #WPB5705307
This part supplies water to refrigerator components that require water, such as the ice maker and water dispenser. If you notice a leak coming from your refrigerator, the plastic tubing that feeds your water and ice dispenser might need to be replaced. This part is made of clear plastic and is 1/4 inch thick, and 8 1/2 feet long. Make sur...Read moree to disconnect power to the refrigerator and shut off the water supply prior to installing this part. Safely store any perishable food items that could deteriorate while the power to the refrigerator is disconnected. Work gloves are recommended to protect your hands during this installation.
Read less

$7.47
In Stock
Common Symptoms of the TX518VE
How this model fails, and the parts that fix it.
Light not working
Fixed by
these parts
these parts

Show All
Leaking
Fixed by
these parts
these parts


Show All
Ice maker not making ice
Fixed by
these parts
these parts


Show All
Noisy
Fixed by
these parts
these parts


Show All
Ice maker dispenses too much ice
Fixed by
these parts
these parts
Show All
Ice maker won’t dispense ice
Fixed by
these parts
these parts
Show All
Door won’t open or close
Fixed by
these parts
these parts


Show All
Door latch failure
Fixed by
these parts
these parts

Show All
Fridge too warm
Fixed by
these parts
these parts
Show All
Watch our pros, then fix it yourself.
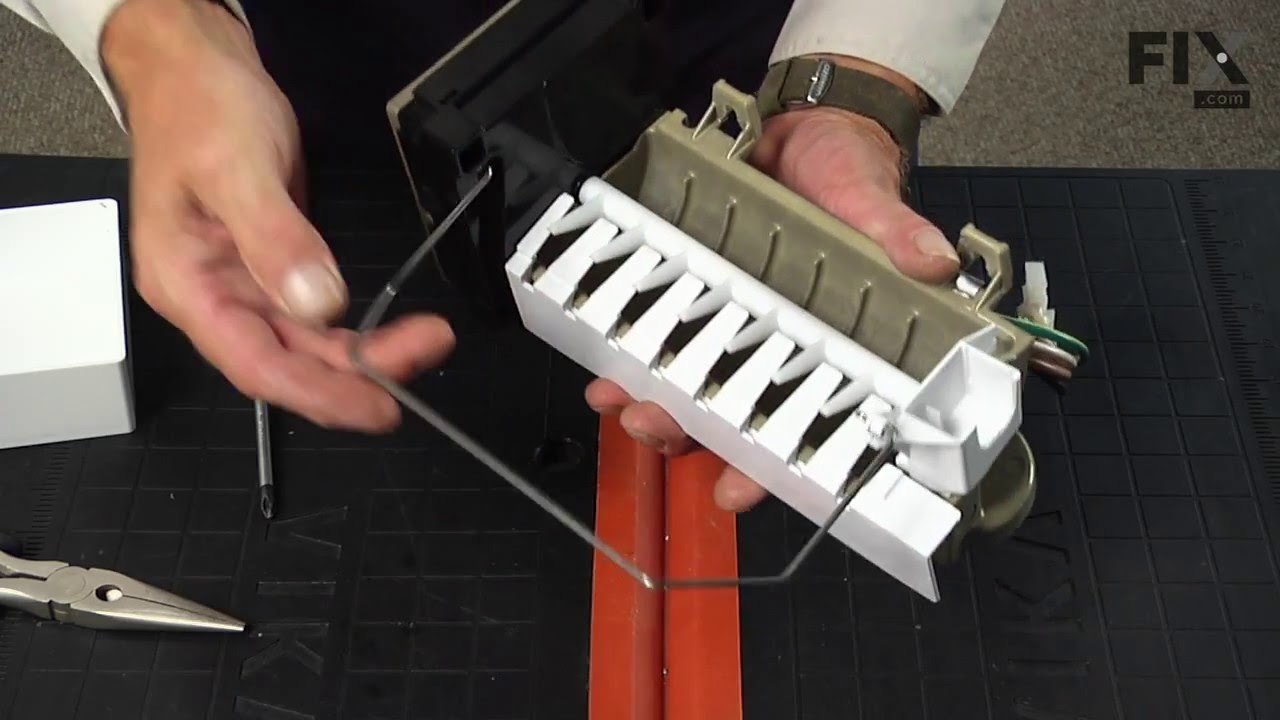
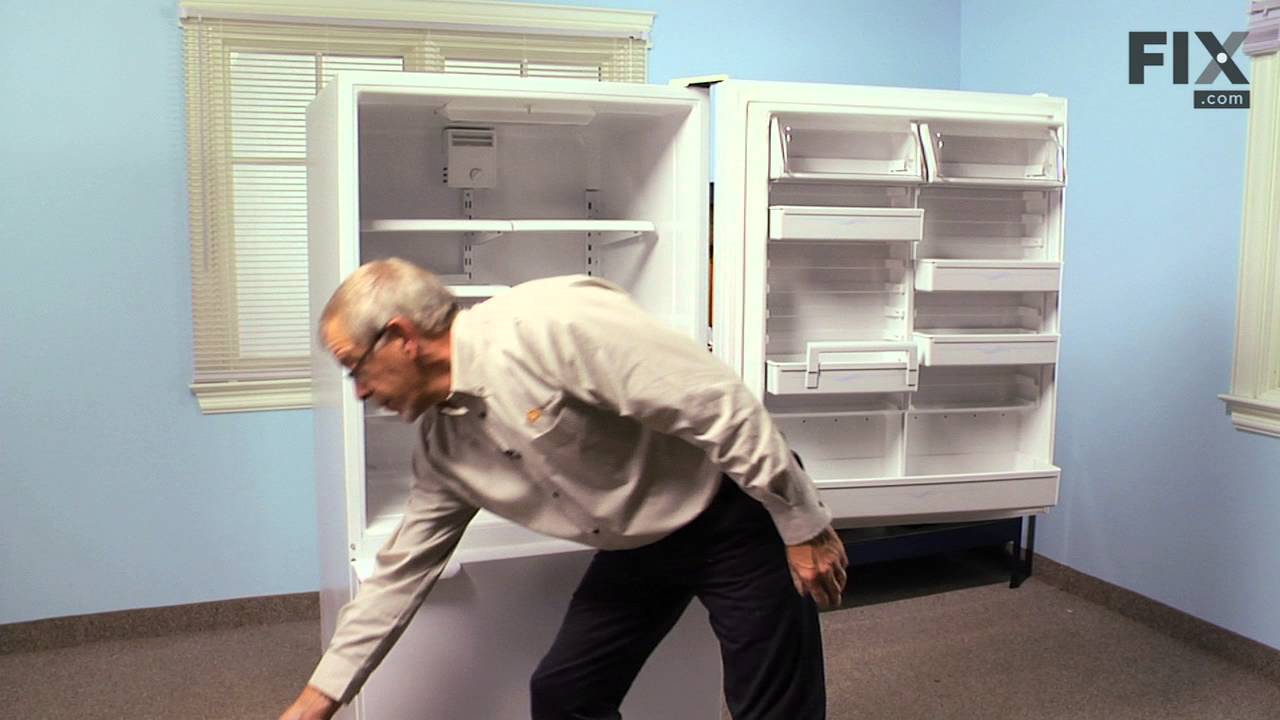
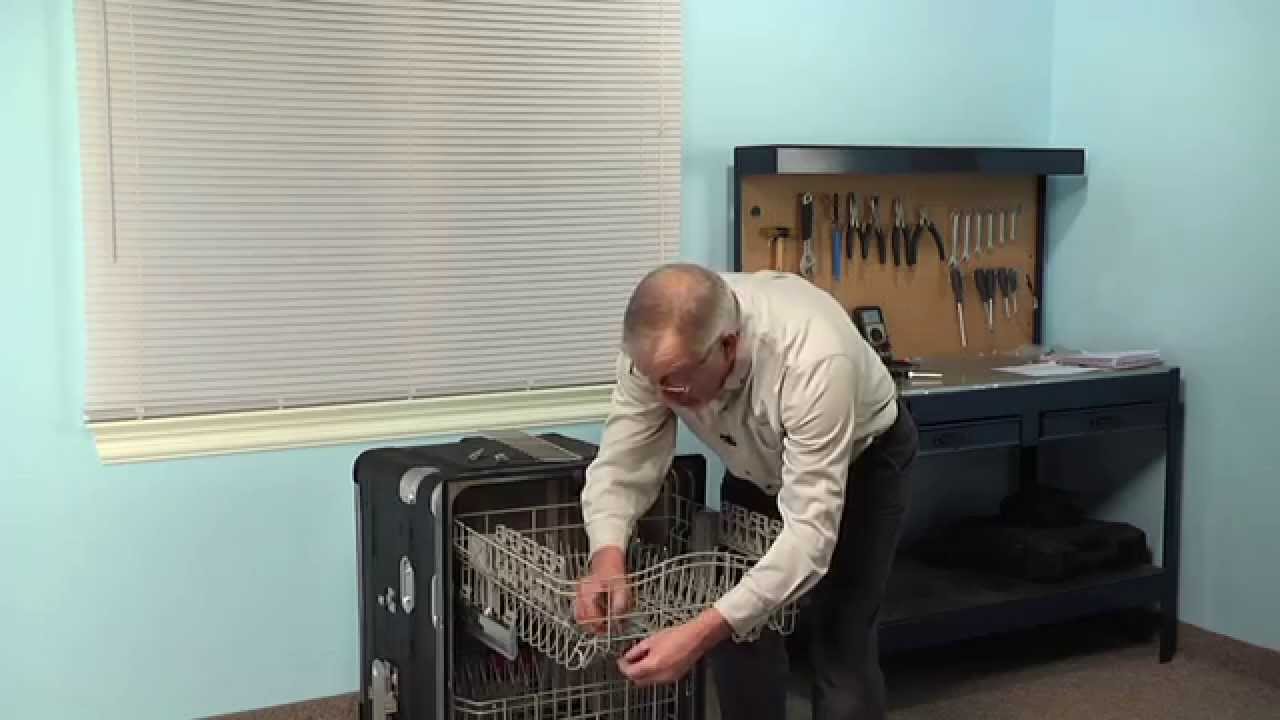
See how others fixed this model. Time, tools, difficulty, and steps that lead to victory!
View More
Search repair tips from other customers using simple keywords like "replace", "fit", "remove", "inspect". DIY doesn't mean you have to do it alone!
Search filter:
Clear Filter
Your search term must have 3 or more characters.
Leak at fill tube
59 of 75 people
found this instruction helpful.
Removed two screws that held cover plate. remove cover plate. Remove water hose, and clamp, by compressing clamp with pliers. Remove fill tube by pulling HARD, from back.
Replace fill tube, check to be sure that it entered ice maker properly. Replace hose and clamp.
Replace cover and screws.
Replace fill tube, check to be sure that it entered ice maker properly. Replace hose and clamp.
Replace cover and screws.
Other Parts Used:


Was this helpful?
Thank you for voting!