



 My Orders




TS518SW (P1183701W) Amana Refrigerator - Overview
Diagrams for TS518SW
See every part. Know exactly what you need.


Enter a part description. DIY Heroes keep it simple, eg. "belt" or "pump".
Search filter:
Clear Filter
Your search term must have 3 or more characters.

$30.53
In Stock

$21.45
In Stock
Screw
Part #W11233072
This is a multi-use and multi-appliance screw. It can be used on a microwave, refrigerator, range/oven, air conditioner, dehumidifier, washer, or dryer. The measurements of this screw are 8 x 1/2 inch. It has 6 threads. Refer to the manual provided by the manufacturer for further information on repair and accurate guidance. Remember to wear work gloves as a safety precaution.

$7.47
In Stock

No Longer Available
Door Handle
Part #10253510Q
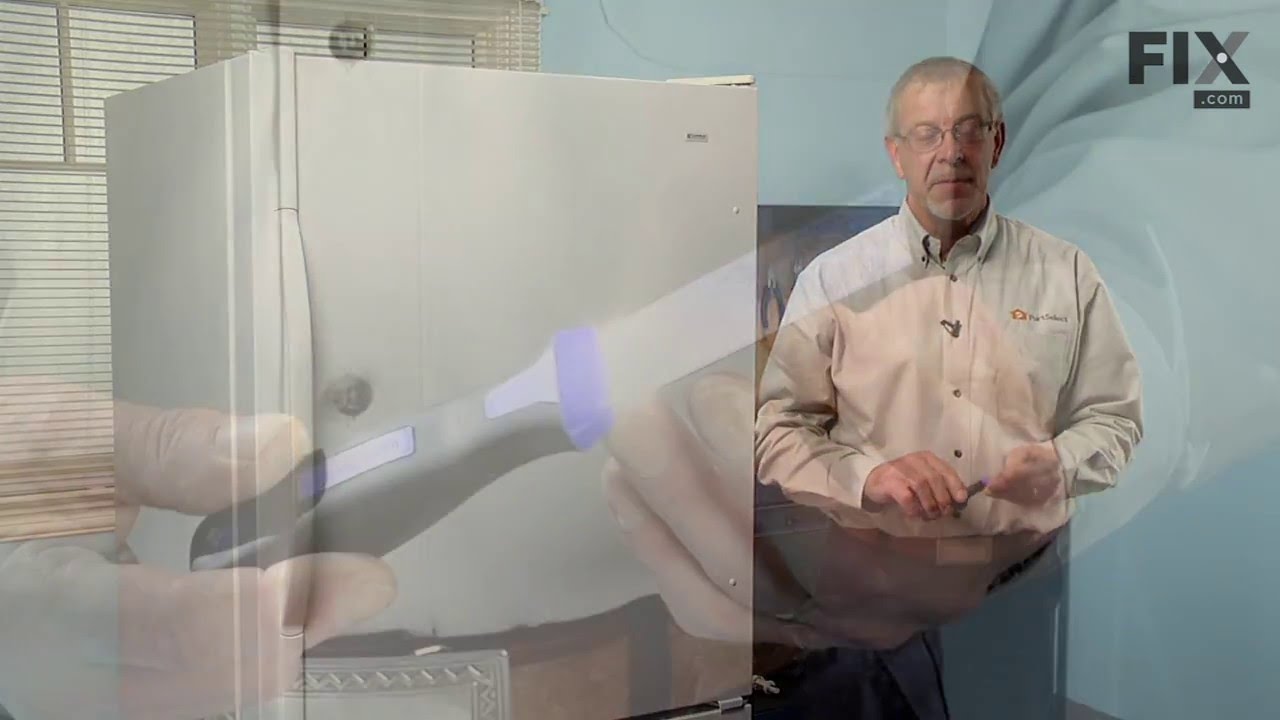
If the hinges are on the left side of your refrigerator, then this white handle becomes the freezer door handle. Made mostly of plastic, this handle has a strip of metal up one side for decoration.

$31.58
In Stock

$7.47
In Stock

$160.25
In Stock
Refrigerator Door Gasket
Part #WP12550109Q
This fresh food door gasket is white and made of rubber. It measures approximately twenty-eight and a half inches wide by forty inches long.

$9.62
In Stock
Refrigerator Single Roller
Part #WP10450603
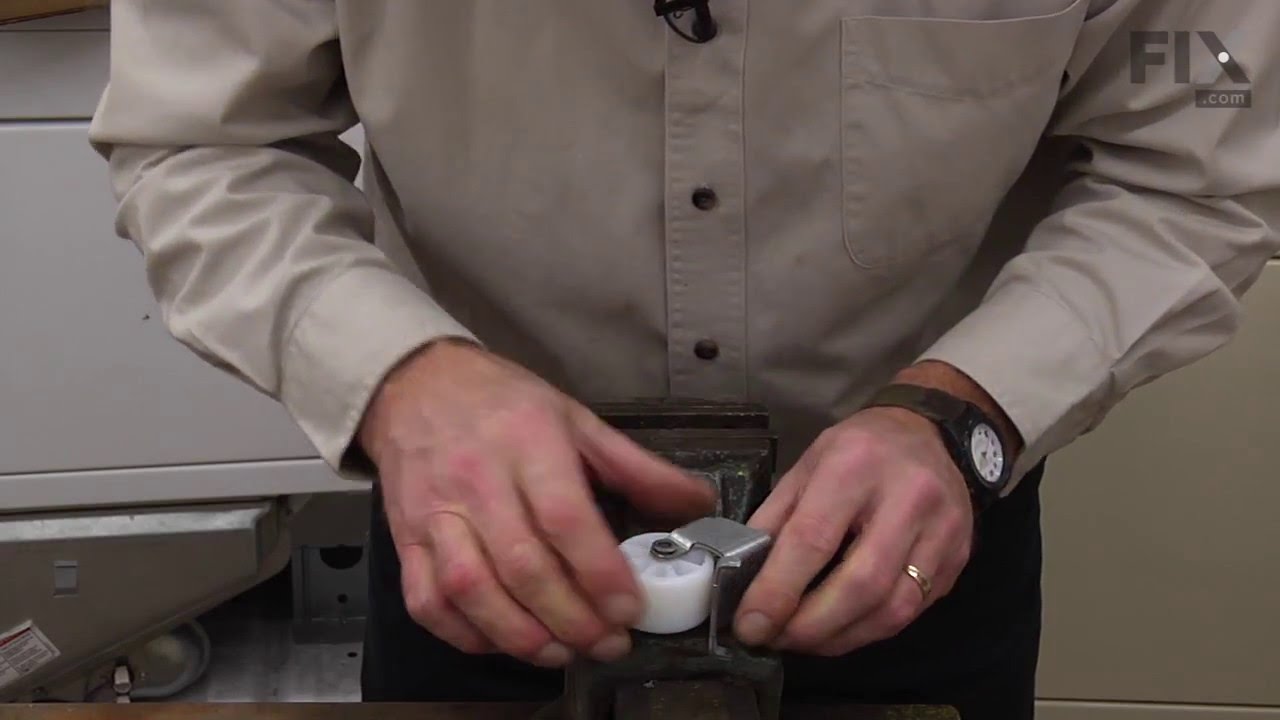
This wheel is sold individually. It is located on the bottom of the refrigerator.

No Longer Available
Refrigerator Kick Plate Retaining Clip
Part #WP10551502
This kick plate retaining clip is sold individually and is made entirely of metal. If you are needing the kick plate as well, remember to check with your model number as these clips may already be included.

No Longer Available
Refrigerator Door Handle
Part #WP10253523Q
This almond refrigerator door handle is just over eighteen inches long. ***Please Note*** If the hinges are on the left side of your refrigerator, then this handle becomes the freezer door handle. Made mostly of plastic, but also of a little metal, this handle has a strip of metal up one side for decoration.

$40.65
In Stock
Refrigerator Tray
Part #WP841180A
This fourteen cube ice cube tray is eleven inches long. It is all white in color and is made entirely of plastic.

$7.47
In Stock
Common Symptoms of the TS518SW
How this model fails, and the parts that fix it.
Light not working
Fixed by
these parts
these parts

Show All
Door Sweating
Fixed by
these parts
these parts


Show All
Noisy
Fixed by
these parts
these parts


Show All
Door won’t open or close
Fixed by
these parts
these parts


Show All
Door latch failure
Fixed by
these parts
these parts

Show All
Fridge runs too long
Fixed by
these parts
these parts
Show All
Fridge too warm
Fixed by
these parts
these parts
Show All
Leaking
Fixed by
these parts
these parts
Show All
Watch our pros, then fix it yourself.
See how others fixed this model. Time, tools, difficulty, and steps that lead to victory!
View More