



 My Orders




TRI-17E Amana Refrigerator - Overview
Diagrams for TRI-17E
See every part. Know exactly what you need.


Enter a part description. DIY Heroes keep it simple, eg. "belt" or "pump".
Search filter:
Clear Filter
Your search term must have 3 or more characters.

$65.73
In Stock
Refrigerator Condenser Fan Motor Kit
Part #833697
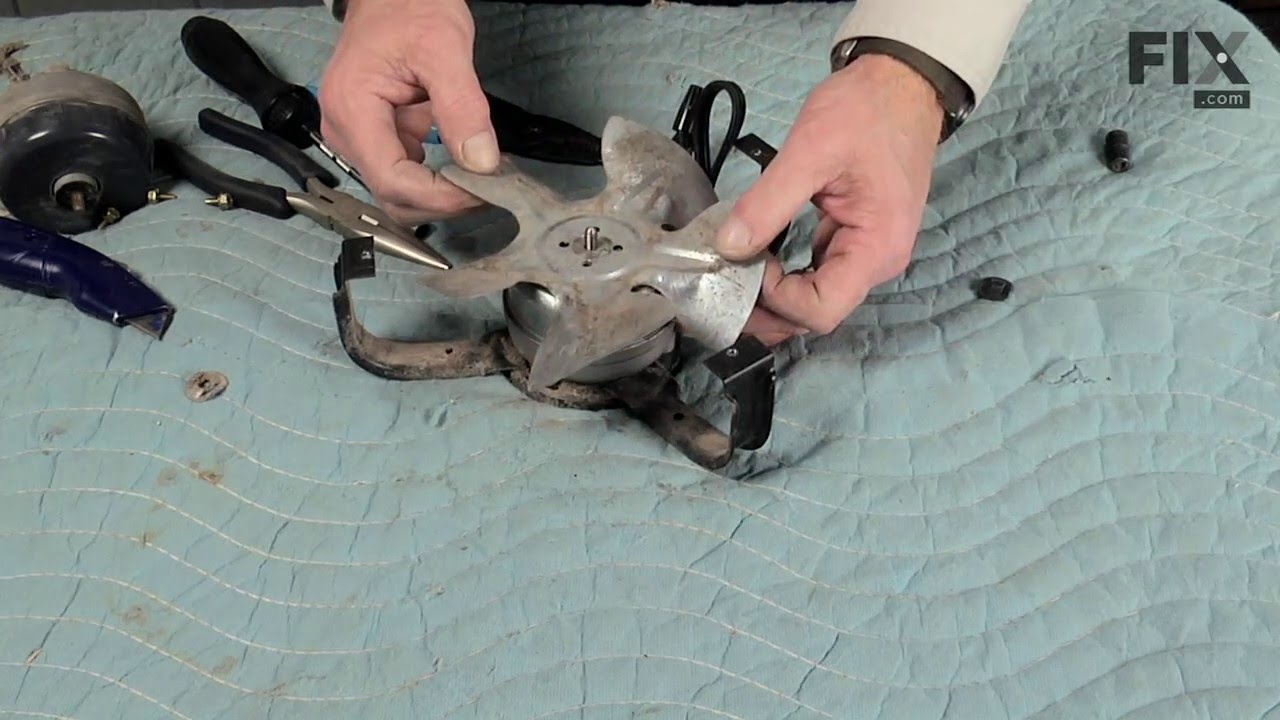
This condenser fan motor kit is designed for use with refrigerators. This fan draws air through the condenser coils and over the compressor. It does this with the goal of cooling the warm refrigerant before it enters the evaporator. When your fan or fan motor is not working your refrigerator will not cool properly. This is a 2-Watt, 115 V...Read moreolt motor that rotates the fan in a counter clockwise direction. This kit includes the hardware needed for installation, and a set of instructions. Before you begin any repair work make sure to unplug your appliance.
Read less

$21.45
In Stock
Screw
Part #W11233072
This is a multi-use and multi-appliance screw. It can be used on a microwave, refrigerator, range/oven, air conditioner, dehumidifier, washer, or dryer. The measurements of this screw are 8 x 1/2 inch. It has 6 threads. Refer to the manual provided by the manufacturer for further information on repair and accurate guidance. Remember to wear work gloves as a safety precaution.

$7.47
In Stock

$47.40
In Stock
Single Outlet Water Valve Kit
Part #4318047
This part is a solenoid-operated switch located at the bottom of the refrigerator. When the water inlet valve is turned on, water is released from the supply line through the water valve and into the compact icemaker mold. The kit includes the mounting hardware and bracket plastic tubing fittings. The retaining nut must be cut off the pla...Read morestic water line and gently pushed into the new valve. To remove, press down on the ring that the tube slides into. Refer to the installation instructions for further guidance. Please note: the manufacturer has redesigned this part and it can appear different than the original. It has a new quick connection.
Read less

$7.47
In Stock

$7.47
In Stock
Refrigerator Screw
Part #WP98165
This screw is a little under an inch long and is made of metal. It is used with a refrigerator's ice maker assembly. Sold individually.

$7.47
In Stock
Refrigerator Single Hex Head Screw
Part #WP489069
Sold individually. The size of this screw is 1/4" hex head and 10-12 x 1/2".

$7.47
In Stock

$9.62
In Stock

No Longer Available
Butter Dish
Part #67004412A

$21.45
Special Order
Nut
Part #M0282009
This part is sold individually. This nut can be found in various appliances including a dishwasher, air conditioner, washer, dryer, range/cooktop, oven, freezer, range hood, and refrigerator. There is a serrated pattern along the edge of the nut, which helps to avoid loosening while the appliance is in motion. Nuts may corrode or rust ove...Read morer time and will need to be replaced. You will need a wrench to screw the nut into place. This genuine OEM part comes directly from the manufacturer.
Read less

$81.96
In Stock
Filter
Part #WPB2150504
Common Symptoms of the TRI-17E
How this model fails, and the parts that fix it.
Fridge too warm
Fixed by
these parts
these parts

Show All
Freezer section too warm
Fixed by
these parts
these parts
Show All
Noisy
Fixed by
these parts
these parts
Show All
Ice maker not making ice
Fixed by
these parts
these parts

Show All
Fridge runs too long
Fixed by
these parts
these parts
Show All
Fridge and Freezer are too warm
Fixed by
these parts
these parts
Show All
Leaking
Fixed by
these parts
these parts
Show All
Will Not Start
Fixed by
these parts
these parts
Show All
Ice maker won’t dispense ice
Fixed by
these parts
these parts
Show All
Too warm
Fixed by
these parts
these parts
Show All
Watch our pros, then fix it yourself.
See how others fixed this model. Time, tools, difficulty, and steps that lead to victory!
View More