



 My Orders




TPG21BRXDWW General Electric Refrigerator - Overview
Diagrams for TPG21BRXDWW
See every part. Know exactly what you need.


Enter a part description. DIY Heroes keep it simple, eg. "belt" or "pump".
Search filter:
Clear Filter
Your search term must have 3 or more characters.

$33.60
In Stock
Dispenser Door Assembly or Flapper
Part #WR17X11653
This “Dispenser Door Assembly” (Door Recess Assembly, Ice Door Assembly, Dispenser Door, Refrigerator Dispenser Ice Chute Door Kit, Dispenser Door Flap, Ice Chute Door, Flapper) keeps the room air from infiltrating the freezer. Once the lever is pressed, the door flap opens and allows the ice to dispense into your container. If your door...Read more flapper is broken, it could allow outside air to enter the freezer and alter the inside temperature. You may notice frost buildup surrounding the dispenser area. The door flap can disconnect from the dispenser lever, or the tabs that hold it in place may break. Frequent use may distort the sealing face and cause air leaks and frost buildup. This part mounts in the ice dispenser, and measures approximately 3.25 inches in diameter. It is constructed of plastic and rubber, and comes in white/black. This part is sold individually.
Read less

$40.56
In Stock
Plastic Tubing - 5/16 Inch
Part #WR17X2891
This part is the replacement water line for your refrigerator. It is a long plastic tube, which is 5/16 of an inch in diameter. If your refrigerator is leaking, or will not dispense water or ice, you may have a damaged water line. When you replace the water line, you may want to pick up a new water tube union as well. You can use a utilit...Read morey knife to cut the old water line where it is damaged, and use the union to attach the new water line to the old one. This tubing is sold individually and is an OEM part.
Read less

$16.05
In Stock

No Longer Available
Ice Bucket Auger
Part #WR17X4341
When activated, the auger rotates and pushes ice out of the bin through the chute to the user.

No Longer Available
Dispenser Grille
Part #WR17X4153
This white dispenser grill is located at the bottom of the ice/water dispenser.

$16.05
In Stock

$60.30
On Order
ARMATURE KIT
Part #WR62X26536

$15.00
Special Order
1/4 Tubing Nut
Part #WR57X57
This is a quarter tubing nut and is sold individually. The tubing nut works in conjunction with your refrigerator/freezer and is made entirely of plastic. The function of this part is to connect the lines that supply water to your ice maker and water dispenser. The most common reason or needing to replace this part is if fluid is leaking ...Read morefrom the water line to your icemaker or water dispenser. The tools you will need to make this repair include a nut driver, a pair of pliers, and a screwdriver set.
Read less

$16.05
Special Order

$40.02
Special Order
Dispenser Assembly Crank
Part #WR17X3089

No Longer Available
Ice Storage Door
Part #WR17X10275
This is a decorative front cover that is made of plastic that covers the opening to where the icemaker is located and disables contact by the user while the icemaker is engaged.

No Longer Available
Common Symptoms of the TPG21BRXDWW
How this model fails, and the parts that fix it.
Leaking
Fixed by
these parts
these parts


Show All
Door Sweating
Fixed by
these parts
these parts
Show All
Ice maker won’t dispense ice
Fixed by
these parts
these parts

Show All
Not dispensing water
Fixed by
these parts
these parts
Show All
Frost buildup
Fixed by
these parts
these parts
Show All
Door won’t open or close
Fixed by
these parts
these parts
Show All
Freezer section too warm
Fixed by
these parts
these parts
Show All
Freezer not defrosting
Fixed by
these parts
these parts
Show All
Ice maker dispenses too little ice
Fixed by
these parts
these parts
Show All
Ice maker not making ice
Fixed by
these parts
these parts
Show All
Fridge too warm
Fixed by
these parts
these parts
Show All
Ice maker dispenses too much ice
Fixed by
these parts
these parts
Show All
Watch our pros, then fix it yourself.
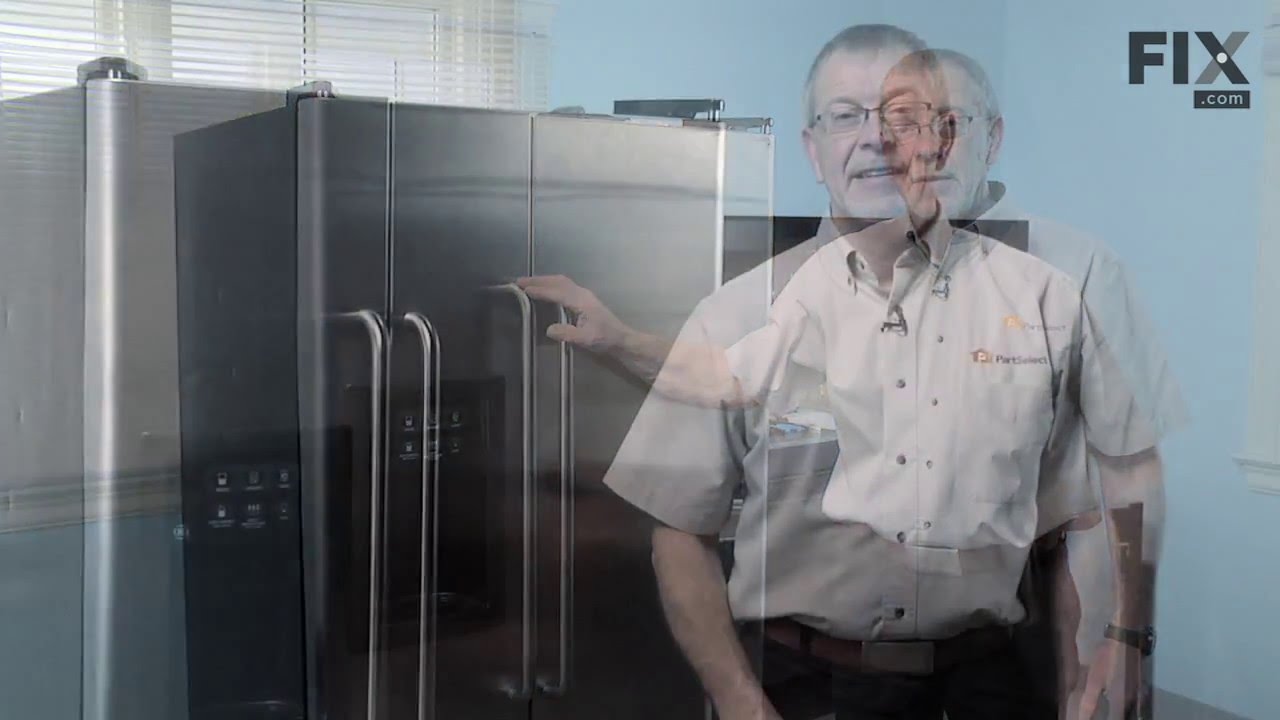
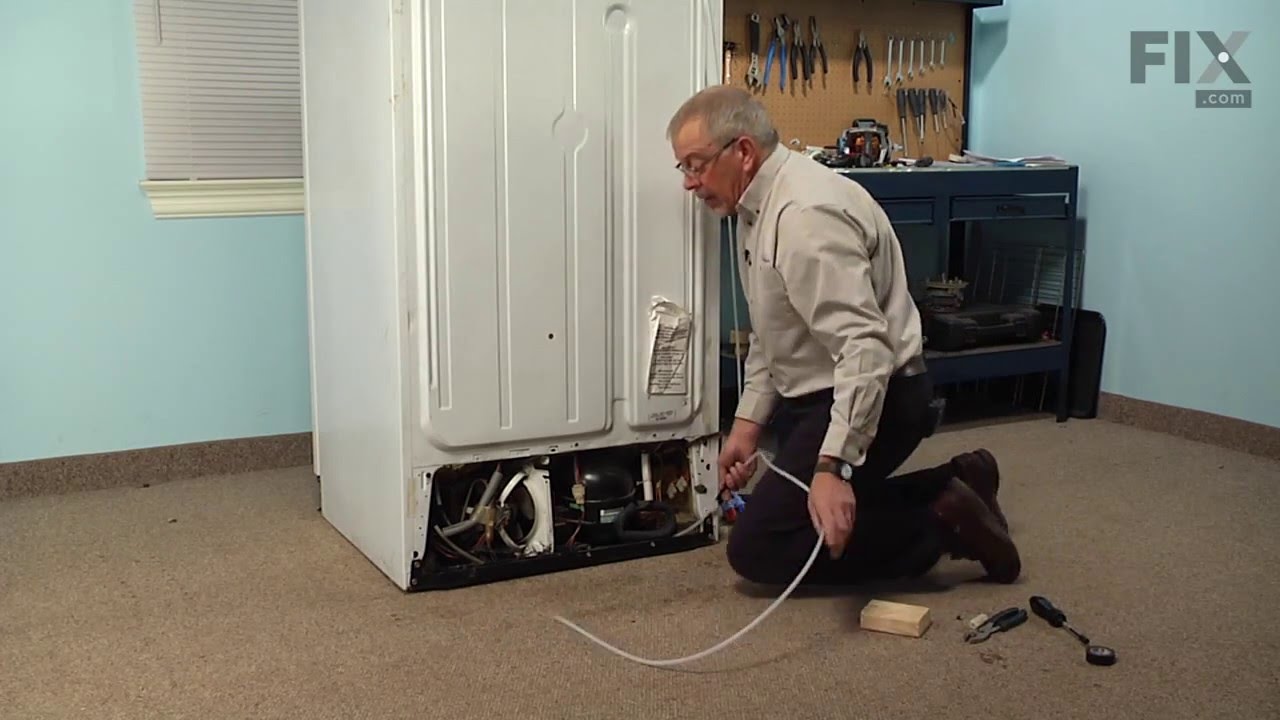
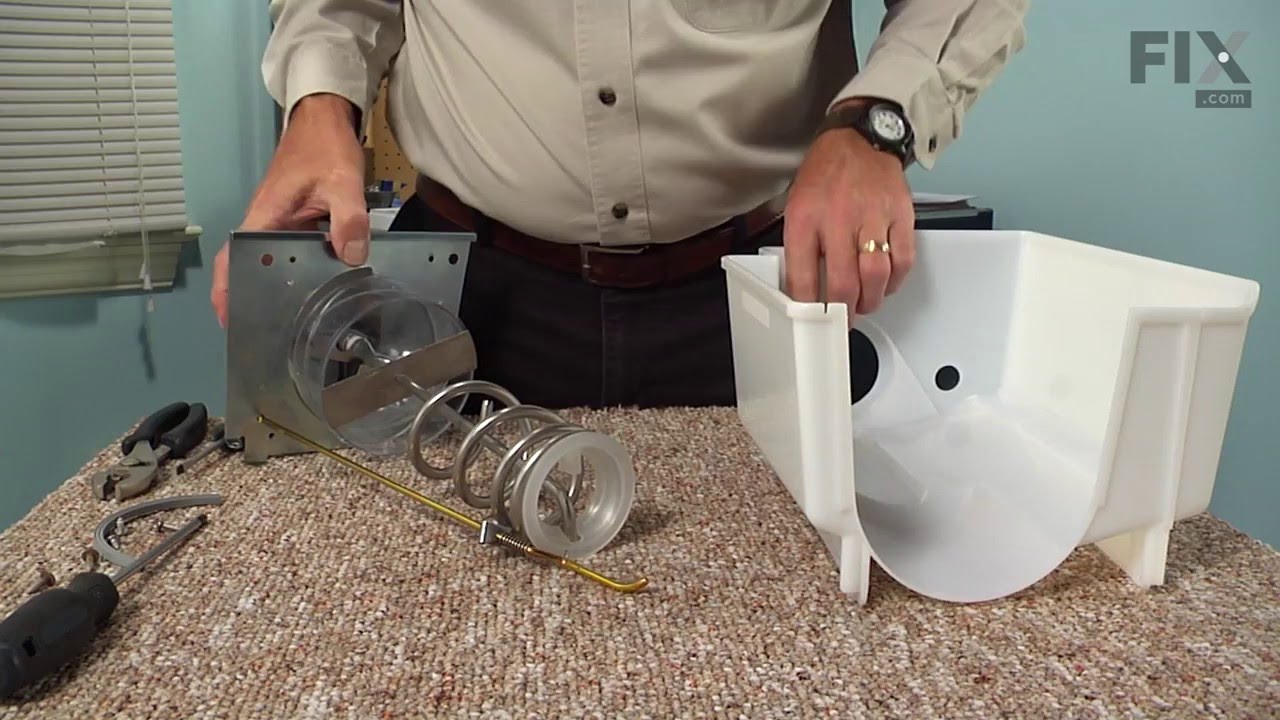
See how others fixed this model. Time, tools, difficulty, and steps that lead to victory!
View More