EasyApplianceParts is now PartSelect! We've merged our sites to provide a better shopping experience for you.   Full Details
✖

Find Parts

Parts Departments

Top Model Types

Top Brands

Repair Help

Expert Repair Videos

Keep typing for more specific results...

TM14F (P7565802W) Amana Refrigerator - Overview

Enter a part description. DIY Heroes keep it simple, eg. "belt" or "pump".

Search filter:
Clear Filter
Your search term must have 3 or more characters.
Refrigerator Door Switch – Part Number: W11384469
$30.53
In Stock
Refrigerator Door Switch
★★★★★
★★★★★
(95)
Part #W11384469
Door switch turns the light off when you close the door.
Screw – Part Number: W11233072
$21.45
In Stock
Screw
★★★★★
★★★★★
(6)
Part #W11233072
This is a multi-use and multi-appliance screw. It can be used on a microwave, refrigerator, range/oven, air conditioner, dehumidifier, washer, or dryer. The measurements of this screw are 8 x 1/2 inch. It has 6 threads. Refer to the manual provided by the manufacturer for further information on repair and accurate guidance. Remember to wear work gloves as a safety precaution.
Dryer Screw – Part Number: WP90767
$7.47
In Stock
Dryer Screw
★★★★★
★★★★★
(2)
Part #WP90767
This screw is sold individually.
Defrost Timer Kit - 120V 60Hz – Part Number: R0131577
$54.24
In Stock
Defrost Timer Kit - 120V 60Hz
★★★★★
★★★★★
(4)
Part #R0131577
The timer will shut off the cooling system of the refrigerator and the defrost heater will turn on.
Refrigerator Tray – Part Number: WP841180A
$40.65
In Stock
Refrigerator Tray
★★★★★
★★★★★
(1)
Part #WP841180A
This fourteen cube ice cube tray is eleven inches long. It is all white in color and is made entirely of plastic.
Refrigerator Screw – Part Number: WP489349
$7.47
In Stock
Refrigerator Screw
★★★★★
★★★★★
(1)
Part #WP489349
This screw is sold individually.
Screw – Part Number: 67006425
$7.47
In Stock
Screw
Part #67006425
This screw is sold individually
Refrigerator Screw – Part Number: WP489464
$9.62
In Stock
Refrigerator Screw
Part #WP489464
Sold individually.
Butter Dish – Part Number: 67004412A
No Longer Available
Butter Dish
Part #67004412A
Refrigerator Screw – Part Number: WP489399
$7.47
In Stock
Refrigerator Screw
Part #WP489399
This screw is sold individually.
Light Socket – Part Number: D7714407
No Longer Available
Light Socket
Part #D7714407
This light socket is two inches long. It is made of plastic and is white in color. It has two metal terminals extending from its base.
Dryer Screw – Part Number: WP3400094
$7.47
In Stock
Dryer Screw
Part #WP3400094
Sold individually. (10-32 X 3/8)

Common Symptoms of the TM14F

How this model fails, and the parts that fix it.

Watch our pros, then fix it yourself.
See how others fixed this model. Time, tools, difficulty, and steps that lead to victory! View More

Search repair tips from other customers using simple keywords like "replace", "fit", "remove", "inspect". DIY doesn't mean you have to do it alone!

Search filter:
Clear Filter
Your search term must have 3 or more characters.
Fridge and freezer didn't cool enough
106 of 117 people found this instruction helpful.
  • Peter from Eden, UT
  • Really Easy
  • Less than 15 mins
  • Socket set
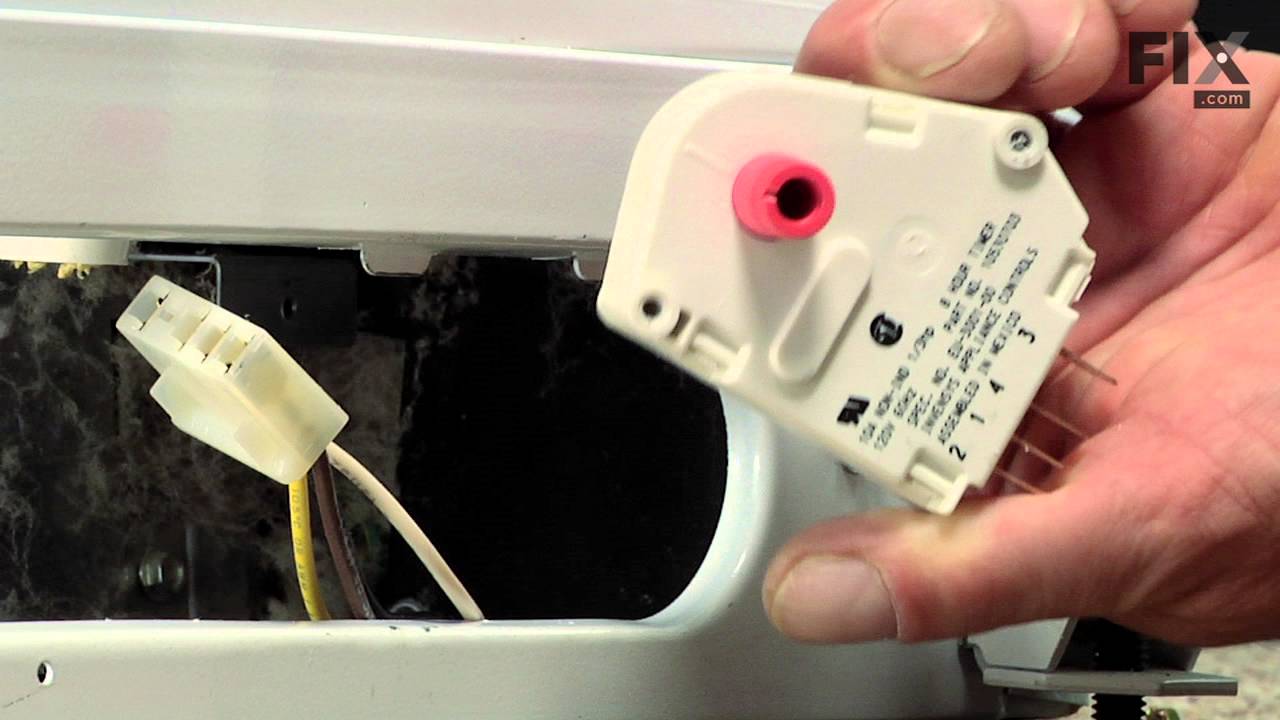
I diagnosed the problem via the internet. Diagrams helped a lot. Coils were frozen over. Thawed them out overnight. Manually advanced timer and the defrost heater was operable. The defrost timer wasn't "turning" on it's own. I turned the fridge back on while I awaited the part. It worked fine for the time I had to wait. (over two weeks since I had delayed ordering the part) New timer arrived as promised. Undid 4 hex head (1/4") screws. Unplugged 4 prong connection. Plugged in new timer and replaced the 4 screws. Frigde works great.
Was this helpful?
Thank you for voting!
Lights inside refrigerator not working
137 of 258 people found this instruction helpful.
  • Clint from Rayville, MO
  • Really Easy
  • Less than 15 mins
  • Screw drivers
I used a flat-head screwdriver to pop out the old light rocker switch. Then, I unplugged the wires, plugged them into the new light rocker switch, and then popped the new switch into the hole. That's it! Lights began working again.
Was this helpful?
Thank you for voting!
Light Switch broke
48 of 78 people found this instruction helpful.
  • James Richard from St. Cloud, MN
  • Easy
  • Less than 15 mins
  • Socket set
An easy job for smaller hands. Removed the two bolts holding the light cover. Removed two electrical connections from the old switch by pinching the retaining clip,removed the switch, snapped in the new one and re-attached the connectors. Your online illustrations helped me to know that the plastic housing for the light switch would only swing down so far and was not intended to be removed. Saved me from breaking that plastic cover's tabs. This home repair saved me more than 5 times the cost of hiring a professional to do it. Very happy homeowner.
Was this helpful?
Thank you for voting!