


 My Orders




TL220BM0 General Electric Washer - Overview

Enter a part description. DIY Heroes keep it simple, eg. "belt" or "pump".
Search filter:
Clear Filter
Your search term must have 3 or more characters.

$44.23
In Stock
Agitator Coupling Kit
Part #WH49X10042
The agitator coupler connects the agitator to the agitator shaft. Common symptoms of a damaged coupler include: a grinding sound during the wash cycle, the washer refusing to agitate or spin, or the washing machine shakes and moves during the wash cycle. Unplug the washer and pull the agitator straight up. Remove the bolt that holds the c...Read moreoupler onto the shaft of the transmission and pull the coupler off. Be sure to clean any dirt, rust, or residue off the transmission spline grooves, and make sure the grooves on the agitator splines are clean and undamaged. We recommend using the gasket and bolt that come with the replacement coupling.
Read less

No Longer Available
CLIP ANTI-SIPHON - WH1X2725
Part #WW01A00014
No Longer Available
BUMPER LID
Part #WW01L00003
No Longer Available
HUB
Part #WG04F03968
No Longer Available
CLAMP
Part #WW01A00002
No Longer Available
SHIFTER HUB
Part #WW02F00796
No Longer Available
12kg Tub Cover. Oly 2000
Part #WW01L00565
No Longer Available
Bumper Hinge
Part #WW01A00011
No Longer Available
Leveling Leg New Design
Part #WW01L01041
No Longer Available
Mechanical Seal 10 Kgs. Olymp
Part #WW01L01054
No Longer Available
Black Filling Hose With Met
Part #WW01L01036
No Longer Available
Capacitor Clamp
Part #228C2009P003
Common Symptoms of the TL220BM0
How this model fails, and the parts that fix it.
Will not agitate
Fixed by
these parts
these parts

Show All
Leaking
Fixed by
these parts
these parts
Show All
Spins slowly
Fixed by
these parts
these parts
Show All
Watch our pros, then fix it yourself.
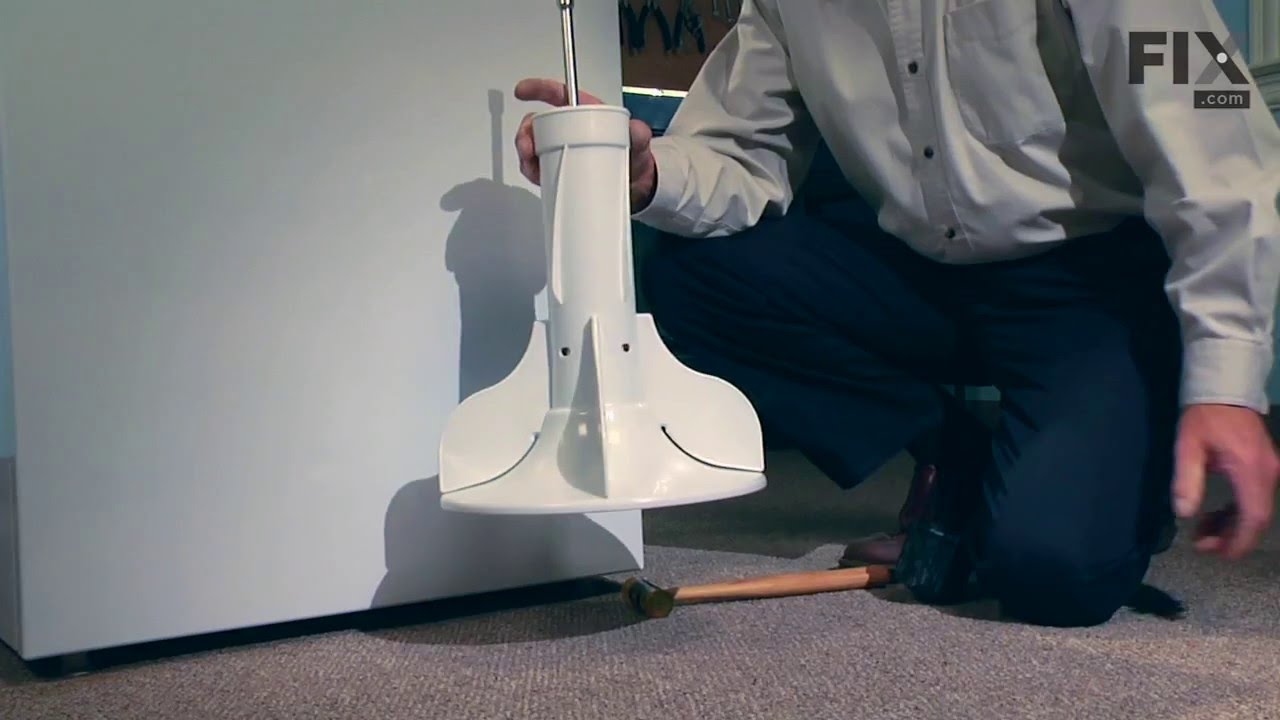
See how others fixed this model. Time, tools, difficulty, and steps that lead to victory!
View More
Search repair tips from other customers using simple keywords like "replace", "fit", "remove", "inspect". DIY doesn't mean you have to do it alone!
Search filter:
Clear Filter
Your search term must have 3 or more characters.
agitator was no turning
34 of 36 people
found this instruction helpful.
Repaired Agitator - required to pull from the bottom pulling on one side a little more then the other. Once you got loose it comes right off. Under neith there is a bolt that holds on agitator coupler. remove the bolt with wrench or socket wrench and then the agaitator coupler. Replace with new agitator coupler ,make sure grooves are alig
... Read more
ned when putting on the rotor. Tap the top of the agitator coupler lightly until it is completely seated. Put the bolt on with wrench or socket wrench. Put the agitator back on over the agitator coupler and agin make sure grooves are alighned and push down until it feels it is seated. When done, give it a light pull to make sure it is secure and then you are done.
Read less
Other Parts Used:

Was this helpful?
Thank you for voting!
Washer agitator not working
30 of 38 people
found this instruction helpful.
First I removed the agitator with a belt. Then I removed the nut with a wrench. The Agitator coupli was smooth on the inside so I knew that was the problem. I got the new part, slid it into place. Tightened the new bolt and replaced the Agitator component with a quick push downwards. Easy!
Other Parts Used:
Was this helpful?
Thank you for voting!