


 My Orders




TFH24JRSAAD General Electric Refrigerator - Overview

Enter a part description. DIY Heroes keep it simple, eg. "belt" or "pump".
Search filter:
Clear Filter
Your search term must have 3 or more characters.

$33.60
In Stock
Dispenser Door Assembly or Flapper
Part #WR17X11653
Warm, moist air stays out of the ice chute when this refrigerator dispenser door flapper closes against the opening. The flap opens during ice dispensing, allowing cubes to pass through, then returns to form a seal when dispensing ends. A cracked, warped, or damaged sealing edge may leave gaps that contribute to frost, condensation, or dr...Read moreipping around the chute. Replacing a damaged flapper helps restore proper closure and reduces air leakage between the freezer and room while the dispenser is idle. This is an OEM part sourced directly from the manufacturer.
Read less

$21.95
In Stock
Light Bulb - 40W
Part #40A15
This 40-Watt light bulb is sold individually.
It is specially designed to withstand extreme temperatures, so this bulb is compatible with a variety of appliance types including refrigerators, ranges, microwaves, and dryers. It features a frosted glass bulb with a standard metal socket base, which allows you to easily unscrew the burnt-out light and twist the new bulb into place.

$40.56
In Stock
Plastic Tubing - 5/16 Inch
Part #WR17X2891
This part is the replacement water line for your refrigerator. It is a long plastic tube, which is 5/16 of an inch in diameter. If your refrigerator is leaking, or will not dispense water or ice, you may have a damaged water line. When you replace the water line, you may want to pick up a new water tube union as well. You can use a utilit...Read morey knife to cut the old water line where it is damaged, and use the union to attach the new water line to the old one. This tubing is sold individually and is an OEM part.
Read less

$302.62
In Stock
Auger and Ice Bucket Assembly
Part #WR17X4312
This auger and bucket assembly is used on 25 cubic feet and 27 cubic feet side by side models.

$106.80
In Stock
Ice Dispenser Solenoid Service Kit
Part #WR62X23154
Choose cubed or crushed ice reliably with this refrigerator ice dispenser solenoid service kit. Its electromagnetic mechanism moves the ice selection linkage, directing cubes through the proper path in the ice bucket. A stuck or failed solenoid may leave the dispenser on one setting or cause buzzing without moving the mechanism. Replacing...Read more a faulty solenoid helps restore proper ice selection. The kit includes the solenoid, armature, and mounting hardware. Unplug the refrigerator before accessing the dispenser mechanism or disconnecting electrical wiring. This is an OEM part sourced directly from the manufacturer.
Read less

$101.22
In Stock

$16.05
In Stock

No Longer Available
Ice Bucket Auger Kit
Part #WR17X2740
This ice bucket auger kit come with an auger and a blade. Please note: As per manufacture the part shown in the picture is no longer available. The updated helix coil is now approximately 5". If you currently have the original part you will need to order the complete auger/bucket assembly.

$135.84
On Order
Defrost Heater with Thermostat
Part #WR51X443
This part assembly has 2 functions: The defrost heater keeps the cooling coils from frosting over and the thermostat senses that the heat near the cooling coils has reached the desired temperature.

$34.93
In Stock
Evaporator Fan Blade Kit
Part #WR60X114
This kit features a 5-blade plastic evaporator fan blade that rotates CCW and measures 4.5-inches in diameter and has a 3/8-inch-tall shaft. This kit also has a metal compression ring that secures the fan to the evaporator. The evaporator mechanism is normally located in the freezer and is responsible for pulling the warmer air over the c...Read moreondenser coils, cooling it off and then blowing and circulating that cooler air through the rest of the refrigerator. If the freezer compartment has a frost buildup or if there is a lack of cooling and airflow in your refrigerator, this fan likely needs to be replaced. To replace your evaporator fan, you will likely need a screwdriver and a set of pliers and check your user manual for the exact location of your evaporator fan.
Read less

$16.05
In Stock

$60.30
On Order
ARMATURE KIT
Part #WR62X26536
This refrigerator ice dispenser armature kit transfers movement from the solenoid to the ice selection mechanism. It shifts the deflector linkage so ice travels through the crusher blades or bypasses them as whole cubes. A bent, broken, or sticking armature may leave the dispenser stuck on one ice type despite changing the setting. Replac...Read moreing a damaged kit helps restore movement between cubed and crushed ice selections. Unplug the refrigerator before accessing the dispenser mechanism, and keep hands clear of moving parts during use. This is an OEM part sourced directly from the manufacturer.
Read less
Common Symptoms of the TFH24JRSAAD
How this model fails, and the parts that fix it.
Leaking
Fixed by
these parts
these parts


Show All
Ice maker won’t dispense ice
Fixed by
these parts
these parts


Show All
Door Sweating
Fixed by
these parts
these parts
Show All
Not dispensing water
Fixed by
these parts
these parts
Show All
Frost buildup
Fixed by
these parts
these parts
Show All
Freezer section too warm
Fixed by
these parts
these parts

Show All
Fridge too warm
Fixed by
these parts
these parts

Show All
Noisy
Fixed by
these parts
these parts
Show All
Freezer not defrosting
Fixed by
these parts
these parts
Show All
Door won’t open or close
Fixed by
these parts
these parts
Show All
Ice maker not making ice
Fixed by
these parts
these parts
Show All
Ice maker dispenses too little ice
Fixed by
these parts
these parts
Show All
Ice maker dispenses too much ice
Fixed by
these parts
these parts
Show All
Watch our pros, then fix it yourself.
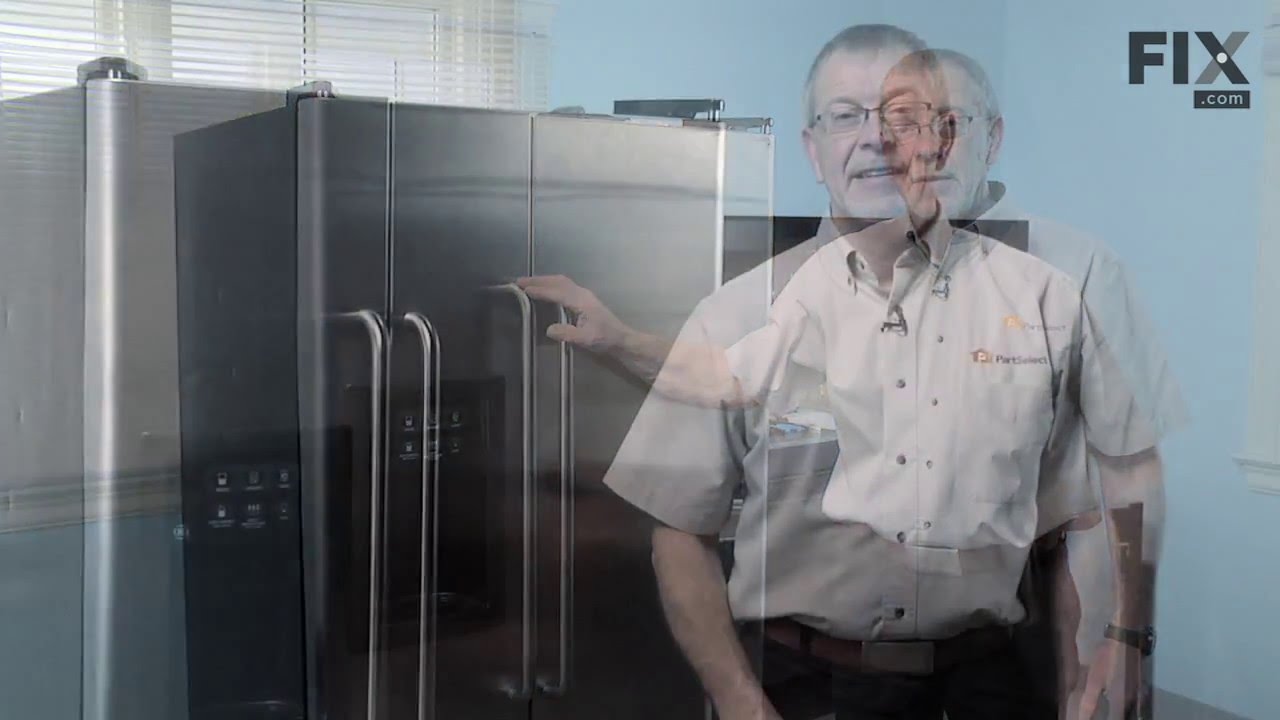

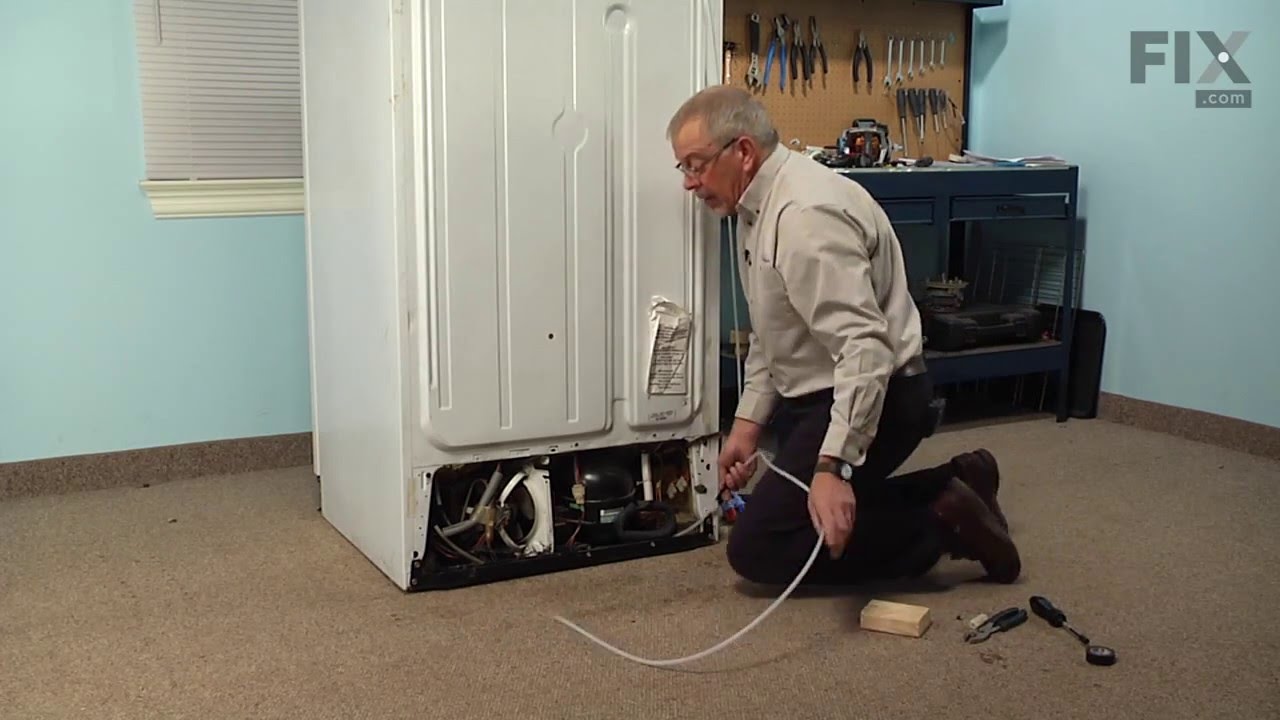
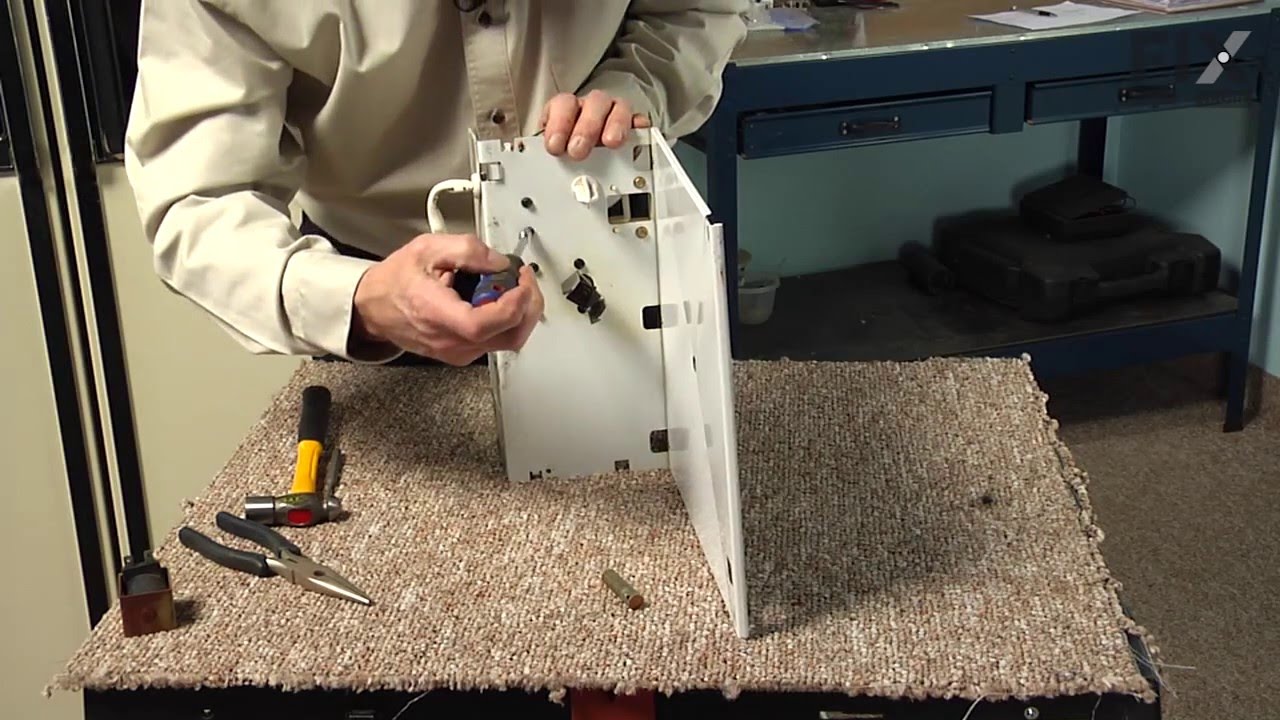
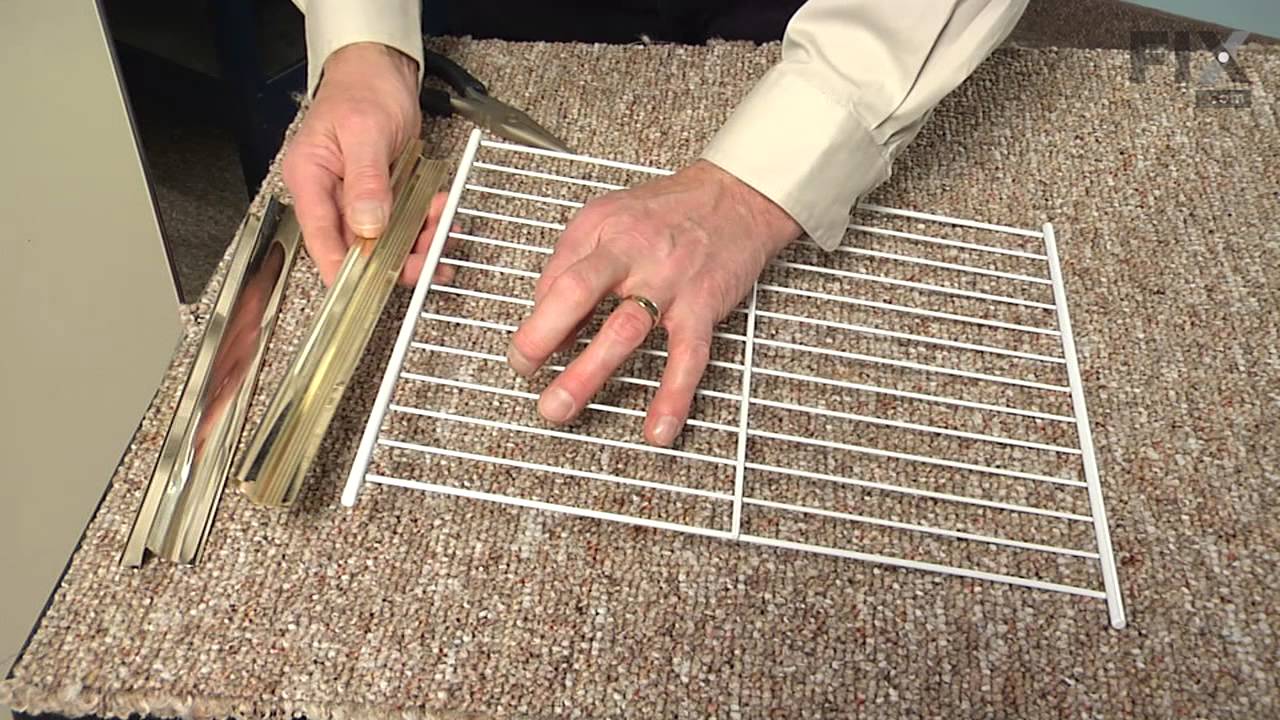
See how others fixed this model. Time, tools, difficulty, and steps that lead to victory!
View More