


 My Orders




TFF24RRD General Electric Refrigerator - Overview

Enter a part description. DIY Heroes keep it simple, eg. "belt" or "pump".
Search filter:
Clear Filter
Your search term must have 3 or more characters.

$55.23
In Stock
Bottom Hinge Assembly
Part #WR13X10020
Comes with both cam risers. This hinge kit is suitable for the bottom of either the freezer door or the refrigerator door of some refrigerators.

$38.32
In Stock
LIGHT SWITCH
Part #WR23X37285
The interior light of your refrigerator is controlled by a switch that is activated when the door is opened and closed. If your refrigerator light will not turn on, there could be an issue with the switch. The switch is spring loaded and is a generally closed type of switch meaning there should be no continuity when the button is depresse...Read mored, and continuity through the switch when the button is not depressed. This plastic, white, OEM switch is sourced directly from the manufacturer, is sold individually and is easy to replace. The repair usually takes less than 15 minutes and requires a flat blade screwdriver and needle nose pliers.
Read less

$34.93
In Stock
Evaporator Fan Blade Kit
Part #WR60X114
This kit features a 5-blade plastic evaporator fan blade that rotates CCW and measures 4.5-inches in diameter and has a 3/8-inch-tall shaft. This kit also has a metal compression ring that secures the fan to the evaporator. The evaporator mechanism is normally located in the freezer and is responsible for pulling the warmer air over the c...Read moreondenser coils, cooling it off and then blowing and circulating that cooler air through the rest of the refrigerator. If the freezer compartment has a frost buildup or if there is a lack of cooling and airflow in your refrigerator, this fan likely needs to be replaced. To replace your evaporator fan, you will likely need a screwdriver and a set of pliers and check your user manual for the exact location of your evaporator fan.
Read less

No Longer Available
EVAPORATOR FAN MOTOR KIT
Part #WR60X30349
This evaporator fan motor operates in a counter clockwise fashion. This motor's shaft is 3/8 of an inch and the motor has two right side terminals. NOTE: Harness wires NO longer come with the part.

$175.96
Special Order
Condenser Fan Motor
Part #WR60X177
This condenser fan motor operates in a clockwise fashion. The fan itself has two 1/4 inch spade terminals. It carries 2 watts and 115 volts. This motor NO longer comes with cover for terminals.

$22.52
In Stock
Defrost Thermostat
Part #WR50X60
This refrigerator defrost thermostat will cut out at 60 degrees Fahrenheit and kick back in when the temperature drops to 40 degrees Fahrenheit. Use it for your GE brand refrigerator.

$48.45
Special Order
Defrost Timer
Part #WR9X480
This refrigerator defrost timer will cycle for twenty-five minutes after every six hours of run time. The timer itself is made of plastic, but its terminals are bent and the leads are external.

No Longer Available
Double Outlet Water Valve
Part #WR57X88
This double outlet valve has a garden hose thread for a tubing adapter, and is intended for use with refrigerators that have icemakers that make round ice cubes.

No Longer Available
Heater and Bracket Kit
Part #WR49X392
This defrost heater kit contains the 2 heaters for some side-by-side refrigerators.

$56.93
In Stock
Evaporator Fan Motor
Part #WR60X162
This evaporator fan motor operates in a counter clockwise fashion. This motor's stack is 3/8 of an inch, and the motor has two terminals: one on the right side, and one on the left side. Use this evaporator fan motor for your GE brand refrigerator.

$63.64
Special Order
Front Wheel
Part #WR2X4858

No Longer Available
Fresh Food Door Gasket
Part #WR24X246
This white door gasket is used to seal the refrigerator door when closed to keep the cool air inside and the room air out.
Common Symptoms of the TFF24RRD
How this model fails, and the parts that fix it.
Light not working
Fixed by
these parts
these parts

Show All
Door won’t open or close
Fixed by
these parts
these parts

Show All
Noisy
Fixed by
these parts
these parts


Show All
Fridge too warm
Fixed by
these parts
these parts

Show All
Door Sweating
Fixed by
these parts
these parts
Show All
Clicking sound
Fixed by
these parts
these parts
Show All
Freezer section too warm
Fixed by
these parts
these parts
Show All
Leaking
Fixed by
these parts
these parts

Show All
Fridge runs too long
Fixed by
these parts
these parts
Show All
Watch our pros, then fix it yourself.
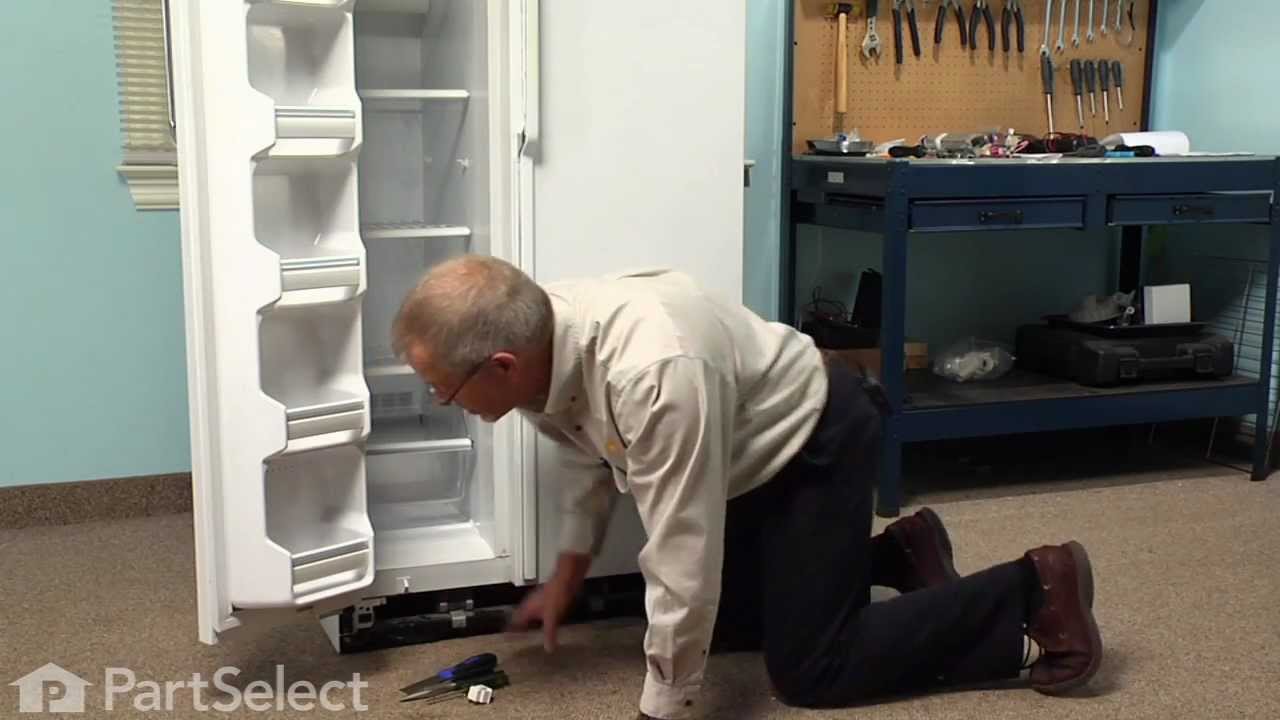
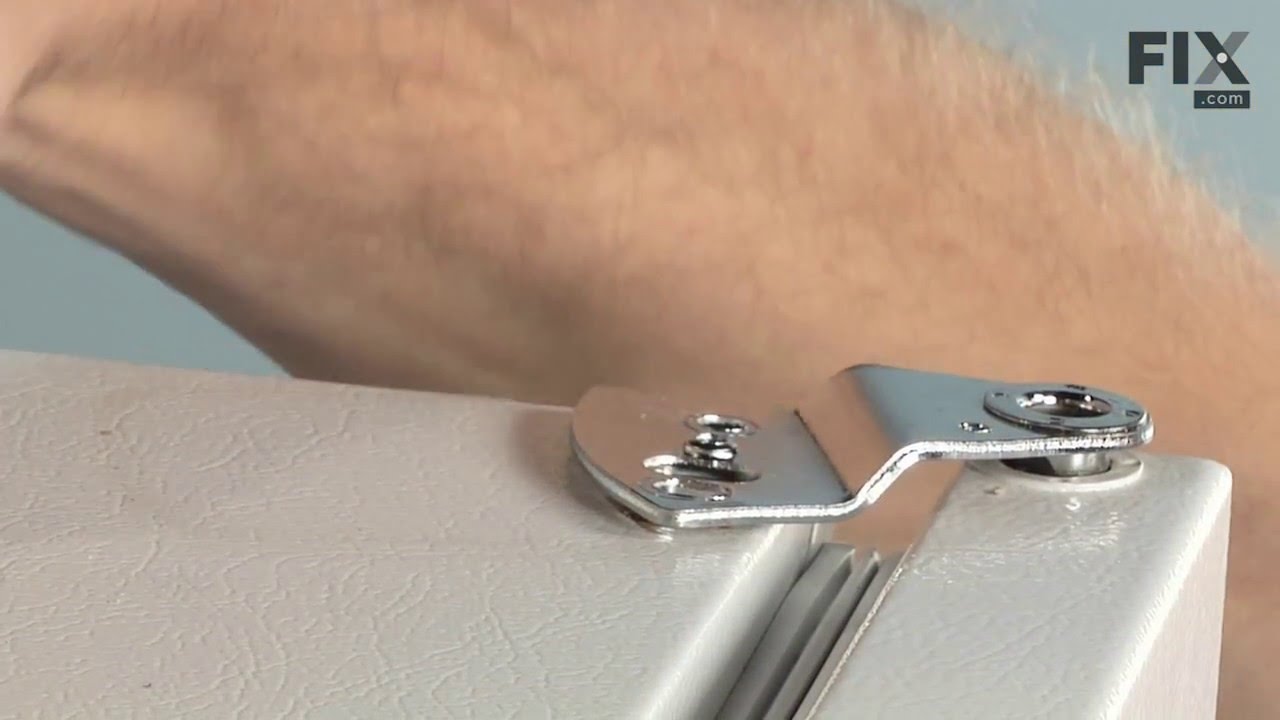

See how others fixed this model. Time, tools, difficulty, and steps that lead to victory!
View More
Search repair tips from other customers using simple keywords like "replace", "fit", "remove", "inspect". DIY doesn't mean you have to do it alone!
Search filter:
Clear Filter
Your search term must have 3 or more characters.
Noisey fan/motor (bad motor bearing ?)
37 of 46 people
found this instruction helpful.
Removed 2 phillips head screws to remove ice maker (could have just loosened them)
Pulled fan off of shaft
Removed 2 phillips head screws on motor bracket , disconnected three motor wires & removed motor.
reversed process to install new motor & fan blade.
Space was a little tight for two hand and arms, but do-able.
Pulled fan off of shaft
Removed 2 phillips head screws on motor bracket , disconnected three motor wires & removed motor.
reversed process to install new motor & fan blade.
Space was a little tight for two hand and arms, but do-able.
Other Parts Used:


Was this helpful?
Thank you for voting!