


 My Orders




TEP315RW2 Estate Range - Overview
Diagrams for TEP315RW2
See every part. Know exactly what you need.


Enter a part description. DIY Heroes keep it simple, eg. "belt" or "pump".
Search filter:
Clear Filter
Your search term must have 3 or more characters.

$15.00
In Stock
Drip Bowl - 6 Inch
Part #W10196406RW
If your element will not heat, there could be an issue with your drip bowl. This chrome drip bowl is 8 inches in diameter, and fits most electric ranges. Before you replace the drip bowl, make sure the element is turned off and cool to the touch. Installation is easy, just remove the element, replace the current drip bowl, and replace the...Read more element. Make sure the small hole on the bowl lines up with the element socket. The manufacturer has substituted this part, it now has a hole in the center, and no longer has a solid bottom. For a step by step guide, click the video below.
Read less

$16.07
In Stock
Drip Bowl - 8 Inch
Part #W10196405RW
This part is located beneath the element and catches any spills.

$52.17
In Stock
Oven Bake Element
Part #WPW10308477
This bake element is located at the bottom of the oven to supply heat and it has push-on terminals. If your baking element is burnt out, the heat is not consistent, or is defective, then replacing the element could be a solution to your appliance problem. The tools needed for this replacement are: a screwdriver and needle-nose pliers. The...Read more first step in is to unplug the range or shut off the house circuit breaker before starting. Unscrew the black of the oven cavity to pull out wires from the defective element. Reconnect wires to the new element and screw it back on. Make sure the element is sitting flat.
Read less

$33.69
In Stock
Range Receptacle Kit
Part #814399
This assembly of parts is a surface burner receptacle kit, and is used in conjunction with your range. The assembly comes with two wires, two wire nuts, two pieces of heat-shrink tubing, and the receptacle. If your element is not heating, you may need to replace your surface burner receptacle. The function of this part is to connect the s...Read moreurface element to the wire harness. The tools you will need for this installment include a number two square-head screwdriver or a number two Phillips screwdriver, a pair of wire strippers and crimpers, and a heat gun.
Read less

$21.45
In Stock
Screw
Part #W11233072
This is a multi-use and multi-appliance screw. It can be used on a microwave, refrigerator, range/oven, air conditioner, dehumidifier, washer, or dryer. The measurements of this screw are 8 x 1/2 inch. It has 6 threads. Refer to the manual provided by the manufacturer for further information on repair and accurate guidance. Remember to wear work gloves as a safety precaution.

$9.62
In Stock
Range Rear Drawer Glide
Part #WP8053334
This OEM replacement rear drawer glide supports the storage drawer on your range, and allows the drawer to open and close with ease. If your storage drawer will not open or close, or catches and sticks when you are trying to move it, there could be an issue with the glides. Check the glides and glide channels for any physical damage, and ...Read moremake sure they are properly fastened to the range walls. To complete this quick and easy repair, you will need a Phillips screw driver. Because the drawer has four glides and each are sold separately, make sure to order the correct amount you require.
Read less

$53.85
Special Order
Range Rack
Part #WPW10256908
This oven rack is a piece for your range. The oven rack is sold individually and is silver in color. The function of this part is to provide a balanced and flat surface for your cookware to sit inside your oven. The measurements of this piece are 24 inches wide and 16 inches deep. When replacing your old oven rack with your new piece, no ...Read moretools are required. Before making this installation, make sure your range is turned off and your oven has cooled down inside.
Read less

No Longer Available
Touch-Up Paint - White
Part #72017
This touch-up paint can be used on a wide variety of household appliances. It is most often used on washers, dryer, refrigerators, dishwashers, ranges, freezers, trash compactors, or microwaves. It is an 18 ml, or.6 fluid ounces, bottle of touch-up paint. It also features a brush for easy application. This quick-drying, long-lasting paint...Read more is perfect for fixing any nicks, scratches, or chips on the exterior of your appliance. This paint is white in color, and provides a durable finish.
Read less

$57.38
In Stock
Infinite Switch - 8 Inch
Part #WP3148953
This infinite control switch is designed to regulate the heat output of an 8-inch surface burner on electric ranges and cooktops. It allows precise control over temperature levels by adjusting the voltage sent to the heating element, ensuring consistent and responsive cooking performance. Compatible with a wide range of models, this compo...Read morenent is a direct replacement for switches that fail to heat or maintain temperature. The switch operates by responding to user input via the control knob, delivering the appropriate voltage to the burner. Installation requires disconnecting the appliance from power and using standard tools. Safety precautions, including wearing protective gloves and consulting model-specific instructions, are recommended.
Read less

$29.47
In Stock

$52.67
In Stock
Infinite Control Switch, 6"
Part #WP3149404
This surface element control switch, also known as an infinite switch, is a genuine OEM replacement designed for 6-inch electric burners on select ranges. It regulates the power supplied to the surface element, allowing precise control over heat levels from low to high. Compatible with models from Whirlpool, KitchenAid, Maytag, Jenn-Air, ...Read moreAmana, and other associated brands, this dual-coil switch is a common solution for issues such as burners that fail to heat, remain stuck on high, or cannot adjust temperature properly. If the burner heats intermittently or not at all, replacing the switch may restore proper function. Always disconnect power or turn off the circuit breaker before installation. Sold individually.
Read less

$49.50
In Stock
2 Piece Broiler Pan
Part #4396923
This broiler pan and roasting rack set is designed to help reduce mess while cooking by allowing grease to drain away from food. Its durable porcelain-coated construction stands up to high temperatures and makes cleanup simple. With approximate dimensions of 16 3/4 inches long, 12 3/4 inches wide, and 1 3/4 inches high, it offers a convenient size for everyday broiling and roasting.
Manuals & Care Guides for TEP315RW2
Click to downloadCommon Symptoms of the TEP315RW2
How this model fails, and the parts that fix it.
Element will not heat
Fixed by
these parts
these parts


Show All
Little to no heat when baking
Fixed by
these parts
these parts

Show All
Door won’t close
Fixed by
these parts
these parts


Show All
Oven not heating evenly
Fixed by
these parts
these parts

Show All
Little to no heat when broiling
Fixed by
these parts
these parts
Show All
Will Not Start
Fixed by
these parts
these parts


Show All
Oven is too hot
Fixed by
these parts
these parts
Show All
Watch our pros, then fix it yourself.
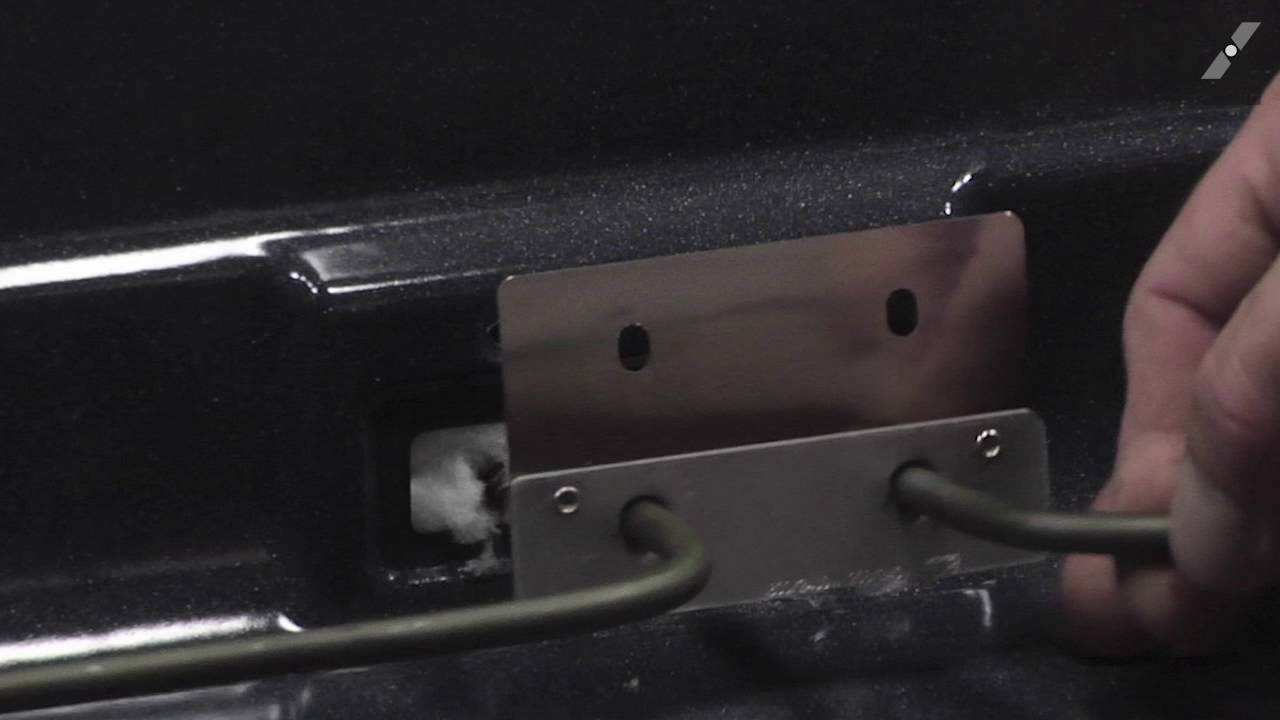
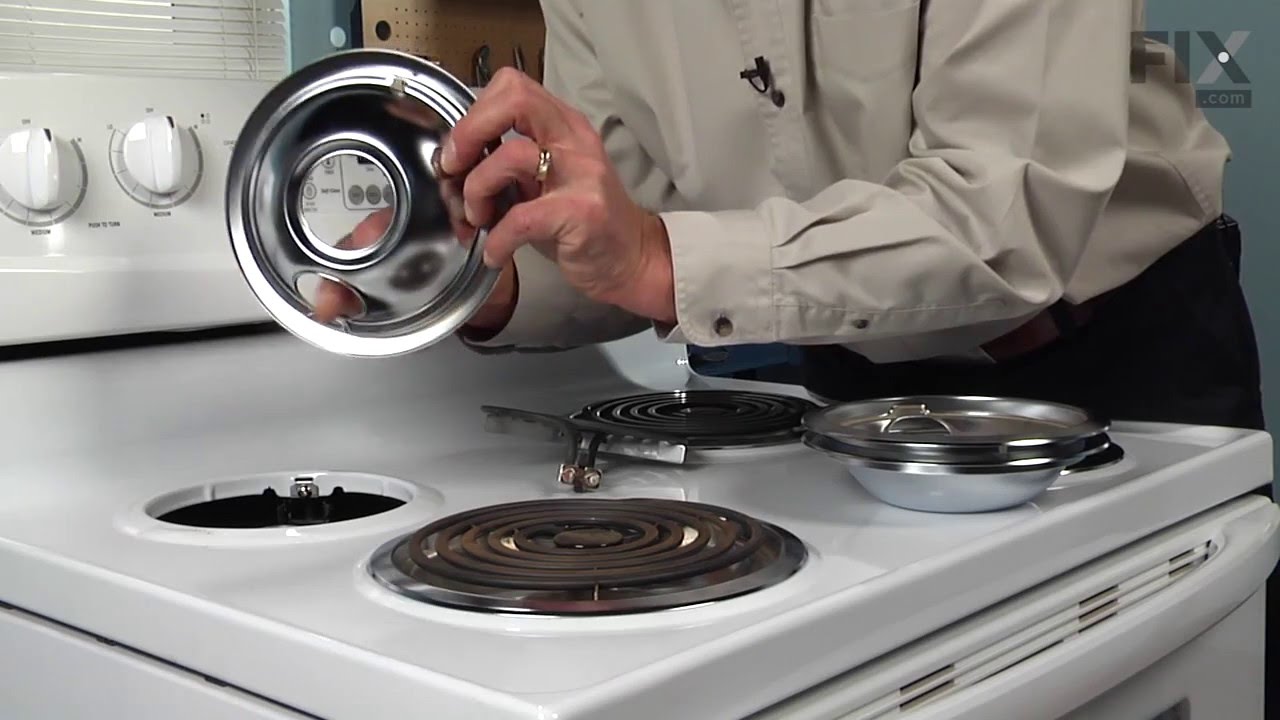
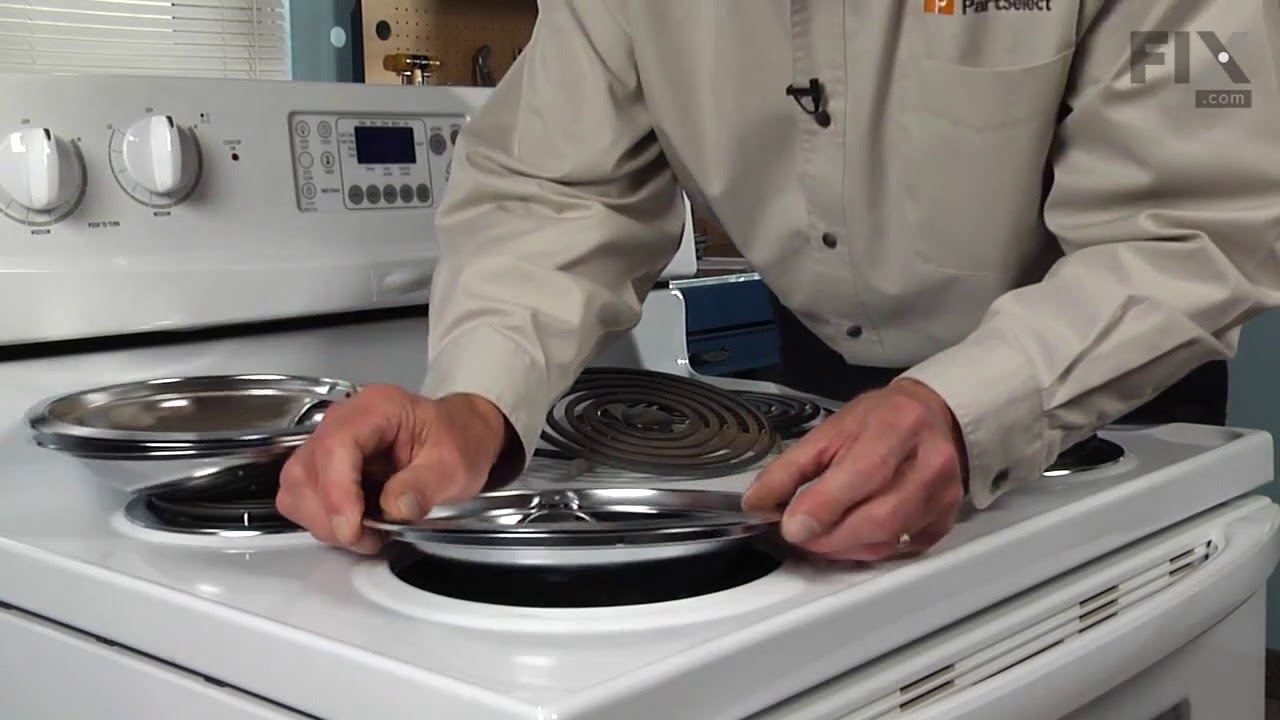

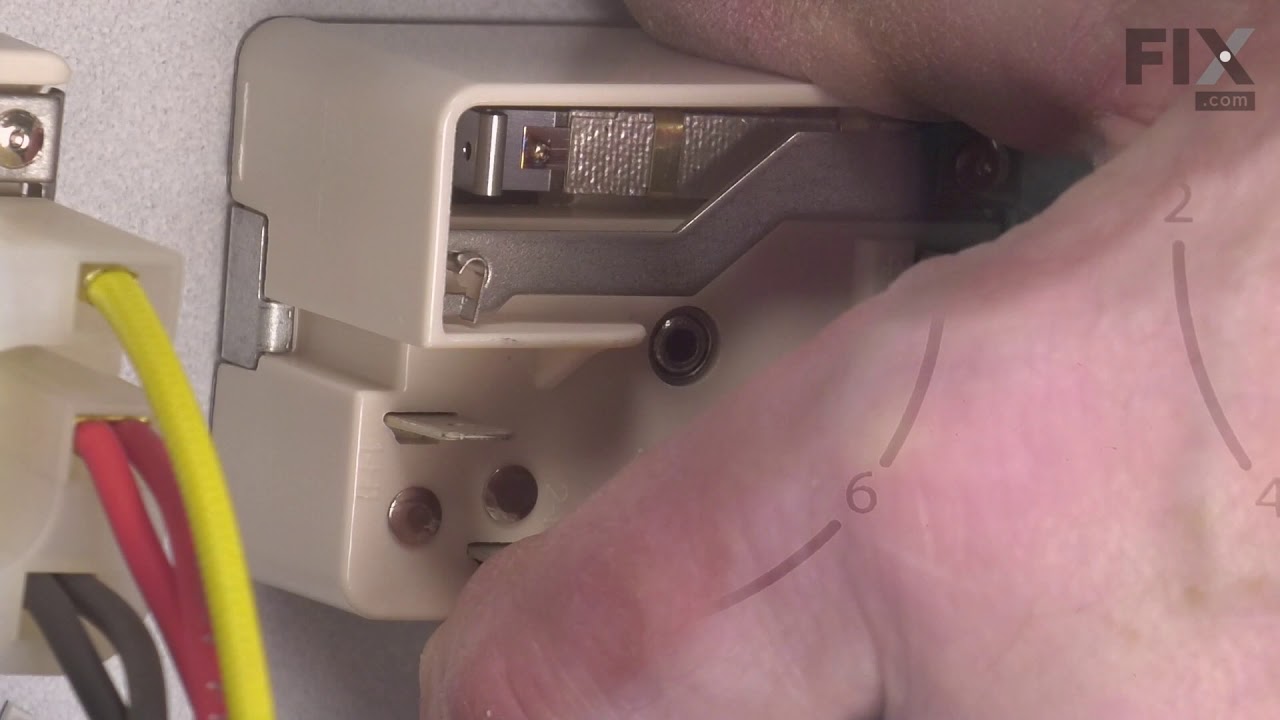
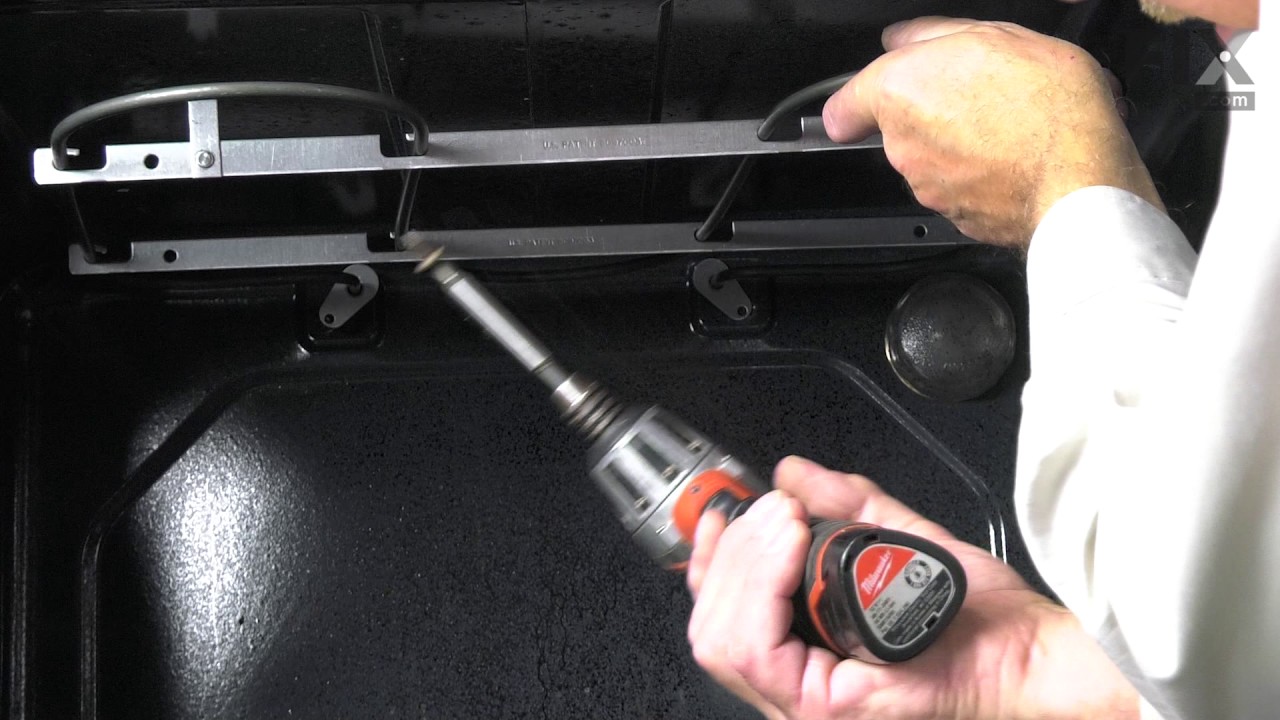

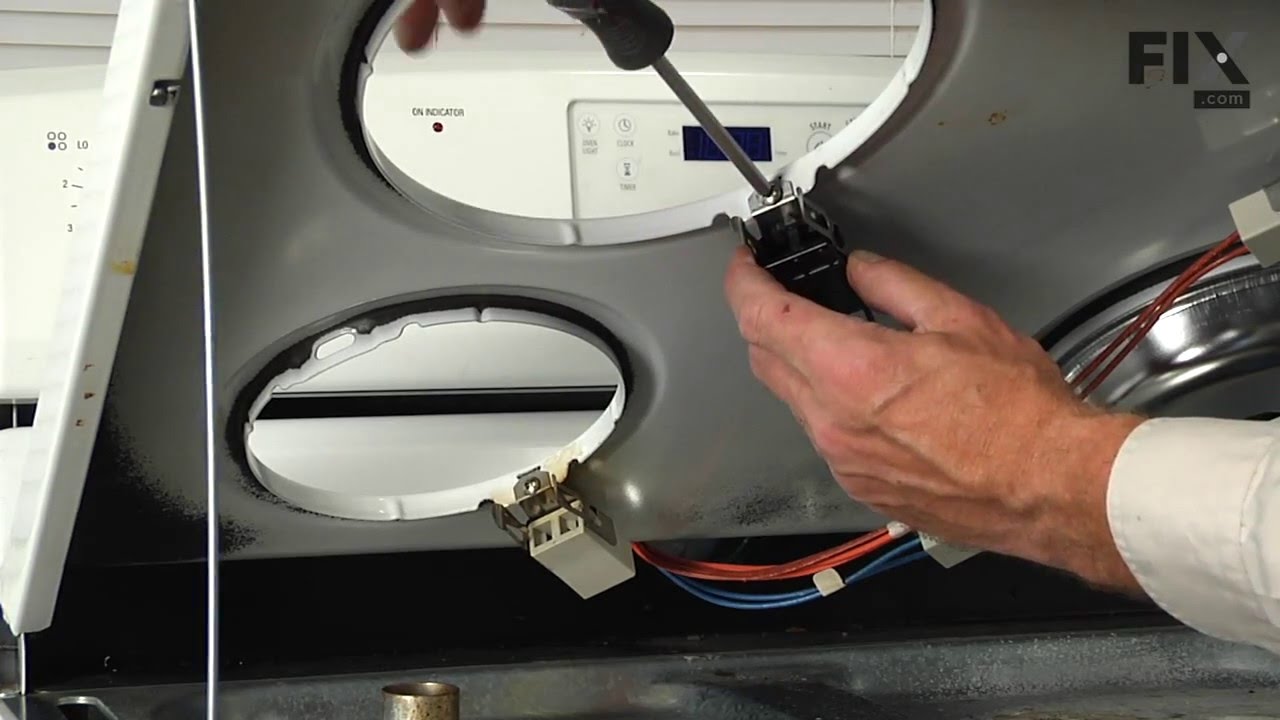
See how others fixed this model. Time, tools, difficulty, and steps that lead to victory!
View More
Search repair tips from other customers using simple keywords like "replace", "fit", "remove", "inspect". DIY doesn't mean you have to do it alone!
Search filter:
Clear Filter
Your search term must have 3 or more characters.
Drip bowls were rusty and rotting through
491 of 504 people
found this instruction helpful.
I simply removed the elements and replaced the drip bowls with new ones. Put the elements back in and my stove looks %1000 better!
Other Parts Used:


Was this helpful?
Thank you for voting!
Just Replaced Ole Drip Bowls.
379 of 395 people
found this instruction helpful.
Unplugged burners. . . . . Removed old bowls and replaced with new. . . . . . Plugged burners back in. However, I do want you to know that I could not believe the promptness of your service and the courteous customer service person that assisted me with my problem in selecting the correct drip bowls. You are definitely a unique compan
... Read more
y!!!!
Read less
Other Parts Used:
Was this helpful?
Thank you for voting!