


 My Orders




TEP200VAQ0 Estate Range - Overview
Diagrams for TEP200VAQ0
See every part. Know exactly what you need.


Enter a part description. DIY Heroes keep it simple, eg. "belt" or "pump".
Search filter:
Clear Filter
Your search term must have 3 or more characters.

$10.95
In Stock
Chrome Drip Bowl - 8 inch
Part #WPW10196405
This manufacturer-certified drip bowl is also known as a drip pan, and it is designed for use with cooktops and ranges. It sits below 8-inch burner elements and catches drips and spills from the cookware on the burner. The diameter of the drip bowl is approximately 10 inches. This replacement might appear slightly different, but it will f...Read moreit your appliance.
You will need no tools to complete this repair. Simply remove the burner element, remove the old bowl, line up the hole on the new bowl with the terminal block and drop it into place. Make sure the bowl is flat before reinstalling the element. While you have the element out you should inspect the terminals for corrosion, damage, or discolouration. If you notice any of those things you should also replace the element and terminal block. You will need to replace your drip bowl if it is lost, damaged, or can no longer be cleaned. This replacement part is sold individually. To extend the life of your new drip bowl we recommend you clean it regularly with soap and water. We recommend only using the recommended drip bowl for your appliance; generic versions will not fit properly which could affect the performance of your elements and cause long-term damage.
Read less

$15.00
In Stock
Drip Bowl - 6 Inch
Part #W10196406RW
If your element will not heat, there could be an issue with your drip bowl. This chrome drip bowl is 8 inches in diameter, and fits most electric ranges. Before you replace the drip bowl, make sure the element is turned off and cool to the touch. Installation is easy, just remove the element, replace the current drip bowl, and replace the...Read more element. Make sure the small hole on the bowl lines up with the element socket. The manufacturer has substituted this part, it now has a hole in the center, and no longer has a solid bottom. For a step by step guide, click the video below.
Read less

$33.69
In Stock
Range Receptacle Kit
Part #814399
This assembly of parts is a surface burner receptacle kit, and is used in conjunction with your range. The assembly comes with two wires, two wire nuts, two pieces of heat-shrink tubing, and the receptacle. If your element is not heating, you may need to replace your surface burner receptacle. The function of this part is to connect the s...Read moreurface element to the wire harness. The tools you will need for this installment include a number two square-head screwdriver or a number two Phillips screwdriver, a pair of wire strippers and crimpers, and a heat gun.
Read less

$21.45
In Stock
Screw
Part #W11233072
This is a multi-use and multi-appliance screw. It can be used on a microwave, refrigerator, range/oven, air conditioner, dehumidifier, washer, or dryer. The measurements of this screw are 8 x 1/2 inch. It has 6 threads. Refer to the manual provided by the manufacturer for further information on repair and accurate guidance. Remember to wear work gloves as a safety precaution.

No Longer Available
Touch-Up Paint - White
Part #72017
This touch-up paint can be used on a wide variety of household appliances. It is most often used on washers, dryer, refrigerators, dishwashers, ranges, freezers, trash compactors, or microwaves. It is an 18 ml, or.6 fluid ounces, bottle of touch-up paint. It also features a brush for easy application. This quick-drying, long-lasting paint...Read more is perfect for fixing any nicks, scratches, or chips on the exterior of your appliance. This paint is white in color, and provides a durable finish.
Read less

$77.22
In Stock
Surface Burner Element - 8 Inch
Part #WP9761346
This plug-in surface burner element has looped terminal ends.

$9.62
In Stock

No Longer Available
Spray Paint - 12 oz. - White
Part #350930
Appliance spray paint is a great way to cover up any chips and scratches that have appeared on your appliances. Instead of replacing the part entirely, this is an easy fix. This is also a great way to give a fresh new look to any handles or areas that have discoloring due to wear. Make sure to clean the area before you begin and wear a pr...Read moreotective mask for safety. Give the can a good shake and spray a few inches away from the surface. Apply the paint until the area is fully covered as desired. Wait until the paint has dried before using the appliance.
Read less

$80.79
In Stock
Surface Element 1250W - 6 Inch
Part #WPW10345407
This 6-inch electric coil surface element is designed to deliver consistent heat for cooking on compatible electric ranges. Featuring a 1250-watt heating capacity and looped, plug-in style terminal ends, it connects directly to the cooktop’s power source to activate the heating area. Constructed for durability and efficient performance, t...Read morehis coil element is an ideal replacement for units that no longer heat or show signs of damage. Installation is quick and tool-free—simply unplug the old element and insert the new one into the terminal block.
Read less

$50.56
In Stock
Range Insulation
Part #WPW10208653
This insulation is also known as oven wrap insulation, and is used in conjunction with your range. Its purpose is to be installed in between the oven and the cabinets that surround it. This will help prevent the heat from escaping while cooking and essentially keep it locked inside the oven. The most common reason for needing to replace t...Read morehe insulation in your oven is that it becomes a comfy place for vermin to nest. Before making this installation, it would be best to disconnect the electrical power to your appliance, and to make sure that your range is cool to the touch.
Read less

$7.47
In Stock

$9.62
In Stock
Manuals & Care Guides for TEP200VAQ0
Click to downloadInstall
Installation Instructions
(2.06MB)
Install
Installation Instructions
(2.78MB)
Manual
Owner's Manuals
(0.66MB)
Manual
Owner's Manuals
(3.02MB)
Specs
Product Specifications Sheet
(0.19MB)
Common Symptoms of the TEP200VAQ0
How this model fails, and the parts that fix it.


Watch our pros, then fix it yourself.
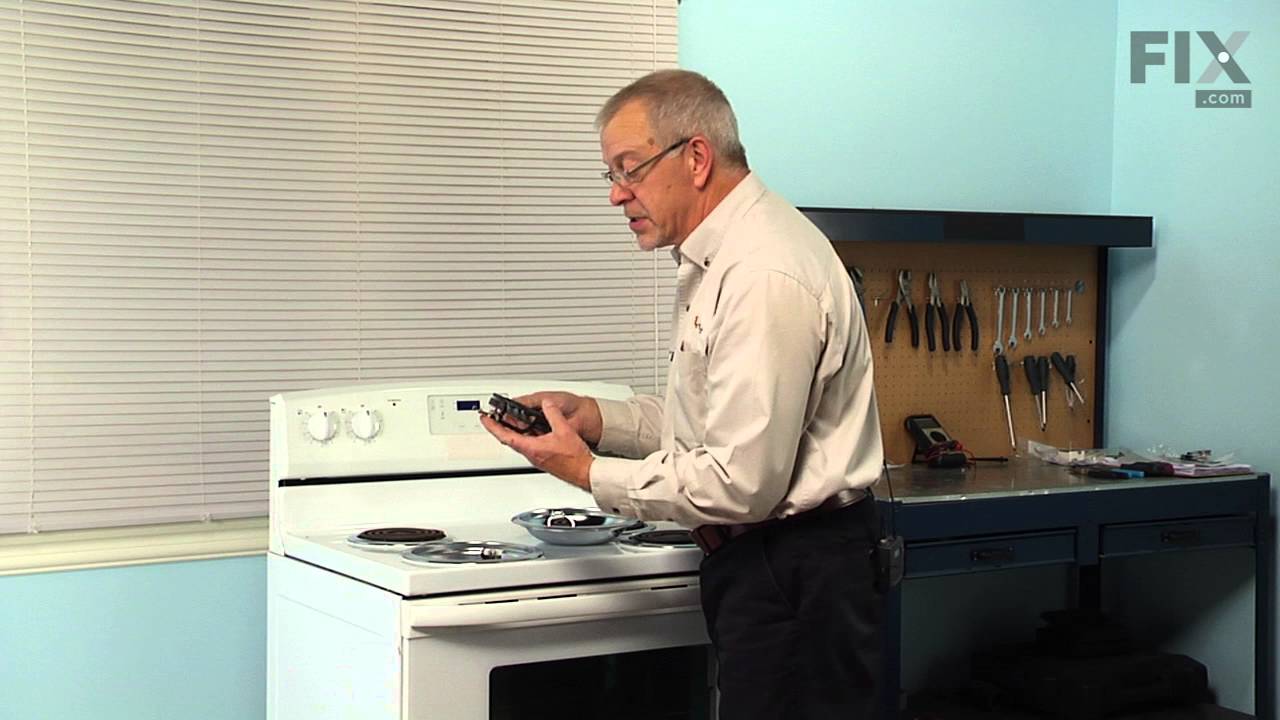
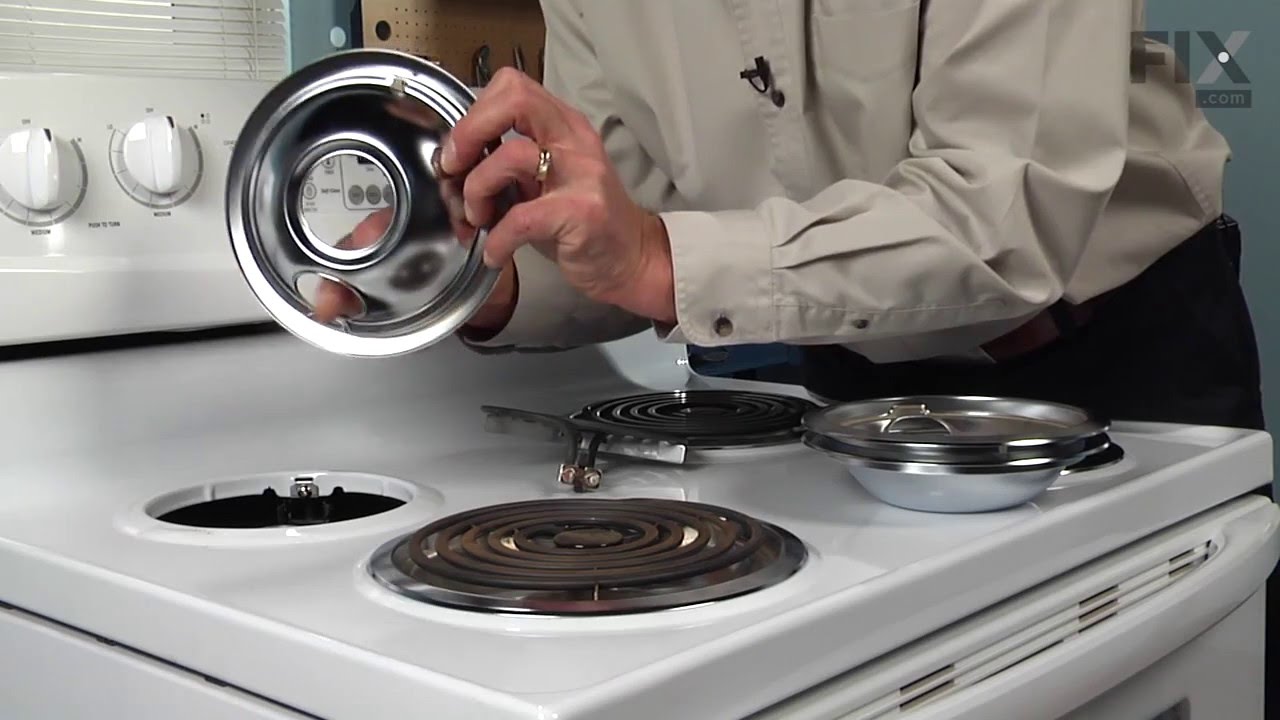
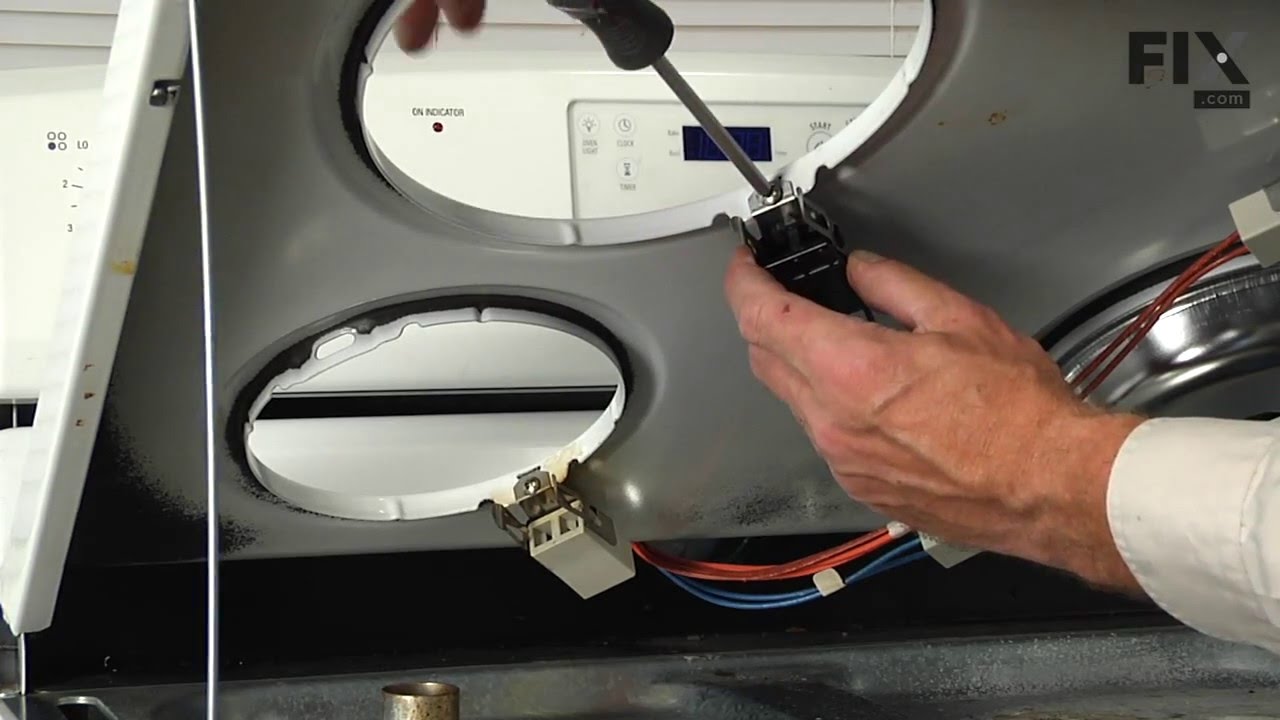


See how others fixed this model. Time, tools, difficulty, and steps that lead to victory!
View More
Search repair tips from other customers using simple keywords like "replace", "fit", "remove", "inspect". DIY doesn't mean you have to do it alone!
Search filter:
Clear Filter
Your search term must have 3 or more characters.
Stove would not heat up
84 of 104 people
found this instruction helpful.
Cut old wires to receptacle, striped the wires, wire nutted to new receptacle, screwed new receptacle into stove and installed heating element.
Piece of cake, but then again my degree is in electrical engineering so I should be able to handle a couple of wire nuts.
Piece of cake, but then again my degree is in electrical engineering so I should be able to handle a couple of wire nuts.
Other Parts Used:


Was this helpful?
Thank you for voting!
Replaced drip bowls in stove
71 of 134 people
found this instruction helpful.
Took out the old drip bowls and replaced with new bowls.
Other Parts Used:


Was this helpful?
Thank you for voting!