



 My Orders




TD-V10053E LG Dryer - Overview

Enter a part description. DIY Heroes keep it simple, eg. "belt" or "pump".
Search filter:
Clear Filter
Your search term must have 3 or more characters.

$19.30
In Stock
Thermal Fuse
Part #6931EL3003D
This thermal fuse acts as a high-limit thermostat, and shuts off the heating element when the dryer overheats by cutting off power to the dryer. If the thermal fuse has blown, the dryer will not start. These fuses cannot be reset, so if yours has blown, you will need to replace it. A common reason for the thermal fuse to blow on a dryer i...Read mores if the exhaust vent on your dryer is restricted or blocked. Hot air will be confined in the dryer and the fuse will trip and stop the electricity from flowing to the gas valve or heating element.
Read less

$21.45
In Stock
Moisture Sensor
Part #6500EL3001A
The sensor controls the temperature in your dryer and will turn off once your clothes have reached the desired dryness level. If you notice that your dryer is not giving off enough heat to dry the clothes or is taking too long to dry, this may indicate that a repair to the senor is required. To access this part, you will need to remove th...Read moree front bulk head. To remove this, you will need to remove the screws securing the top. Uninstall the screws that support the control panel and lift. Remove screws holding the support bracket in place so you can detach this piece. Detach the wire harness and remove the wire, then set the bracket aside. You will now open the dryer door and release it by taking out the bottom two screws. Disconnect the wire harness and moisture sensor wire harness, remove screws from front bulk head, and remove screws that secure the duct housing. You should be able to completely remove the bulk head. You will find the sensor underneath the lint filter grill, which will also need to be removed.
Read less

$103.35
Special Order
Dryer Thermistor
Part #6323EL2001B
This dryer thermistor temperature sensor helps monitor and regulate the temperature inside a dryer. This part includes the wire harness. If your dryer overheats, does not produce enough heat, or takes too long to dry, then the thermistor might be defective or damaged. This can cause a fault code and could begin either prolonging or shorte...Read morening drying time. As a safety precaution, make sure to unplug the dryer from the power source before beginning this installation, and wear gloves to protect your hands. Refer to the installation instructions provided by the manufacturer for further guidance.
Read less

$42.12
In Stock
Thermostat Assembly
Part #6931EL3001E
The high limit thermostat on your dyer prevents your dryer from overheating. When the dryer heats up too much, the high limit thermostat will sense it and automatically shut off the heating element. If the thermostat is malfunctioning, it will need to be replaced, to avoid more serious issues. This product is an OEM part, direct from the manufacturer.

$45.29
In Stock
Felt Seal
Part #4036EL3001A
This genuine OEM felt gasket provides a cushioned seal between the inner tub of your electric dryer and the rear panel. It prevents your clothes from getting snagged and helps in heat retention. You will find it around the circumference of the drum. The most typical reason for replacing the felt seal is when it becomes worn. It is importa...Read morent to note that this rear seal is sold separately from the front seal and the adhesive needed to install it.
Read less

$47.40
In Stock

$30.53
In Stock

$47.40
Special Order

$96.17
In Stock

$65.73
In Stock

$279.77
Special Order

$47.40
In Stock
Common Symptoms of the TD-V10053E
How this model fails, and the parts that fix it.
Not Heating
Fixed by
these parts
these parts


Show All
Noisy
Fixed by
these parts
these parts


Show All
Door won’t close
Fixed by
these parts
these parts


Show All
Won’t Start
Fixed by
these parts
these parts

Show All
Marks left on clothes
Fixed by
these parts
these parts
Show All
Drum Not Spinning
Fixed by
these parts
these parts

Show All
Timer Not Working
Fixed by
these parts
these parts
Show All
Door Sags
Fixed by
these parts
these parts
Show All
Watch our pros, then fix it yourself.
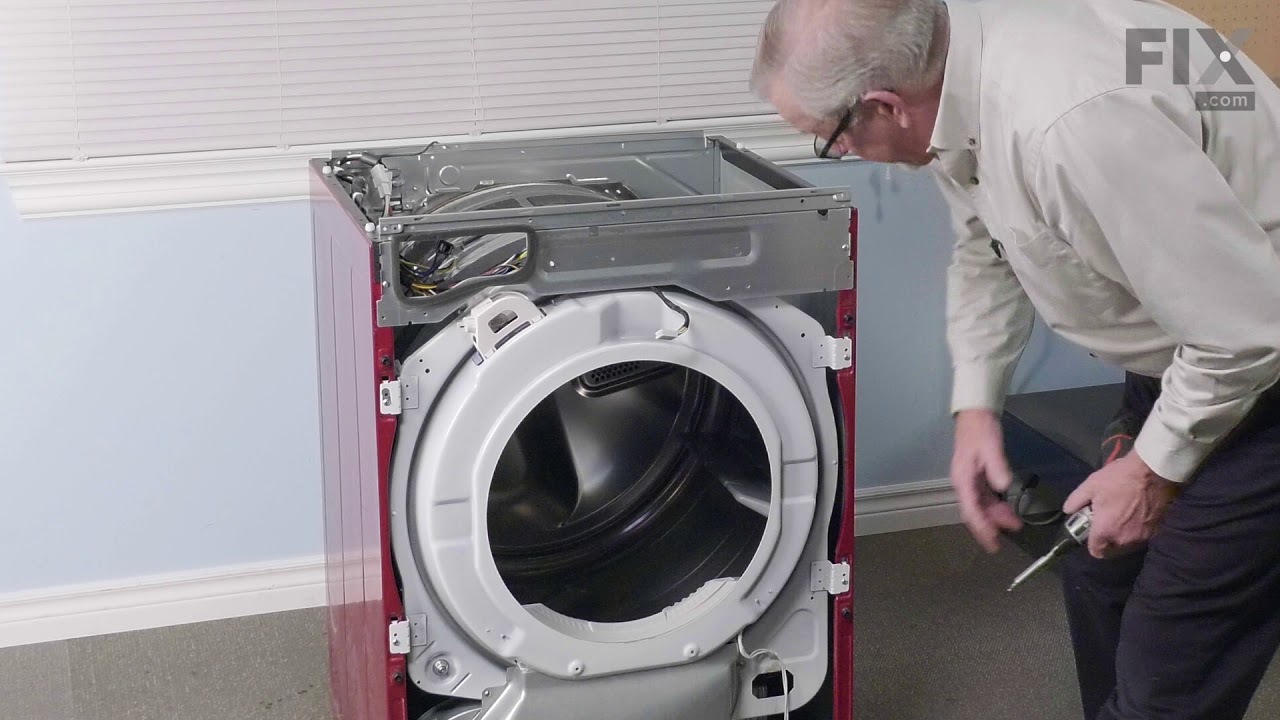
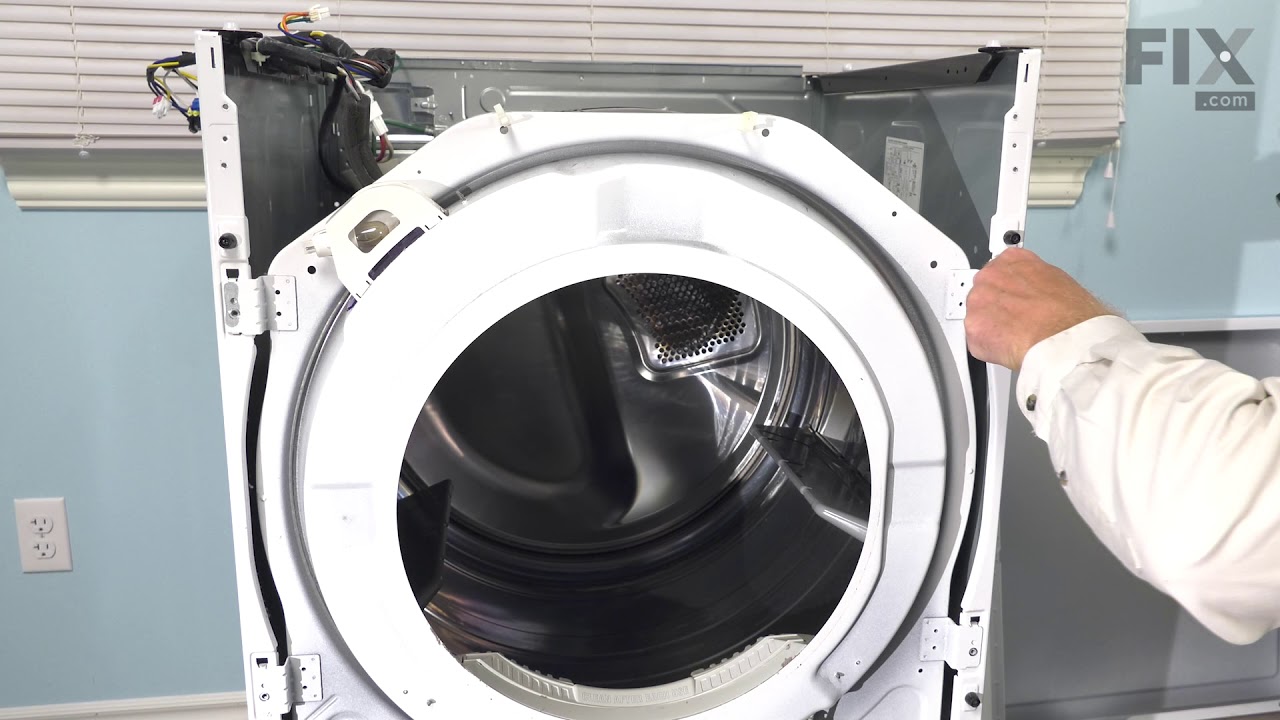
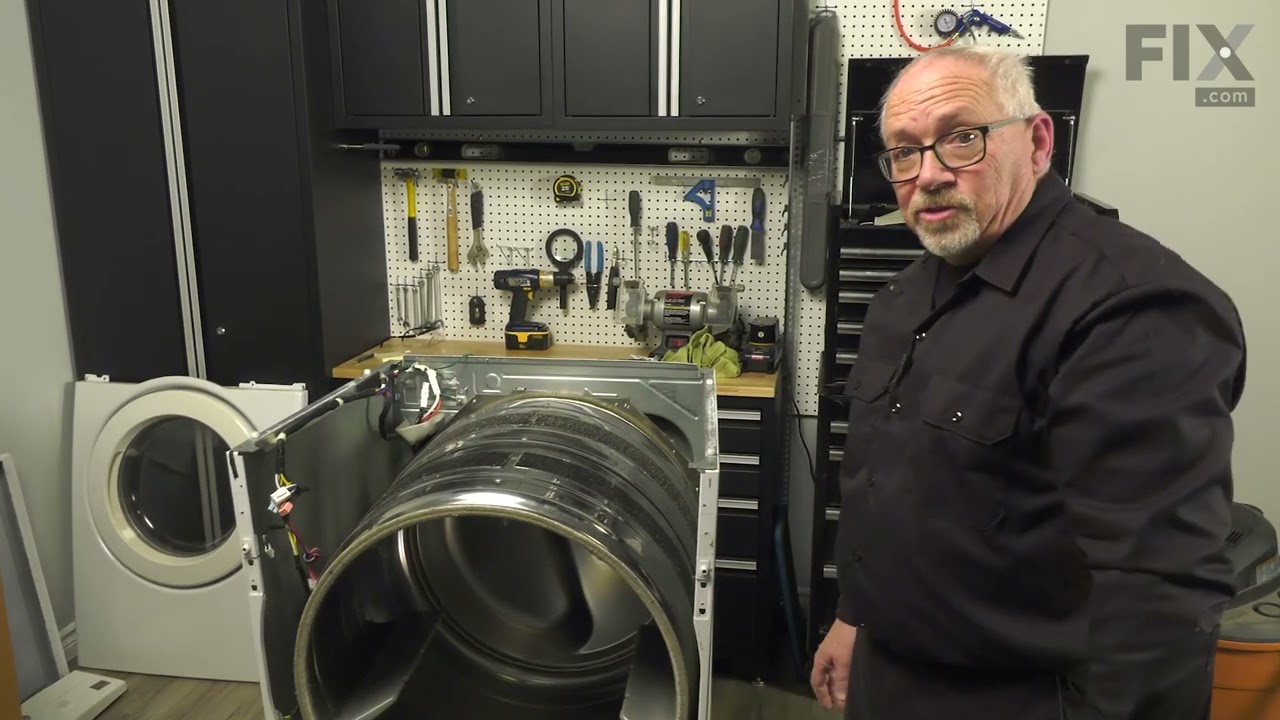
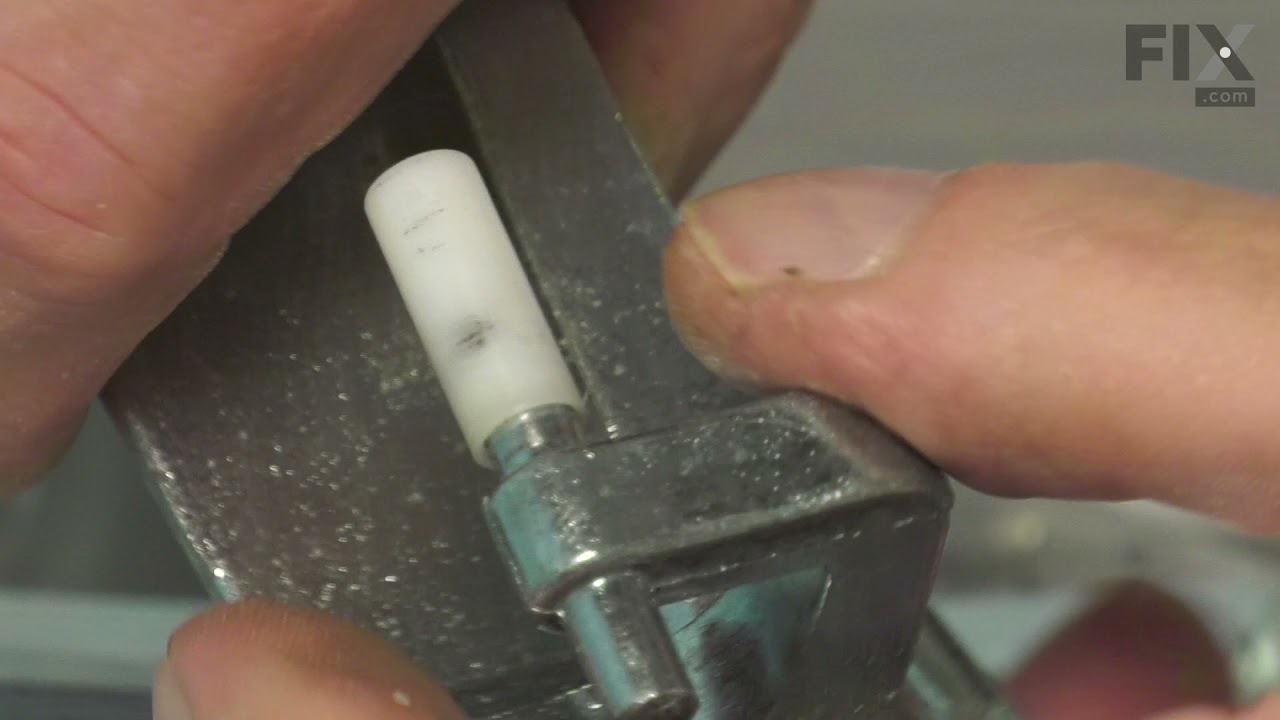

See how others fixed this model. Time, tools, difficulty, and steps that lead to victory!
View More