


 My Orders




TCX18IADAWW General Electric Refrigerator - Overview
Diagrams for TCX18IADAWW
See every part. Know exactly what you need.


Enter a part description. DIY Heroes keep it simple, eg. "belt" or "pump".
Search filter:
Clear Filter
Your search term must have 3 or more characters.

$207.55
In Stock
Ice Maker
Part #WR30X10093
This refrigerator ice maker assembly automatically freezes water and releases crescent-shaped ice cubes into the storage bin. It replaces an existing ice maker that has stopped cycling, fails to release ice, or has damaged components. Poor ice production can also result from a restricted water supply or incorrect freezer temperature, so c...Read moreheck these conditions before replacing the assembly. Confirm the mounting arrangement, fill cup position, electrical connections, and included adapters against the appliance parts list to ensure the kit matches the original installation. This is an OEM part sourced directly from the manufacturer.
Read less

$43.93
In Stock
Door Shelf Retainer Bar End Cap - Left or Right Side
Part #WR2X8345
This end cap is sold individually. It can be used for the right or left side of either the freezer or refrigerator door shelves.

$61.39
In Stock
Run Capacitor
Part #WR55X24064
Support steady compressor operation with this refrigerator run capacitor. It provides the electrical phase shift needed for the compressor motor to run properly as the cooling system operates. A failing capacitor may contribute to humming, difficulty starting, interrupted compressor operation, or rising compartment temperatures. Visible s...Read morewelling, leaking, or burned terminals may also indicate damage. Unplug the refrigerator before accessing the component. Capacitors can retain an electrical charge after power is disconnected, so follow approved discharge procedures and avoid touching or shorting the terminals. Record the wire positions before replacement. This is an OEM part sourced directly from the manufacturer.
Read less

$32.64
In Stock
Door Shelf Retainer Bar End Cap
Part #WR2X9162
This is a replacement shelf bar end cap. The end cap connects to the shelf bar on either side, and then snaps into position on the freezer door. This will allow you to store items in the freezer door. It is a little more than 2 inches long and is made of white plastic. To replace the end cap, you can simply depress the locking tab and rem...Read moreove the entire bar and end cap assembly. Then, use a flat blade screwdriver to depress the locking tab, and the endcap will detach. Finally, snap the new end cap locking tabs into place, and snap the bar assembly back onto the freezer door. This product is sold individually.
Read less

No Longer Available
Package of 12 Screws
Part #WZ4X244D
This is a package of twelve Phillips-head screws. They can be used as replacement screws in refrigerators, ice makers, or freezers. Be sure to check that your appliance model is compatible with these screws. The screws are approximately ¾ of an inch in length.

$23.16
In Stock
Light Socket
Part #WR2X9391
This part is a replacement light socket for your refrigerator. It connects to the power source, and holds the light bulb. If the light in your refrigerator is not working, you could have a faulty socket. It is important to determine if the light bulb is simply burned out, or if the socket is causing the issue. Be sure to disconnect your r...Read moreefrigerator from the power source before you begin this repair. This socket is black in color and is sold individually. This is an OEM part sourced directly from the manufacturer.
Read less

No Longer Available

No Longer Available

$16.05
In Stock
Screw
Part #WR01X10065
This replacement screw secures components at the fastening points specified in the appliance parts diagram. It has a listed 10-32 thread and is sold individually. Damaged threads, a worn head, or a missing screw may prevent the attached part from staying secure. Inspect the mating hole and surrounding mounting area as well before replacem...Read moreent. Match the screw to the exact assembly location, since similar looking fasteners can have different thread sizes, lengths, and head shapes. Follow the appliance instructions when removing and securing the replacement hardware. This is an OEM part sourced directly from the manufacturer.
Read less

$16.05
In Stock
Refrigerator Plug Door Rvsbl
Part #WR01X21159
Cover an unused mounting hole with this refrigerator reversible door plug. It snaps into the opening left when door hardware moves to the opposite side, giving the door a neat, finished appearance. The plug also helps keep dirt and debris from collecting inside the exposed hole. A cracked plug or broken retaining tabs may cause it to sit ...Read moreloosely or fall out. Replacing a damaged or missing plug restores a tidy surface. Clean the opening before pressing the replacement gently into place. This is an OEM part sourced directly from the manufacturer.
Read less

$41.70
In Stock
Refrigerator Defrost Timer
Part #WR9X483
This refrigerator defrost timer will cycle for thirty minutes after every ten hours of run time.

$15.30
Special Order
Common Symptoms of the TCX18IADAWW
How this model fails, and the parts that fix it.
Ice maker not making ice
Fixed by
these parts
these parts

Show All
Will Not Start
Fixed by
these parts
these parts


Show All
Light not working
Fixed by
these parts
these parts

Show All
Fridge too warm
Fixed by
these parts
these parts


Show All
Ice maker won’t dispense ice
Fixed by
these parts
these parts
Show All
Leaking
Fixed by
these parts
these parts
Show All
Freezer section too warm
Fixed by
these parts
these parts
Show All
Fridge and Freezer are too warm
Fixed by
these parts
these parts
Show All
Noisy
Fixed by
these parts
these parts

Show All
Clicking sound
Fixed by
these parts
these parts
Show All
Freezer not defrosting
Fixed by
these parts
these parts
Show All
Ice maker dispenses too little ice
Fixed by
these parts
these parts
Show All
Ice maker dispenses too much ice
Fixed by
these parts
these parts
Show All
Too warm
Fixed by
these parts
these parts
Show All
Fridge runs too long
Fixed by
these parts
these parts
Show All
Won’t start
Fixed by
these parts
these parts
Show All
Watch our pros, then fix it yourself.
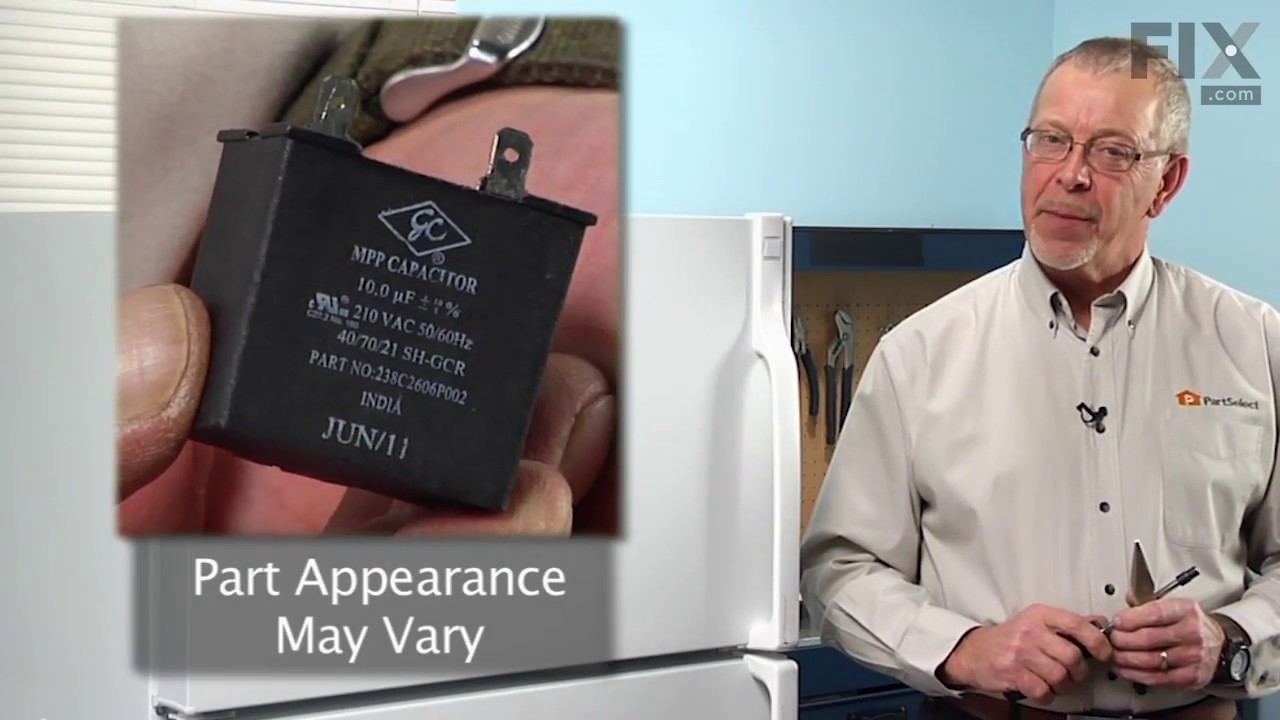
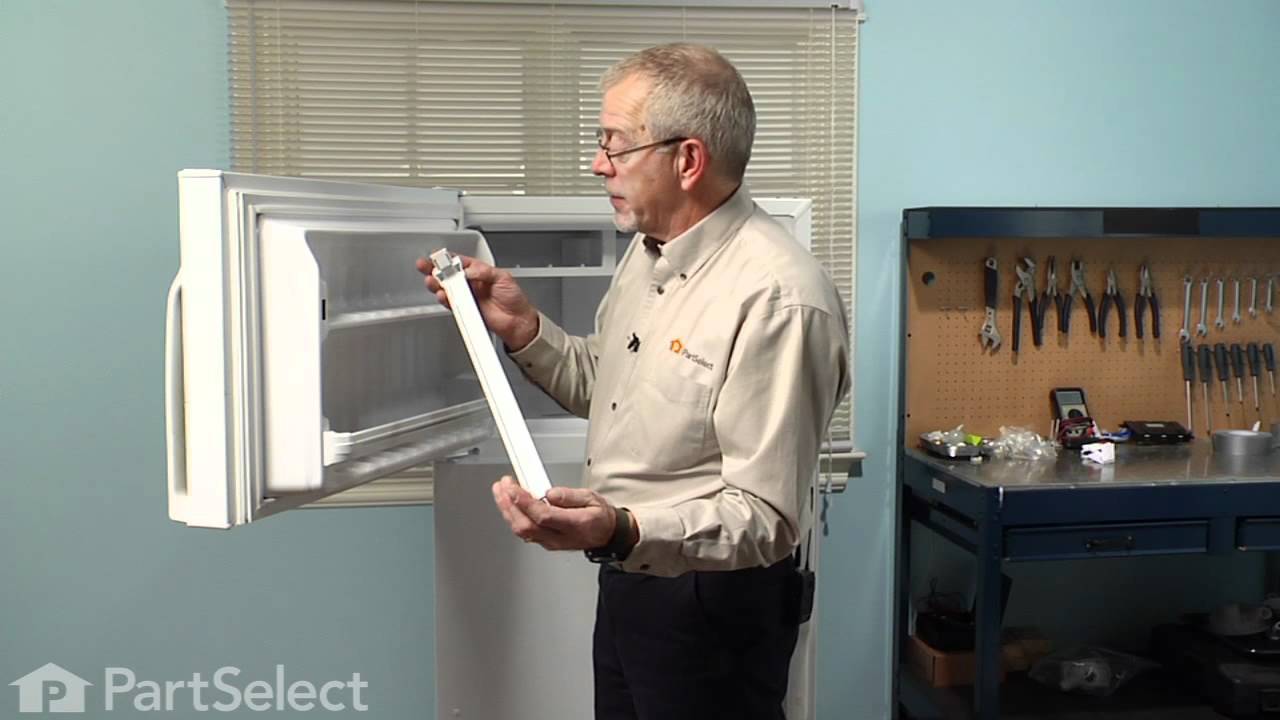

See how others fixed this model. Time, tools, difficulty, and steps that lead to victory!
View More
Search repair tips from other customers using simple keywords like "replace", "fit", "remove", "inspect". DIY doesn't mean you have to do it alone!
Search filter:
Clear Filter
Your search term must have 3 or more characters.
No power to the fan and compressor
222 of 302 people
found this instruction helpful.
I have a fridge in my garage. I have found that a glass of ice water or a cold drink outside is very important to me. When I discovered melting ice dripping onto the garage floor I was very upset. I spun the fridge and found that the compressor and fan weren't starting. I got out my multi-meter and discovered that power was not makin
... Read more
g it to these components. I did some research and found the wiring diagram online. There really isn't too much going on with a fridge and the most likely candidate seemed to be the run capacitor. I ordered the part, replaced it in a few minutes and the fridge began working again.
Read less
Other Parts Used:


Was this helpful?
Thank you for voting!