


 My Orders




TCD1870CGS (ASSEELC) LG Washer - Overview
Diagrams for TCD1870CGS
See every part. Know exactly what you need.


Enter a part description. DIY Heroes keep it simple, eg. "belt" or "pump".
Search filter:
Clear Filter
Your search term must have 3 or more characters.

$138.79
In Stock
4 PACK ROLLER ASSEMBLY
Part #4581EL2002L
This part is sold individually. The drum support roller is found in your dryer. It is used to hold the drum in place in the cabinet while letting the drum rotate on the support rollers. It is recommended that you replace both rollers at once. You may notice that this part needs to be replaced if you are experiencing a squeaking noise, whi...Read morech could be due to the bearing going bad. The bearing could be severely damaged if you hear a very loud thumping noise, much like you would when you are drying a pair of shoes.
Read less

$103.35
Special Order
Dryer Thermistor
Part #6323EL2001B
This dryer thermistor temperature sensor helps monitor and regulate the temperature inside a dryer. This part includes the wire harness. If your dryer overheats, does not produce enough heat, or takes too long to dry, then the thermistor might be defective or damaged. This can cause a fault code and could begin either prolonging or shorte...Read morening drying time. As a safety precaution, make sure to unplug the dryer from the power source before beginning this installation, and wear gloves to protect your hands. Refer to the installation instructions provided by the manufacturer for further guidance.
Read less

$51.61
In Stock
Blower Thermostat
Part #6931EL3002M
The thermostat is a part for your dryer, and it is roughly 1 inch long by roughly 1.5 inches wide. The purpose of the thermostat is to measure the temperature of the air inside your dryer drum. As the air is being measured, it will turn the heat on or off in order to maintain a stable temperature within the drum. The most common reason yo...Read moreu would need to replace your thermostat is if your dryer is not receiving enough heat, or any heat at all.The tools you will need to complete this repair include a Phillips screwdriver, and a flat-head screwdriver.
Read less

$96.17
In Stock
High Limit Thermostat and Thermistor Kit
Part #AGM30045804
This dryer thermistor temperature sensor helps monitor and regulate the temperature inside a dryer. This part includes the wire harness. If your dryer overheats, does not produce enough heat, or takes too long to dry, then the thermistor might be defective or damaged. This can cause a fault code and could begin either prolonging or shorte...Read morening drying time. As a safety precaution, make sure to unplug the dryer from the power source before beginning this installation, and wear gloves to protect your hands. Refer to the installation instructions provided by the manufacturer for further guidance.
Read less

$47.40
In Stock

$30.53
In Stock

$9.62
In Stock
Dryer Leg
Part #4778EL3001B
This plastic adjustable dryer leg is used to support the weight and adjust the height of your dryer to keep it level. To install the leg, tip the dryer back and screw it into the bottom of your dryer unit. Please note that this dryer leg is sold individually.

$65.73
In Stock

$29.47
In Stock
Locker Assembly
Part #4027EL1001B

$76.17
In Stock
BELT,POLY V
Part #4400EL2001D
This genuine dryer drum belt is designed to restore proper drum rotation and drying performance. Made from durable poly V material, it wraps around the drum and connects to the motor pulley, transferring power from the motor to ensure consistent tumbling during operation. A worn, stretched, or broken belt can lead to symptoms such as the ...Read moredrum not spinning, squealing or thumping noises, or even a burning smell. Replacing the belt is a practical solution for restoring efficient drying and preventing further damage to internal components.
Read less

$29.47
In Stock

$15.00
Special Order
Screw,Machine
Part #1MTC0402632
Common Symptoms of the TCD1870CGS
How this model fails, and the parts that fix it.
Noisy
Fixed by
these parts
these parts


Show All
Not Heating
Fixed by
these parts
these parts


Show All
Won’t Start
Fixed by
these parts
these parts

Show All
Drum Not Spinning
Fixed by
these parts
these parts
Show All
Door won’t close
Fixed by
these parts
these parts

Show All
Watch our pros, then fix it yourself.
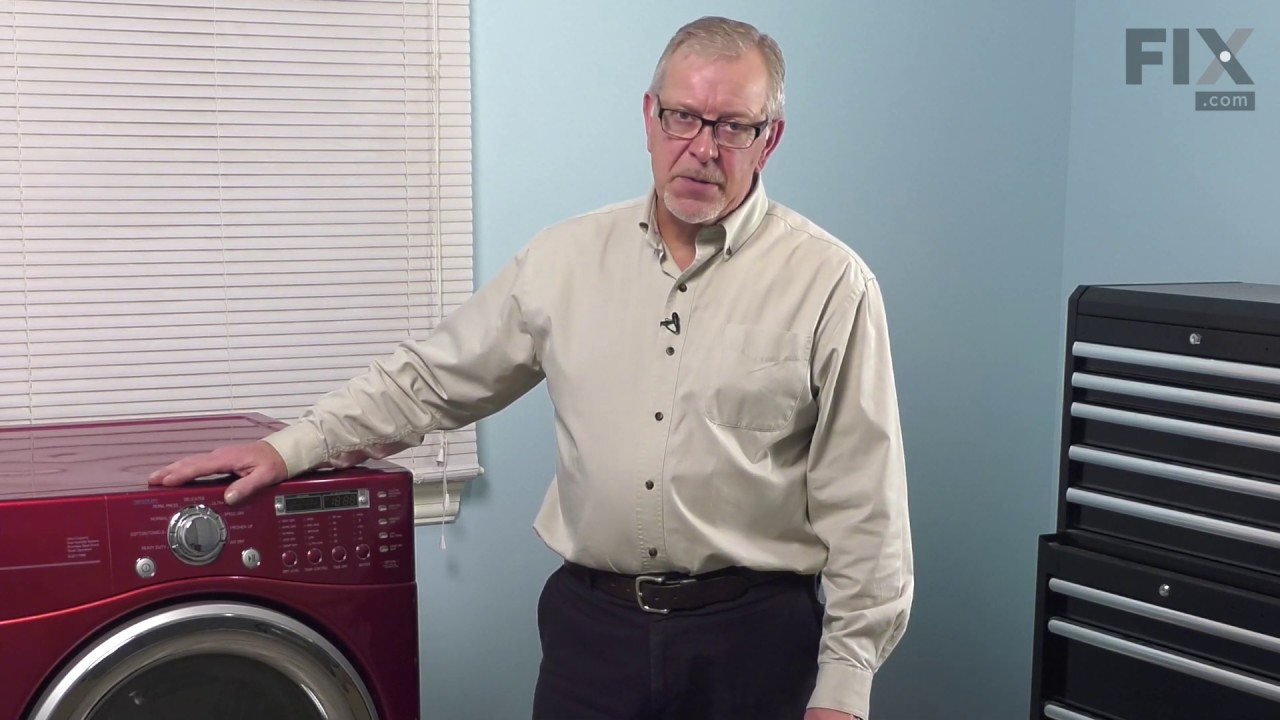
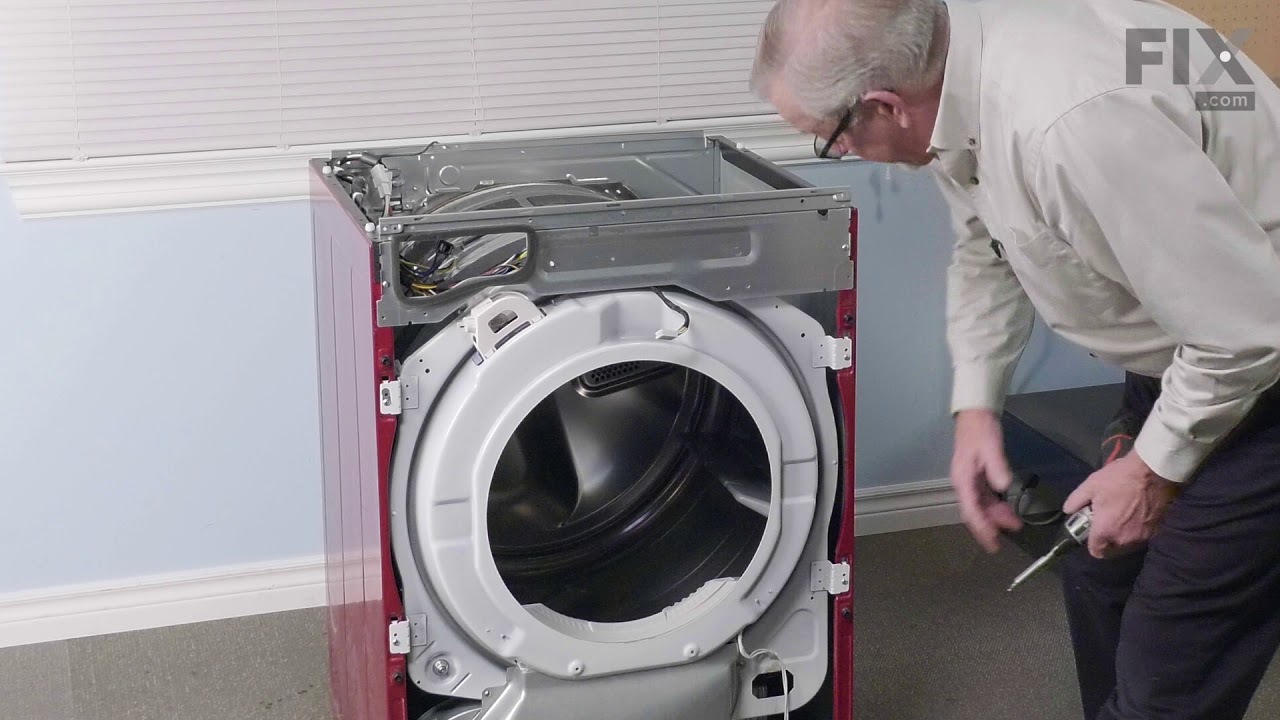
See how others fixed this model. Time, tools, difficulty, and steps that lead to victory!
View More