
EasyApplianceParts is now PartSelect! We've merged our sites to provide a better shopping experience for you.   Full Details
✖

Find Parts

Parts Departments

Top Model Types

Top Brands

Repair Help

Expert Repair Videos

Keep typing for more specific results...

TBXS19PLC General Electric Refrigerator - Overview

Diagrams for TBXS19PLC

See every part. Know exactly what you need.

Enter a part description. DIY Heroes keep it simple, eg. "belt" or "pump".

Search filter:
Clear Filter
Your search term must have 3 or more characters.
Light Bulb - 40W – Part Number: 40A15
$21.95
In Stock
Light Bulb - 40W
★★★★★
★★★★★
(10)
Part #40A15
This 40-Watt light bulb is sold individually. It is specially designed to withstand extreme temperatures, so this bulb is compatible with a variety of appliance types including refrigerators, ranges, microwaves, and dryers. It features a frosted glass bulb with a standard metal socket base, which allows you to easily unscrew the burnt-out light and twist the new bulb into place.
LIGHT SWITCH – Part Number: WR23X37285
$38.32
In Stock
LIGHT SWITCH
★★★★★
★★★★★
(65)
Part #WR23X37285
The interior light of your refrigerator is controlled by a switch that is activated when the door is opened and closed. If your refrigerator light will not turn on, there could be an issue with the switch. The switch is spring loaded and is a generally closed type of switch meaning there should be no continuity when the button is depressed, and continuity through the switch when the button is not depressed. This plastic, white, OEM switch is sourced directly from the manufacturer, is sold individually and is easy to replace. The repair usually takes less than 15 minutes and requires a flat blade screwdriver and needle nose pliers.
Screws - 12 per package – Part Number: WZ4X241D
$37.15
In Stock
Screws - 12 per package
Part #WZ4X241D
Size - 8-18 ab
Butter Dish – Part Number: WR19X5003
No Longer Available
Butter Dish
Part #WR19X5003
Defrost Thermostat Kit – Part Number: WR50X50
$22.52
In Stock
Defrost Thermostat Kit
Part #WR50X50
The defrost thermostat included in this kit cuts out at 50 degrees Fahrenheit and kicks back in when the temperature drops to 30 degrees Fahrenheit. Also included in this kit are two interchangeable brackets and crimp style wire connectors. Use this kit for your GE brand refrigerator.
GASKET – Part Number: WR24X5260
No Longer Available
GASKET
Part #WR24X5260
GASKET – Part Number: WR24X5259
No Longer Available
GASKET
Part #WR24X5259
USE GEH WR86X86 – Part Number: WR86X0086
No Longer Available
USE GEH WR86X86
Part #WR86X0086
SOCKET LIGHT – Part Number: WR23X378
$31.58
Special Order
SOCKET LIGHT
Part #WR23X378
MULLION SWITCH – Part Number: WR23X5170
$33.69
Special Order
MULLION SWITCH
Part #WR23X5170
USE GEH WR23X108 – Part Number: WR23X0108
No Longer Available
USE GEH WR23X108
Part #WR23X0108
DEFROST HEATER – Part Number: WR51X5217
No Longer Available
DEFROST HEATER
Part #WR51X5217

Common Symptoms of the TBXS19PLC

How this model fails, and the parts that fix it.

Watch our pros, then fix it yourself.
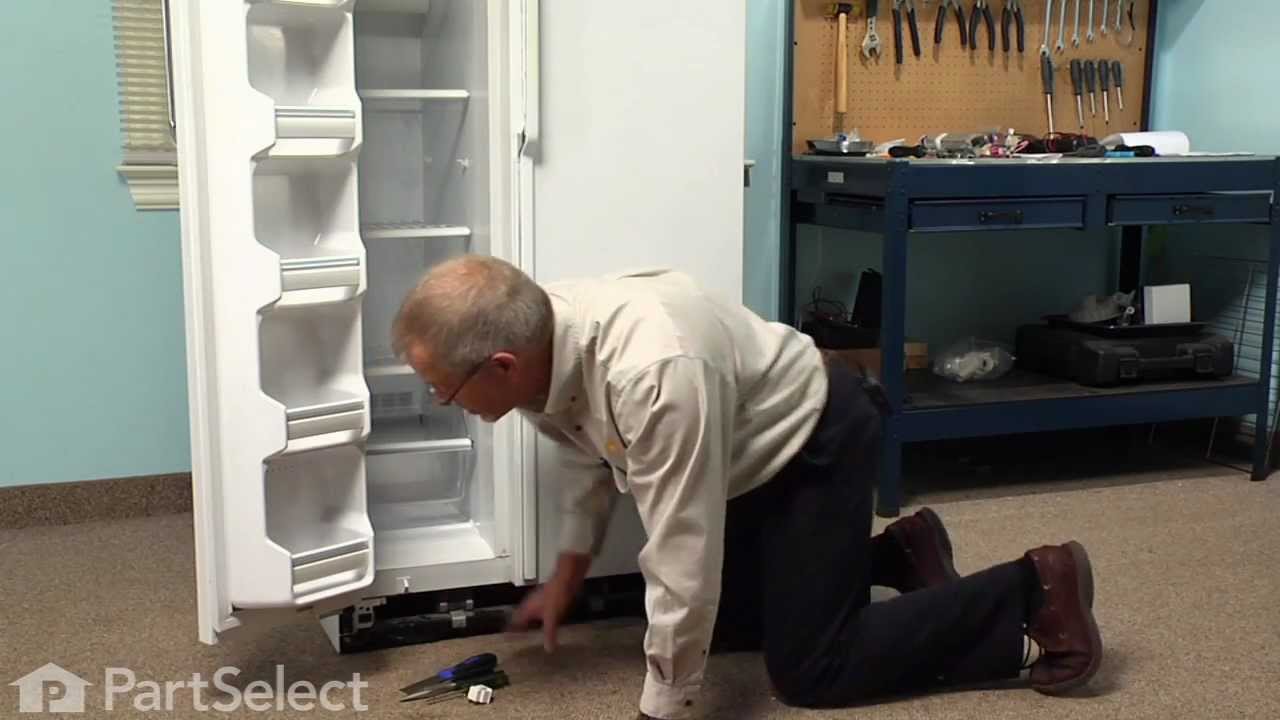
See how others fixed this model. Time, tools, difficulty, and steps that lead to victory! View More

Search repair tips from other customers using simple keywords like "replace", "fit", "remove", "inspect". DIY doesn't mean you have to do it alone!

Search filter:
Clear Filter
Your search term must have 3 or more characters.
Sticking Light Switch
122 of 178 people found this instruction helpful.
  • Jonathan from Lilburn, GA
  • Really Easy
  • Less than 15 mins
  • Pliers, Screw drivers
I applied some tips learned by reading other reviews. So before I started I grabbed my trusty vise grip pliers and a small screw driver. I locked onto the switch actuator, the part that the refrigerator door pushes in, with the vise grips and pulled on it just hard enough to get the screw driver inserted in the right side to push in the c atch clip so the switch could be pulled out further each time the catch clip was depressed to the next detent. Then I used the screw driver on the left site to encourage the switch past the detents on the left and very quickly the switch was out of the mount. The wires from the refrigerator pulled out with the old switch. I unplugged the old switch from the wires and plugged in the new switch and shoved the new switch back into the mount, wiggled it a couple of times to make sure it was secure and the job was done. Once I applied the vise gripes at first, the whole job took less than a minute.
Was this helpful?
Thank you for voting!
The refrigirator light would not come on.
26 of 44 people found this instruction helpful.
  • Jania from Novato, CA
  • Really Easy
  • Less than 15 mins
  • Screw drivers
Poped out with screwdriver the old swithch and unplugged the two wires. Plugged in the wires to the new swithch and pushed it back in the hole where the old switch was before.
Was this helpful?
Thank you for voting!
Switch failed on which kept the refrigerator warm due to heat generatered by light bulbs.
19 of 33 people found this instruction helpful.
  • Terry from Simi Valley, CA
  • Really Easy
  • Less than 15 mins
  • Pliers, Screw drivers
While the switch did last for 9 years, the design is poor due to the failure mode. The failure should be to fail off or not able to turn on the lights which would be inconvenient but would not warm the refrigerator contents. Arcing at the contacts eventually caused the switch to "weld" closed. It is not obvious that this is occurring s o it took some time to recognize why the temp inside the ref was high while the freezer was OK. Replacing the switch was easy once it was recognized as the problem. All that was required to replace the switch was to remove the screws holding a fiber cover and then pulling off the aluminum cap which covered the switches. Unplug the switch an squeeze the keeper on the switch to release it and pull down. Pop the replacement switch in place and plug the wires harness back in. All in all it took much less time to replace than it has to write this up. T Pope
Was this helpful?
Thank you for voting!