


 My Orders




TBX18NIBLRAA General Electric Refrigerator - Overview
Diagrams for TBX18NIBLRAA
See every part. Know exactly what you need.


Enter a part description. DIY Heroes keep it simple, eg. "belt" or "pump".
Search filter:
Clear Filter
Your search term must have 3 or more characters.

$207.55
In Stock
Ice Maker
Part #WR30X10093
This refrigerator ice maker assembly automatically freezes water and releases crescent-shaped ice cubes into the storage bin. It replaces an existing ice maker that has stopped cycling, fails to release ice, or has damaged components. Poor ice production can also result from a restricted water supply or incorrect freezer temperature, so c...Read moreheck these conditions before replacing the assembly. Confirm the mounting arrangement, fill cup position, electrical connections, and included adapters against the appliance parts list to ensure the kit matches the original installation. This is an OEM part sourced directly from the manufacturer.
Read less

$21.95
In Stock
Light Bulb - 40W
Part #40A15
This 40-Watt light bulb is sold individually.
It is specially designed to withstand extreme temperatures, so this bulb is compatible with a variety of appliance types including refrigerators, ranges, microwaves, and dryers. It features a frosted glass bulb with a standard metal socket base, which allows you to easily unscrew the burnt-out light and twist the new bulb into place.

$51.82
In Stock
Door Shelf Retainer Bar
Part #WR71X10080
This part is a replacement door shelf retainer bar for your refrigerator. The shelf retainer bar connects to the end cap on either side, and the end caps connect it to the refrigerator door. The retainer bar allows you to store items in the refrigerator door, without them falling out when the door is opened or closed. If your door shelf r...Read moreetainer bar is broken or missing, you will need to replace it. Some refrigerators contain multiple door shelf retainer bars, as well as multiple end caps. Keep in mind that this door shelf retainer bar is sold individually. It is made of white plastic and is approximately 23 inches in width.
Read less

$15.00
Special Order
1/4 Tubing Nut
Part #WR57X57
This is a quarter tubing nut and is sold individually. The tubing nut works in conjunction with your refrigerator/freezer and is made entirely of plastic. The function of this part is to connect the lines that supply water to your ice maker and water dispenser. The most common reason or needing to replace this part is if fluid is leaking ...Read morefrom the water line to your icemaker or water dispenser. The tools you will need to make this repair include a nut driver, a pair of pliers, and a screwdriver set.
Read less

No Longer Available

$60.51
Special Order

No Longer Available
Icemaker Switch
Part #WR29X5171

$24.15
In Stock

$24.07
In Stock
Water Line - 1/4"
Part #WR17X1948
This water line 1/4, also known as a ice maker fill tube, is used in freezers and refrigerators. The tube directs the water into the ice maker cup during the cycle in which it fills the cup. The water line height is 0.6 inch and it weighs 0.1 lbs. As a safety precaution, unplug your appliance from the power source before installing this p...Read moreart. Remember to safely store food when it is removed from fridge or freezer. Refer to the installation instructions provided by the manufacturer for further guidance and accuracy.
Read less

$21.81
Special Order
WHEEL MOBILITY
Part #WR02X10480

No Longer Available
AXLE WHEEL
Part #WR01X10604

$130.06
On Order
Common Symptoms of the TBX18NIBLRAA
How this model fails, and the parts that fix it.
Ice maker not making ice
Fixed by
these parts
these parts

Show All
Leaking
Fixed by
these parts
these parts


Show All
Ice maker won’t dispense ice
Fixed by
these parts
these parts
Show All
Ice maker dispenses too little ice
Fixed by
these parts
these parts
Show All
Ice maker dispenses too much ice
Fixed by
these parts
these parts
Show All
Won’t start
Fixed by
these parts
these parts
Show All
Noisy
Fixed by
these parts
these parts
Show All
Fridge too warm
Fixed by
these parts
these parts

Show All
Watch our pros, then fix it yourself.
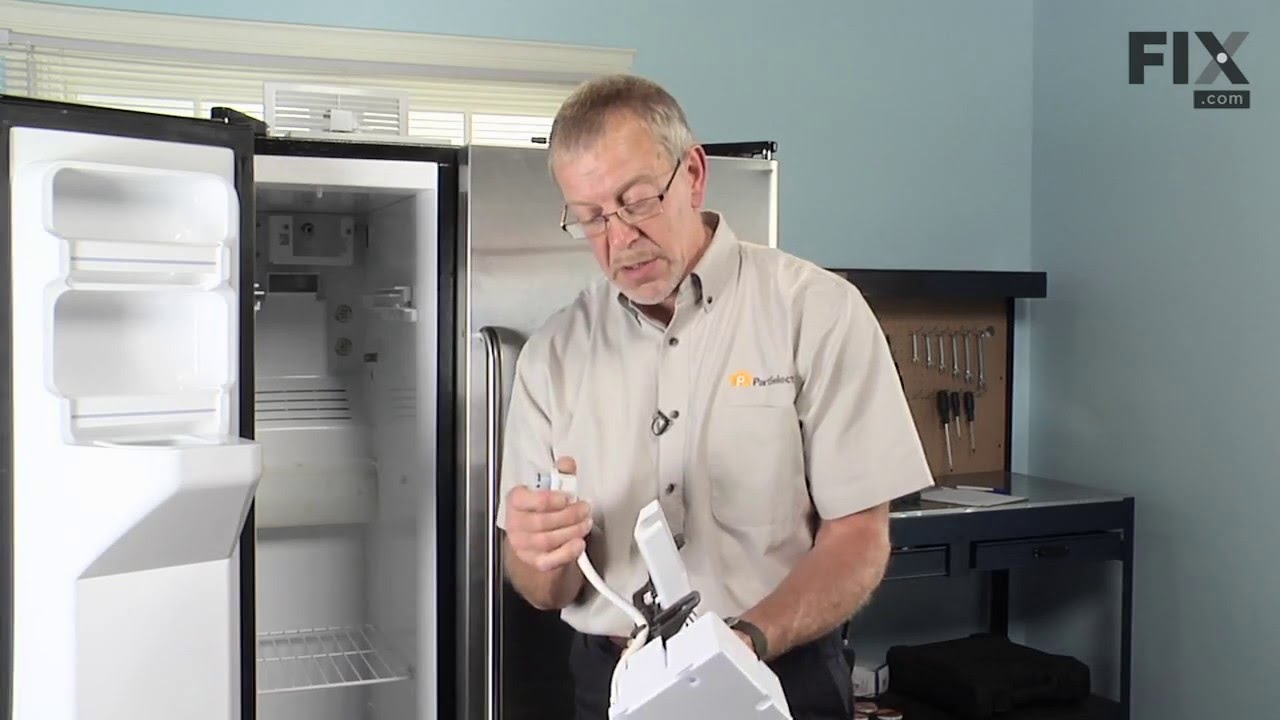
See how others fixed this model. Time, tools, difficulty, and steps that lead to victory!
View More