


 My Orders




TBF22RCB General Electric Refrigerator - Overview

Enter a part description. DIY Heroes keep it simple, eg. "belt" or "pump".
Search filter:
Clear Filter
Your search term must have 3 or more characters.

$38.32
In Stock
LIGHT SWITCH
Part #WR23X37285
The interior light of your refrigerator is controlled by a switch that is activated when the door is opened and closed. If your refrigerator light will not turn on, there could be an issue with the switch. The switch is spring loaded and is a generally closed type of switch meaning there should be no continuity when the button is depresse...Read mored, and continuity through the switch when the button is not depressed. This plastic, white, OEM switch is sourced directly from the manufacturer, is sold individually and is easy to replace. The repair usually takes less than 15 minutes and requires a flat blade screwdriver and needle nose pliers.
Read less

$15.00
In Stock
Push On Nut
Part #WR2X7054
This push on nut is for your dishwasher or refrigerator. As the name suggests, it pushes into place, rather than being screwed in. It is approximately half an inch in diameter and is made of stainless steel.

No Longer Available
Package of 12 Screws
Part #WZ4X244D
This is a package of twelve Phillips-head screws. They can be used as replacement screws in refrigerators, ice makers, or freezers. Be sure to check that your appliance model is compatible with these screws. The screws are approximately ¾ of an inch in length.

$106.80
In Stock
Ice Dispenser Solenoid Service Kit
Part #WR62X23154
This kit includes 1 cube solenoid, 1 armature, 2 tooth washers and 2 1/4 hex head screws.

$34.93
In Stock
Evaporator Fan Blade Kit
Part #WR60X114
This kit features a 5-blade plastic evaporator fan blade that rotates CCW and measures 4.5-inches in diameter and has a 3/8-inch-tall shaft. This kit also has a metal compression ring that secures the fan to the evaporator. The evaporator mechanism is normally located in the freezer and is responsible for pulling the warmer air over the c...Read moreondenser coils, cooling it off and then blowing and circulating that cooler air through the rest of the refrigerator. If the freezer compartment has a frost buildup or if there is a lack of cooling and airflow in your refrigerator, this fan likely needs to be replaced. To replace your evaporator fan, you will likely need a screwdriver and a set of pliers and check your user manual for the exact location of your evaporator fan.
Read less

$17.15
In Stock
Refrigerator Plastic Tubing
Part #WPB5705307
This part supplies water to refrigerator components that require water, such as the ice maker and water dispenser. If you notice a leak coming from your refrigerator, the plastic tubing that feeds your water and ice dispenser might need to be replaced. This part is made of clear plastic and is 1/4 inch thick, and 8 1/2 feet long. Make sur...Read moree to disconnect power to the refrigerator and shut off the water supply prior to installing this part. Safely store any perishable food items that could deteriorate while the power to the refrigerator is disconnected. Work gloves are recommended to protect your hands during this installation.
Read less

$15.00
Special Order
1/4 Tubing Nut
Part #WR57X57
This is a quarter tubing nut and is sold individually. The tubing nut works in conjunction with your refrigerator/freezer and is made entirely of plastic. The function of this part is to connect the lines that supply water to your ice maker and water dispenser. The most common reason or needing to replace this part is if fluid is leaking ...Read morefrom the water line to your icemaker or water dispenser. The tools you will need to make this repair include a nut driver, a pair of pliers, and a screwdriver set.
Read less

$175.96
Special Order
Condenser Fan Motor
Part #WR60X177
This condenser fan motor operates in a clockwise fashion. The fan itself has two 1/4 inch spade terminals. It carries 2 watts and 115 volts. This motor NO longer comes with cover for terminals.

$41.70
In Stock
Refrigerator Defrost Timer
Part #WR9X483
This refrigerator defrost timer will cycle for thirty minutes after every ten hours of run time.

$15.00
Special Order
Water Tubing Clip
Part #WR1X5278
This water tubing clip, also known as a P-clamp, is usually used within refrigerators and freezers to organize the water line and tubing, but due to its versatility, this clip may also be used in other applications, like securing other cables. Made of metal and measuring approximately 1-inch in length, this clip features a hole on each si...Read morede to allow you to screw it into the side of your appliance and secure the appropriate valve, tube, or cable. This clip is a genuine OEM part that is sold individually.
Read less

$15.00
Special Order
Fill Tube Clamp
Part #WR2X4754
The fill tube clamp is used in refrigerators to support the water tube. If the tubing or hose is working but is loose inside the unit, the clamp could be broken or damaged. If this is an issue your refrigerator is experiencing, replacing the clamp can be the solution. These tube clamps are sold individually and the screw is not included. ...Read moreMake sure to unplug your refrigerator from the power source before installing this part. Refer to the manual provided by the manufacturer for further instructions on this repair.
Read less

$57.26
In Stock
Power Cord
Part #WR23X10300
This heavy-duty cord has a three-pronged plug (2 electrical, 1 grounding). The power cord supplies power to your refrigerator, allowing it to keep the contents inside cool. There could be an issue with your cord if you notice that the refrigerator will not turn on, or intermittently turns on and off. Check the cord for fraying, or other v...Read moreisible damage. If the power cord shows any signs of damage, replace the cord immediately as it could become an electrical or fire hazard. Before you begin this repair, ensure that the power is disconnected from the unit, and that all food that could ruin is stored away while the power is off.
Read less
Common Symptoms of the TBF22RCB
How this model fails, and the parts that fix it.
Leaking
Fixed by
these parts
these parts


Show All
Light not working
Fixed by
these parts
these parts

Show All
Noisy
Fixed by
these parts
these parts


Show All
Fridge too warm
Fixed by
these parts
these parts


Show All
Ice maker won’t dispense ice
Fixed by
these parts
these parts

Show All
Freezer section too warm
Fixed by
these parts
these parts
Show All
Ice maker not making ice
Fixed by
these parts
these parts
Show All
Will Not Start
Fixed by
these parts
these parts

Show All
Freezer not defrosting
Fixed by
these parts
these parts
Show All
Watch our pros, then fix it yourself.
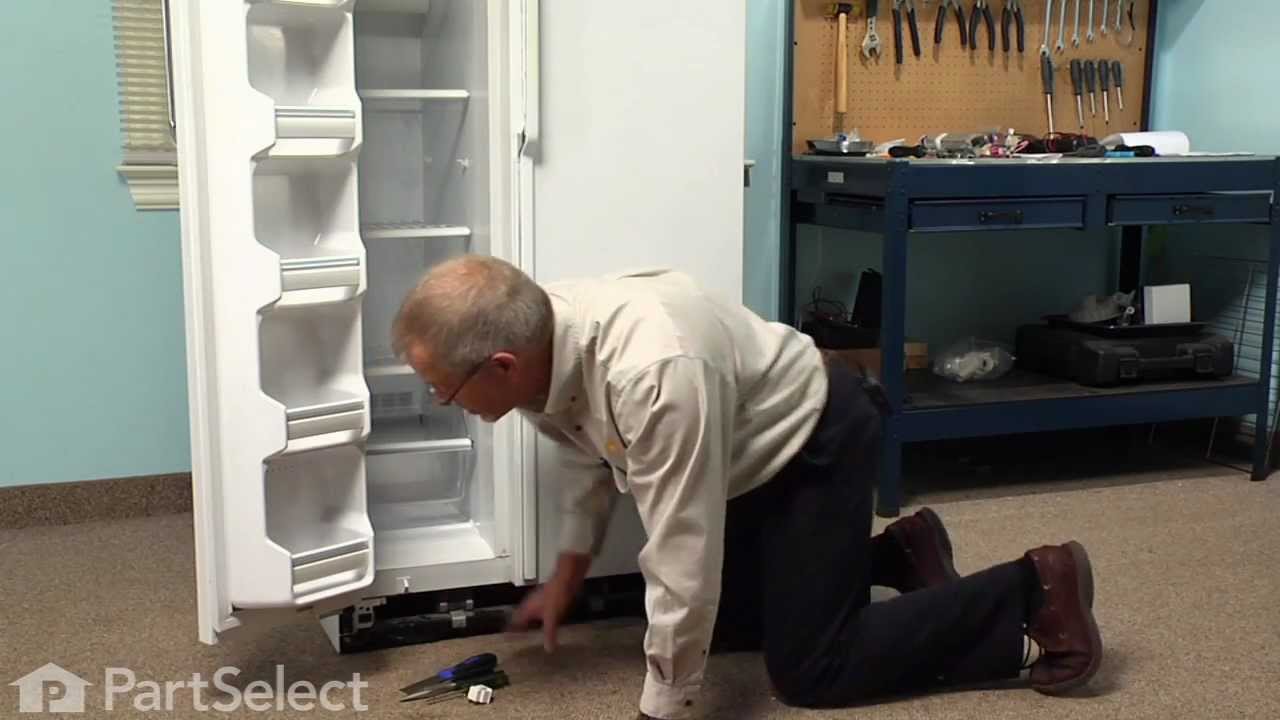
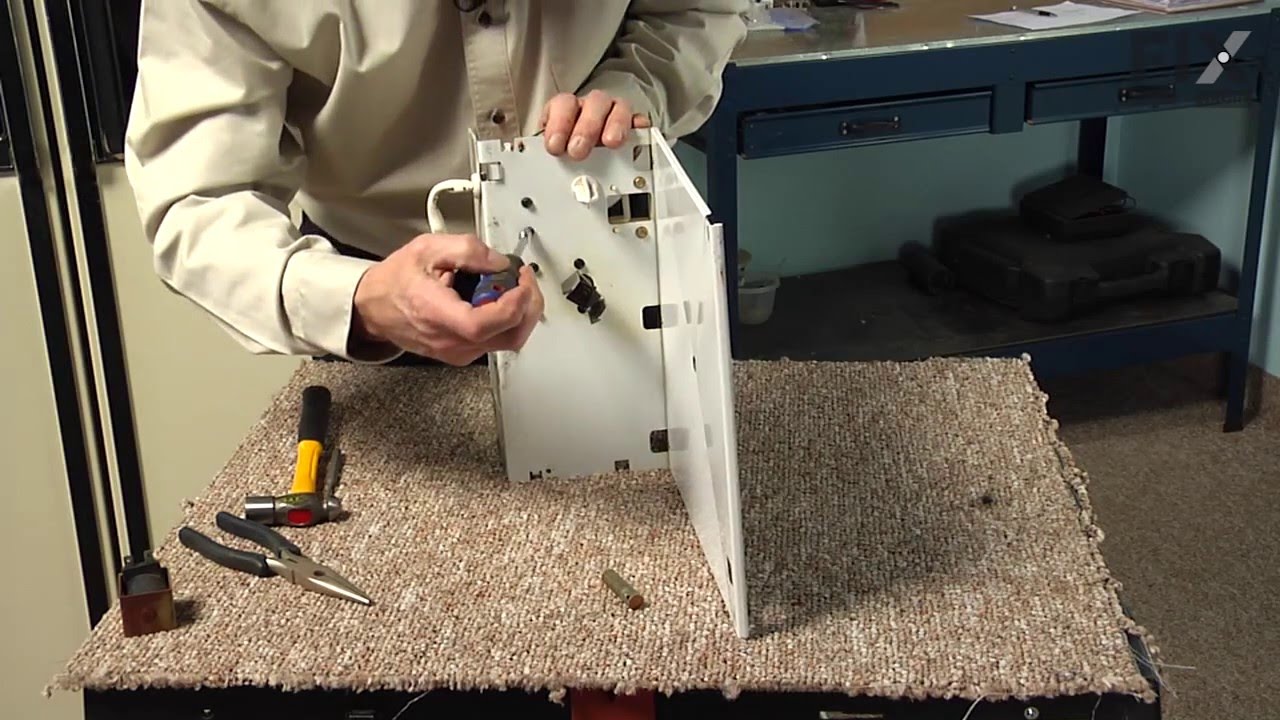
See how others fixed this model. Time, tools, difficulty, and steps that lead to victory!
View More