


 My Orders




SX22SW-P1190201WW Amana Refrigerator - Overview
Diagrams for SX22SW-P1190201WW
See every part. Know exactly what you need.


Enter a part description. DIY Heroes keep it simple, eg. "belt" or "pump".
Search filter:
Clear Filter
Your search term must have 3 or more characters.

$19.54
In Stock
Light Bulb - 40W
Part #8009
This an authentic OEM 40-Watt replacement light bulb, used in a number of household appliances. It is specially designed to withstand extreme temperatures, which is why these replacement bulbs are most often used to light the inside of refrigerators and ranges. It features a standard socket base, which means you simply unscrew the burnt-o...Read moreut bulb and screw in the replacement. Depending on the appliance you may require a screwdriver or nut driver to access the light bulb. We recommend you wear work gloves while handling this replacement part. It is constructed of glass and metal and is sold individually. Depending on the appliance and location of the bulb within it, you may want to consider disconnecting power and using a flashlight for easier access to unscrewing and re-screwing in your bulb during this repair.
Read less

$30.53
In Stock

$65.73
In Stock
Refrigerator Condenser Fan Motor Kit
Part #833697
This condenser fan motor kit is designed for use with refrigerators. This fan draws air through the condenser coils and over the compressor. It does this with the goal of cooling the warm refrigerant before it enters the evaporator. When your fan or fan motor is not working your refrigerator will not cool properly. This is a 2-Watt, 115 V...Read moreolt motor that rotates the fan in a counter clockwise direction. This kit includes the hardware needed for installation, and a set of instructions. Before you begin any repair work make sure to unplug your appliance.
Read less

$9.62
In Stock
Door Closure Cam Kit
Part #R0181181
This door closing cam kit is intended for use on the bottom of your refrigerator and freezer door hinges. The cam helps close the doors and to lifts them slightly when opened. If your door will not open or close, or will not stay closed, there could be an issue with the door close cam. Other common symptoms associated with the door close ...Read morecam are: the door is sweating, the fridge is too warm, or a clicking sound can be heard coming from the door. If your refrigerator has an ice and water dispenser, you will need to disconnect the power and water to the unit before you begin the repair.
Read less

$7.47
In Stock

$54.24
In Stock
Refrigerator Run Capacitor
Part #WP65889-4
This part helps the compressor kick on and off while maintaining a constant temperature to keep things frozen in your freezer. If you are noticing temperature issues with your refrigerator or freezer, the run capacitor may need replacing. This repair is fairly easy to complete, and the only tools you will require are a 1/4 inch nut driver...Read more, and a 1/4 inch socket with a small ratchet. The run capacitor is located in the back of the fridge, so you will need to make sure you have room to work on this repair. Make sure to unplug the fridge prior to beginning the repair.
Read less

No Longer Available
Shelf Support - Right Side
Part #WP10941102
This right side shelf support is just over an inch long. It is all white in color and it is made entirely of plastic.

$75.99
Special Order

$40.65
In Stock
Refrigerator Tray
Part #WP841180A
This fourteen cube ice cube tray is eleven inches long. It is all white in color and is made entirely of plastic.

$9.62
In Stock

$7.47
In Stock

$7.47
In Stock
Common Symptoms of the SX22SW-P1190201WW
How this model fails, and the parts that fix it.
Light not working
Fixed by
these parts
these parts

Show All
Freezer section too warm
Fixed by
these parts
these parts


Show All
Fridge too warm
Fixed by
these parts
these parts

Show All
Will Not Start
Fixed by
these parts
these parts

Show All
Noisy
Fixed by
these parts
these parts

Show All
Door won’t open or close
Fixed by
these parts
these parts
Show All
Fridge and Freezer are too warm
Fixed by
these parts
these parts
Show All
Clicking sound
Fixed by
these parts
these parts
Show All
Fridge runs too long
Fixed by
these parts
these parts
Show All
Door Sweating
Fixed by
these parts
these parts

Show All
Too warm
Fixed by
these parts
these parts
Show All
Leaking
Fixed by
these parts
these parts
Show All
Watch our pros, then fix it yourself.
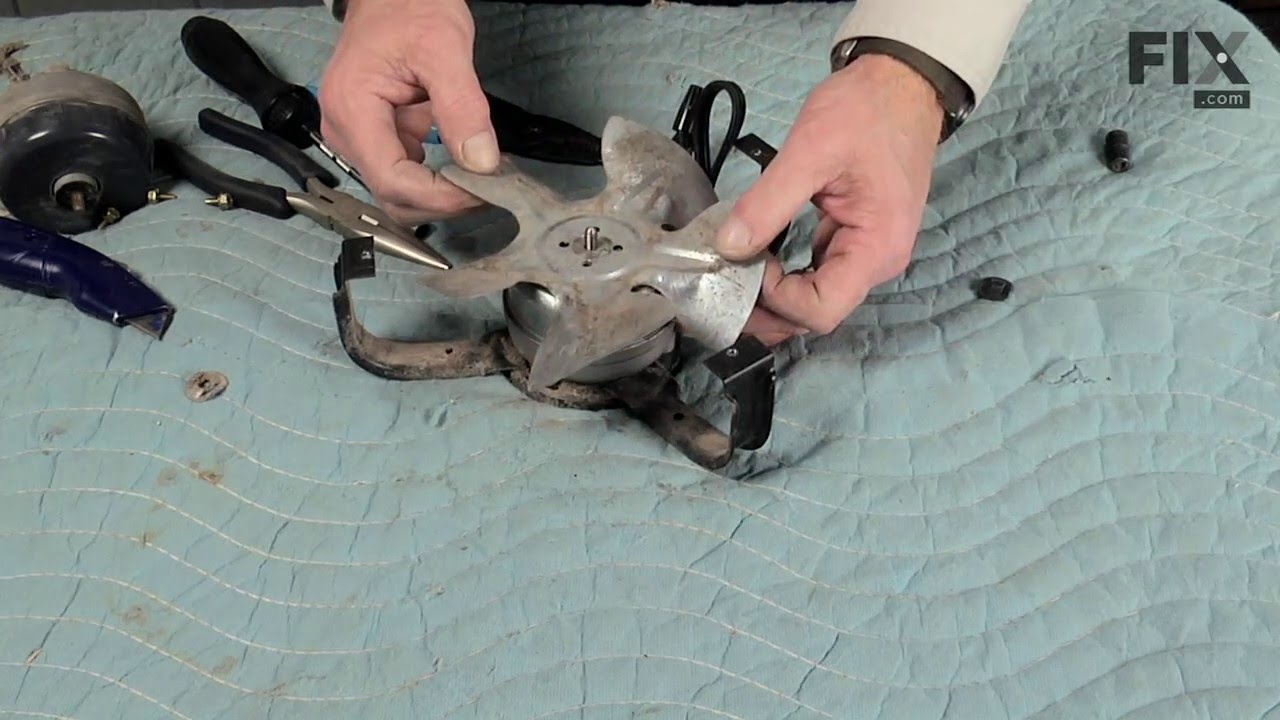
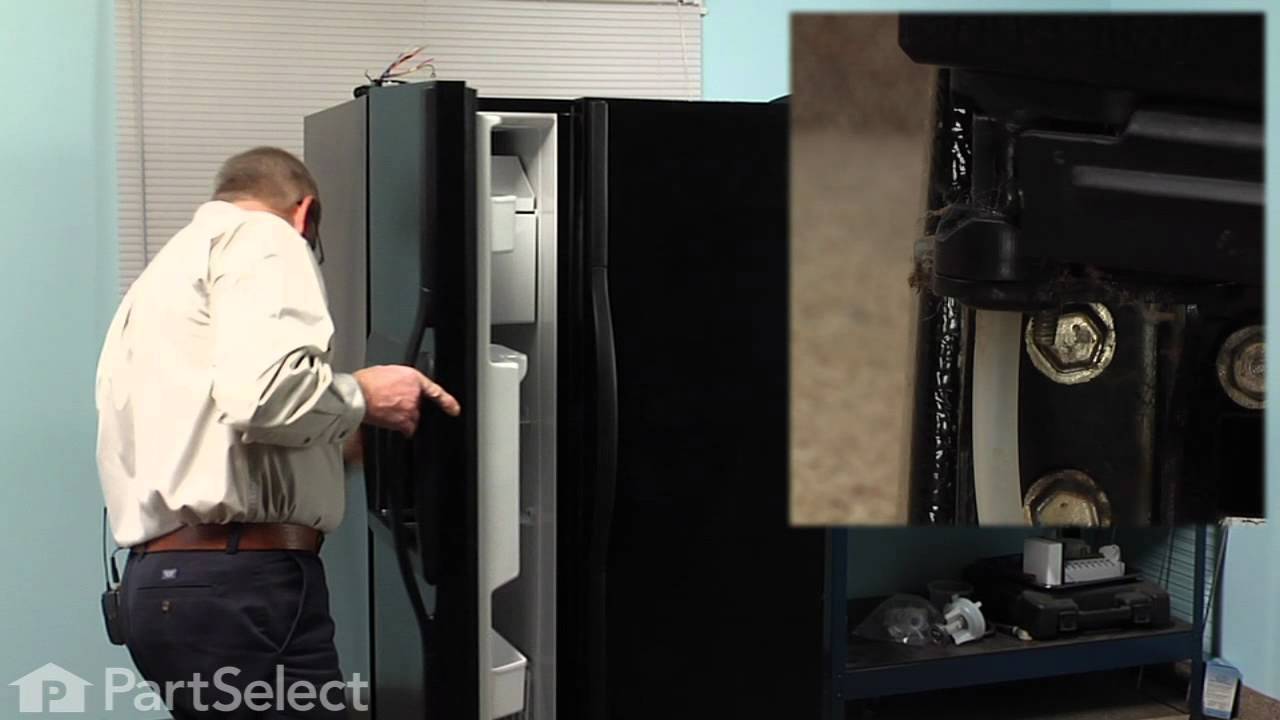
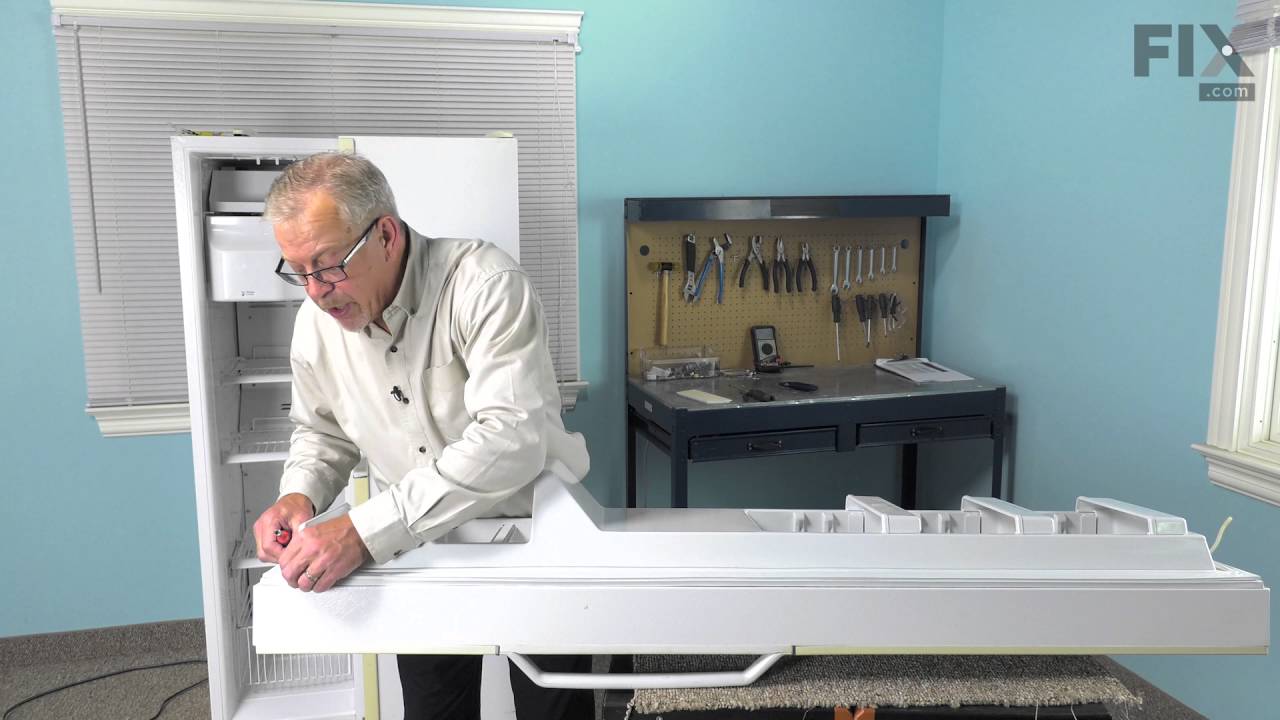

See how others fixed this model. Time, tools, difficulty, and steps that lead to victory!
View More