


 My Orders




SWT121LA Speed Queen Washer - Overview
Diagrams for SWT121LA
See every part. Know exactly what you need.


Enter a part description. DIY Heroes keep it simple, eg. "belt" or "pump".
Search filter:
Clear Filter
Your search term must have 3 or more characters.

$12.85
In Stock
Retaining Ring
Part #WP23748
The metal retaining ring, which is under an inch long, holds the rear wheels on the axels of the dryer. The main reason why it would need to replaced is if the retaining ring has sprung out of place or is damaged. Some the symptoms could be that your dryer does not tumble, it makes a loud buzzing noise, or if it pumps, but will not spin. ...Read moreThe tools needed for this project are a putty knife, 5/16 nut driver, and snap ring pliers. Refer to the installation video and diagram for further instructions and guidance. Customers ranked this replacement project as easy.
Read less

$7.47
In Stock

$7.47
In Stock

$49.50
In Stock
Spin Belt
Part #WP27001007
This v-shaped spin belt helps transfer power from the motor to the transmission to help pump the water in and out of the washer. It also helps runs the spin cycle in the washer.

$7.47
In Stock
Washer Hose Clamp
Part #WP596669
This hose clamp is used in a wide variety of household appliances. Most often it is found in washers, dishwashers, refrigerators, freezers, dehumidifiers, garbage disposals, or air conditioners. This clamp is used to securely attach a hose to another part of your appliance, which helps prevent leaks from those connections. Depending on th...Read moree appliance, it can attach hoses to drain pumps, water inlet valves, pressure switches, and injector nozzles. We recommend you refer to model-specific diagrams for appropriate uses and exact placement. This hose clamp is made of metal, and is sold individually. To access and replace this part you will need a nut driver, pliers, and screwdrivers. Before you begin any repair work, make sure you have unplugged your appliance, and shut off the water supply if applicable.
Read less

$9.62
In Stock
Hose Clamp
Part #WP285655
The hose clamp is used to hold the water hose in place which will prevent the hose from leaking water. Sometimes the clamp may lose its ability to latch on, causing a leaking washer. For the installation, you will need a flat head screw driver to replace the clamp and a drill to access the screws to remove the front of the washer. Be care...Read moreful if you do not have specific clamp pliers as the clamp could fly off. Once the front of the washer has been removed, take a quick look for water damage or any obvious signs of where the leak is coming from. If it is not obvious, run water to test.
Read less

$7.47
In Stock
Lid Hinge Mounting Screw
Part #WPW10119828
Sold individually. NOTE: The color on the screw may not be the same as the image, but will still function the same.

$7.47
In Stock

No Longer Available
Washer Inlet Hose Washer
Part #WPY013783
This inlet hose washer, also known as a high pressure inlet hose washer, is used in washing machines, refrigerators, freezers, and dishwashers. The function of this part is to create a watertight seal in the appliance. If your gasket gets dry and brittle over time it will start to crack and will lose its function. In this case, it is impo...Read morertant to replace it. Refer to the manual provided by the manufacturer for further installation instructions and accurate guidance. As a safety precaution, remember to unplug your washer from the power source before beginning.
Read less

$65.73
In Stock
Main Tub Bearing Assembly
Part #WP40004201P
This triangular main tub bearing assembly is five inches long. It is made of metal.

No Longer Available
Drive Bell and Seal Kit
Part #R9900189
This washing machine drive bell and seal kit comes with a seal, a plug, a shoulder screw, a drive bell, and some grease.

$11.77
In Stock
Common Symptoms of the SWT121LA
How this model fails, and the parts that fix it.
Noisy
Fixed by
these parts
these parts


Show All
Leaking
Fixed by
these parts
these parts


Show All
Burning smell
Fixed by
these parts
these parts

Show All
Will not agitate
Fixed by
these parts
these parts
Show All
Will not drain
Fixed by
these parts
these parts
Show All
Spins slowly
Fixed by
these parts
these parts
Show All
Watch our pros, then fix it yourself.


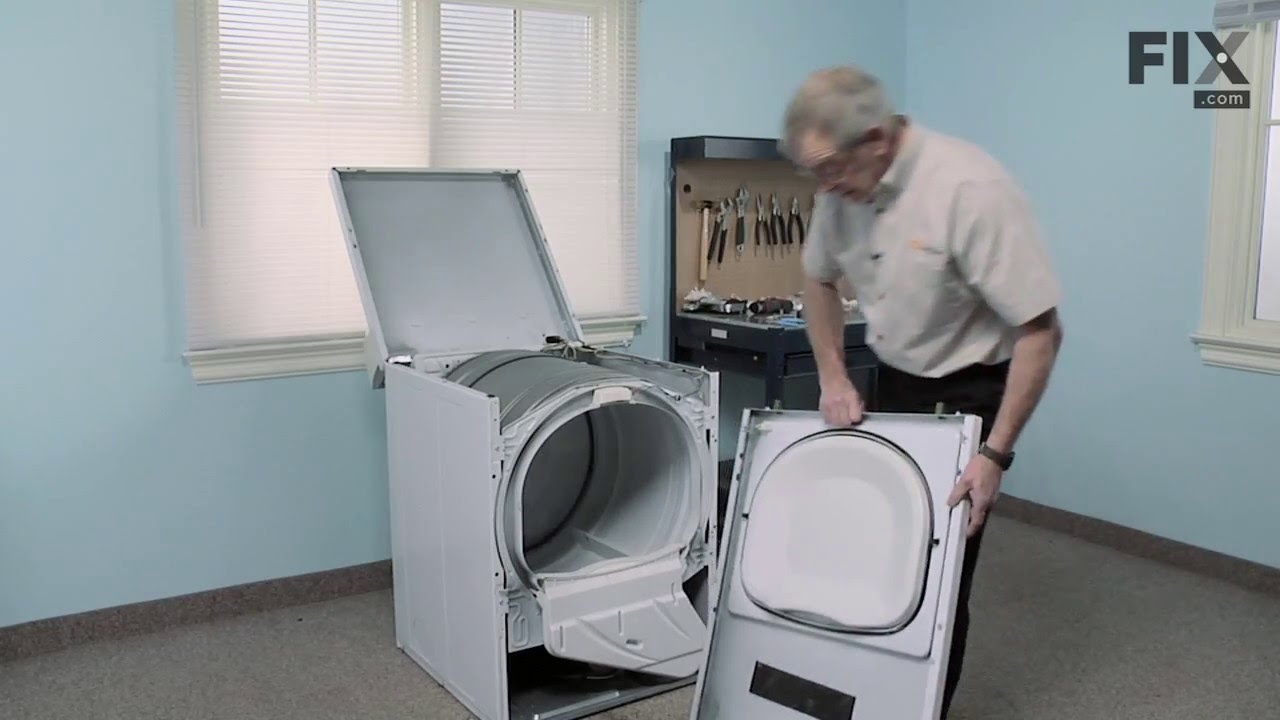
See how others fixed this model. Time, tools, difficulty, and steps that lead to victory!
View More