


 My Orders




SSL27RGTABS General Electric Refrigerator - Overview
Diagrams for SSL27RGTABS
See every part. Know exactly what you need.


Enter a part description. DIY Heroes keep it simple, eg. "belt" or "pump".
Search filter:
Clear Filter
Your search term must have 3 or more characters.

$74.23
In Stock
Refrigerator Ice and Water Filter
Part #MWFP
This ice and water filter helps reduce impurities in select side by side and bottom freezer refrigerators. Replace it about every six months, or when water flow slows, ice production drops, or the filter light turns red. Some older filter setups may need an adapter. Place a cloth under the filter before removal. Check the exact refrigerator model before ordering.

$30.53
In Stock
Temperature Sensor
Part #WR55X10025
This temperature sensor, also called a thermistor, measures temperature inside the refrigerator or freezer and sends readings to the main control board. The board uses this information to control cooling, including compressor and fan operation. Incorrect readings may cause the compartment to become too warm or too cold, or make cooling ru...Read moren longer than needed. The replacement includes the sensor body and wire leads. Its location varies by appliance. This is an OEM part sourced directly from the manufacturer.
Read less

$84.51
In Stock
WATER VALVE WITH GUARD
Part #WR57X33326
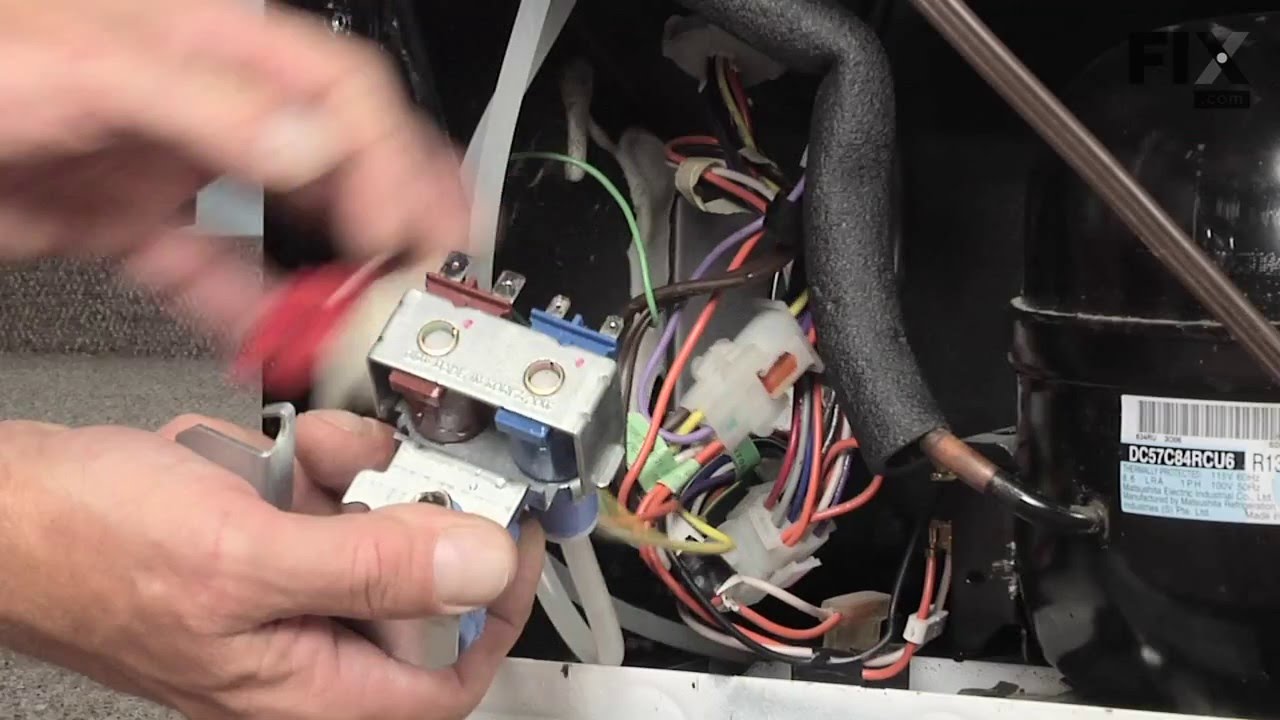
If your refrigerator is leaking, the dispenser is not dispensing, or the ice maker is not making or dispensing ice, the inlet valve may be involved. It controls water flow to the refrigerator’s water system and includes a guard. Check water pressure first; if it is sufficient, test valve continuity with a multimeter. Disconnect power befo...Read morere testing or replacing the valve. The inlet uses a 1/4-inch compression fitting, with 1/4-inch and 5/16-inch John Guest outlets. Confirm fit for your refrigerator.
Read less

$39.71
In Stock
Module Shelf Insert - Clear
Part #WR71X10761
The Module Shelf Insert is a complete assembly for the module shelf. This repair is rated as "Easy" by users. Simply remove the old shelf insert and snap the new one into place using the locking tabs. This part is used to hold items in the fridge, and if broken it should be replaced. Refer to your user manual and model number to ensure this part is right for you.

$207.55
In Stock
Ice Maker
Part #WR30X10093
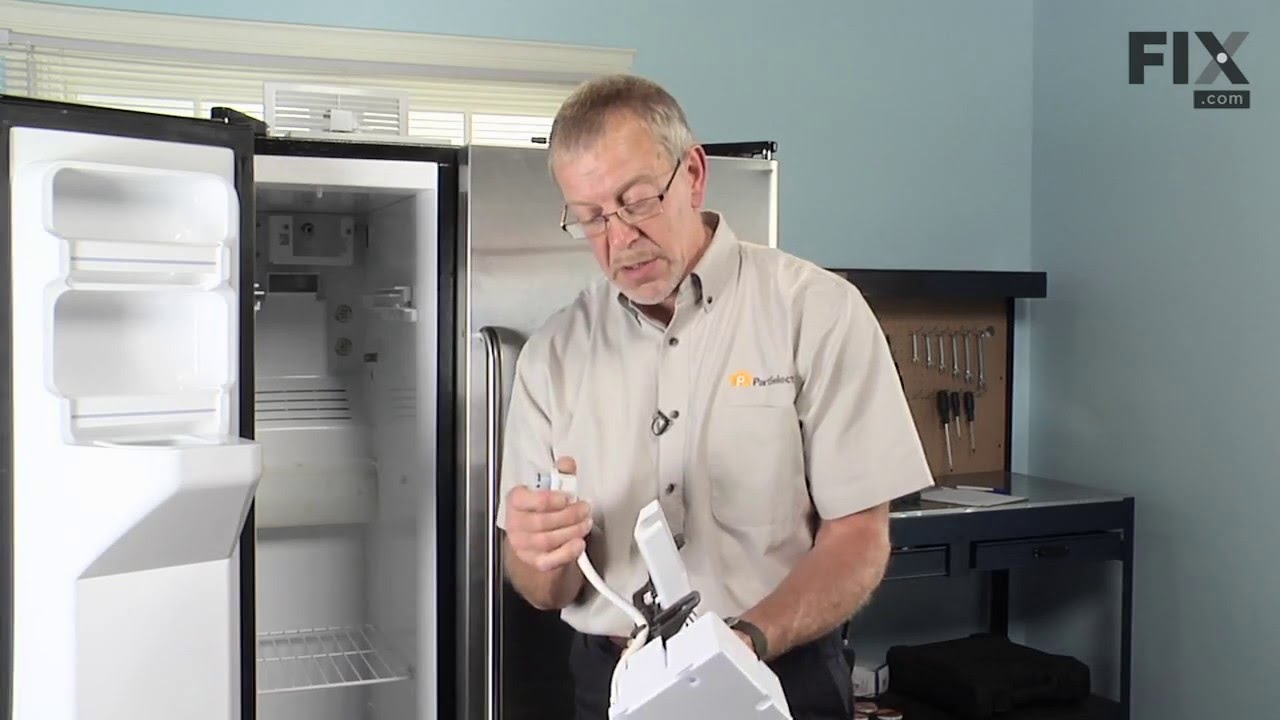
This refrigerator ice maker assembly automatically freezes water and releases crescent-shaped ice cubes into the storage bin. It replaces an existing ice maker that has stopped cycling, fails to release ice, or has damaged components. Poor ice production can also result from a restricted water supply or incorrect freezer temperature, so c...Read moreheck these conditions before replacing the assembly. Confirm the mounting arrangement, fill cup position, electrical connections, and included adapters against the appliance parts list to ensure the kit matches the original installation. This is an OEM part sourced directly from the manufacturer.
Read less

$33.60
In Stock
Dispenser Door Assembly or Flapper
Part #WR17X11653
Warm, moist air stays out of the ice chute when this refrigerator dispenser door flapper closes against the opening. The flap opens during ice dispensing, allowing cubes to pass through, then returns to form a seal when dispensing ends. A cracked, warped, or damaged sealing edge may leave gaps that contribute to frost, condensation, or dr...Read moreipping around the chute. Replacing a damaged flapper helps restore proper closure and reduces air leakage between the freezer and room while the dispenser is idle. This is an OEM part sourced directly from the manufacturer.
Read less

$56.33
In Stock
Dispenser Door Solenoid Assembly
Part #WR62X10055
This ice dispenser solenoid moves the linkage that opens the ice chute door when dispensing is activated. When power is released, the mechanism allows the flap to close and limit warm air entering the freezer. A failed or sticking solenoid may prevent ice from dispensing or leave the chute door open, contributing to frost or moisture buil...Read moredup. Inspect the solenoid, spring, and door linkage before replacement, since other mechanism faults can cause similar symptoms. Disconnect power before accessing the dispenser assembly and follow the appliance instructions for mounting and wiring. This is an OEM part sourced directly from the manufacturer.
Read less

$381.06
In Stock
Main Control Board Assembly
Part #WR55X10942C
This electronic board (Main Control Board Assembly, Control Board, Motherboard) controls the temperature and defrost functions of the unit. This control board is located on the back of the refrigerator, and measures 8 inches by 5 inches. It’s constructed of metal and plastic, and comes in green. This kit includes one main control board wi...Read moreth built in defrost controls. If broken due to electrical surges or normal use, your fridge may experience temperatures that are too warm or too cold, or inconsistent defrost cycles. If this happens, the part should be replaced.
Read less

$92.28
In Stock
Defrost Heater and Bracket Assembly
Part #WR51X10055
This defrost heater and bracket assembly melts frost from the evaporator coils during the automatic defrost cycle. Clearing the frost allows air to move across the cooling surface and through the refrigerator compartments. A failed heater may allow ice to build up, restricting airflow and leaving the fresh food or freezer section too warm...Read more. The appliance may also run longer without reaching the set temperature. Confirm the heater fault before replacement, since the thermostat and defrost control can cause similar symptoms. Disconnect power before accessing the assembly. This is an OEM part sourced directly from the manufacturer.
Read less

No Longer Available
Ice Dispensing Drive Cup
Part #WR17X11459
This part is found at the end of the auger in the ice container - replace this part when the icemaker doesn't dispense ice.

$16.10
In Stock
Recess Door Spring
Part #WR02X10585
This recess door spring returns the ice chute door or dispenser lever to its resting position after use. It sits inside the water and ice dispenser assembly, behind the control panel. A broken spring or loss of tension may leave the chute door open or cause the lever to hang loose instead of returning normally. An open chute can let warm,...Read more moist air enter the freezer and contribute to frost around the dispenser opening. Check the spring and surrounding mechanism when these symptoms occur. This is an OEM part sourced directly from the manufacturer.
Read less

$15.00
In Stock
Union Connector - 5/16 Inch to 5/16 Inch
Part #WR02X11330
A refrigerator water system uses this straight quick union connector to join two plastic water lines. Both ends connect to 5/16-inch lines. This is an OEM part, so check that it matches your refrigerator’s model before ordering.
Manuals & Care Guides for SSL27RGTABS
Click to downloadCommon Symptoms of the SSL27RGTABS
How this model fails, and the parts that fix it.
Leaking
Fixed by
these parts
these parts


Show All
Not dispensing water
Fixed by
these parts
these parts


Show All
Fridge too warm
Fixed by
these parts
these parts


Show All
Ice maker not making ice
Fixed by
these parts
these parts

Show All
Freezer section too warm
Fixed by
these parts
these parts
Show All
Ice maker won’t dispense ice
Fixed by
these parts
these parts


Show All
Noisy
Fixed by
these parts
these parts


Show All
Light not working
Fixed by
these parts
these parts


Show All
Freezer not defrosting
Fixed by
these parts
these parts
Show All
Fridge too cold
Fixed by
these parts
these parts

Show All
Door won’t open or close
Fixed by
these parts
these parts

Show All
Frost buildup
Fixed by
these parts
these parts
Show All
Door Sweating
Fixed by
these parts
these parts
Show All
Will Not Start
Fixed by
these parts
these parts
Show All
Fridge and Freezer are too warm
Fixed by
these parts
these parts
Show All
Door latch failure
Fixed by
these parts
these parts
Show All
Clicking sound
Fixed by
these parts
these parts
Show All
Too warm
Fixed by
these parts
these parts
Show All
Fridge runs too long
Fixed by
these parts
these parts
Show All
Freezer too cold
Fixed by
these parts
these parts
Show All
Ice maker dispenses too little ice
Fixed by
these parts
these parts
Show All
Ice maker dispenses too much ice
Fixed by
these parts
these parts
Show All
Doesn’t stop running
Fixed by
these parts
these parts
Show All
Too cold
Fixed by
these parts
these parts
Show All
Won’t start
Fixed by
these parts
these parts
Show All
Touchpad does not respond
Fixed by
these parts
these parts
Show All
Leaks water
Fixed by
these parts
these parts
Show All
Watch our pros, then fix it yourself.
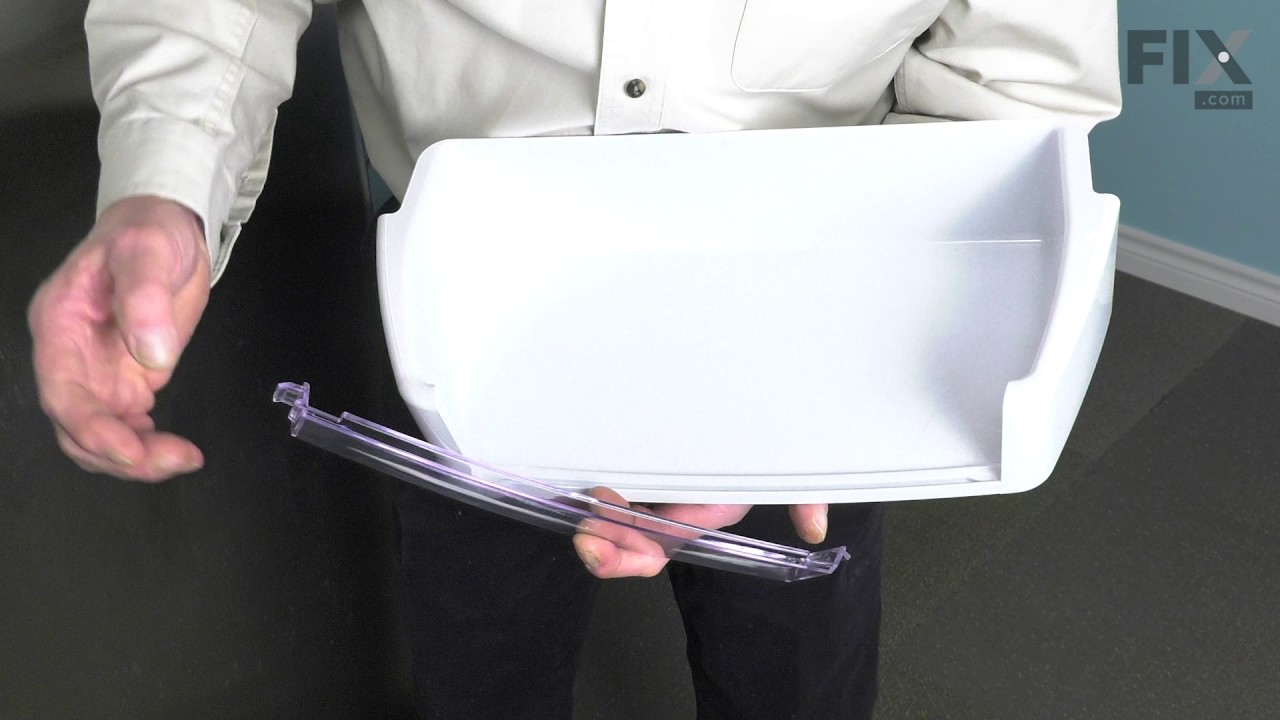

See how others fixed this model. Time, tools, difficulty, and steps that lead to victory!
View More
Search repair tips from other customers using simple keywords like "replace", "fit", "remove", "inspect". DIY doesn't mean you have to do it alone!
Search filter:
Clear Filter
Your search term must have 3 or more characters.
Ice Maker stopped dispensing ice through Ice Maker Dispensor.
647 of 732 people
found this instruction helpful.
After taking Ice Maker's ice collection container out, I noticed that the plastic cup drive was broken. I did a websearch for repair and replacement parts for our GE refrigerator. I found PartSelect website easy to navigate and find the replacement part necessary...and placed an order.
Once I received the shipment, I placed the ... Read more Cup Drive into position and used the flat edge of a knife to allow the Cup Drive to slide into the tight-fitting position necessary. After positioning into place, I placed the ice collection bin back into the freezer...turned the ice-maker back on...and waited for ice to be made. A day later, the ice maker had produced enough ice to test the ice maker's dispensing mechinism. The cup drive worked perfectly...and ice began to be dispensed. The dispensor has been working ever since.
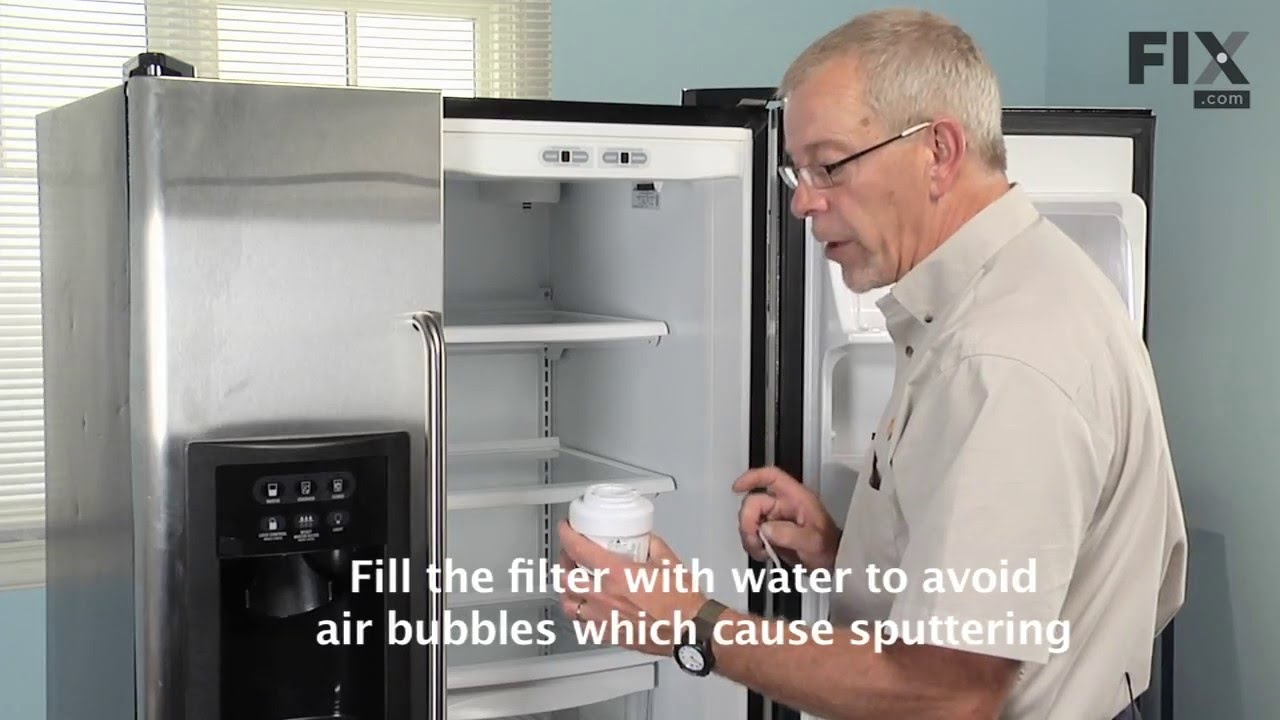
I also replace the ice and water filter...another very easy task...of unscrewing the old and replacing with the new filter. After replacing the filter, I let the water dispensor run for 2 minutes to flush all air out the system. The water dispensor work perfectly.
Once I received the shipment, I placed the ... Read more Cup Drive into position and used the flat edge of a knife to allow the Cup Drive to slide into the tight-fitting position necessary. After positioning into place, I placed the ice collection bin back into the freezer...turned the ice-maker back on...and waited for ice to be made. A day later, the ice maker had produced enough ice to test the ice maker's dispensing mechinism. The cup drive worked perfectly...and ice began to be dispensed. The dispensor has been working ever since.
I also replace the ice and water filter...another very easy task...of unscrewing the old and replacing with the new filter. After replacing the filter, I let the water dispensor run for 2 minutes to flush all air out the system. The water dispensor work perfectly.
Read less
Other Parts Used:


Was this helpful?
Thank you for voting!
Fridge too warm, evaporator icing up
606 of 738 people
found this instruction helpful.
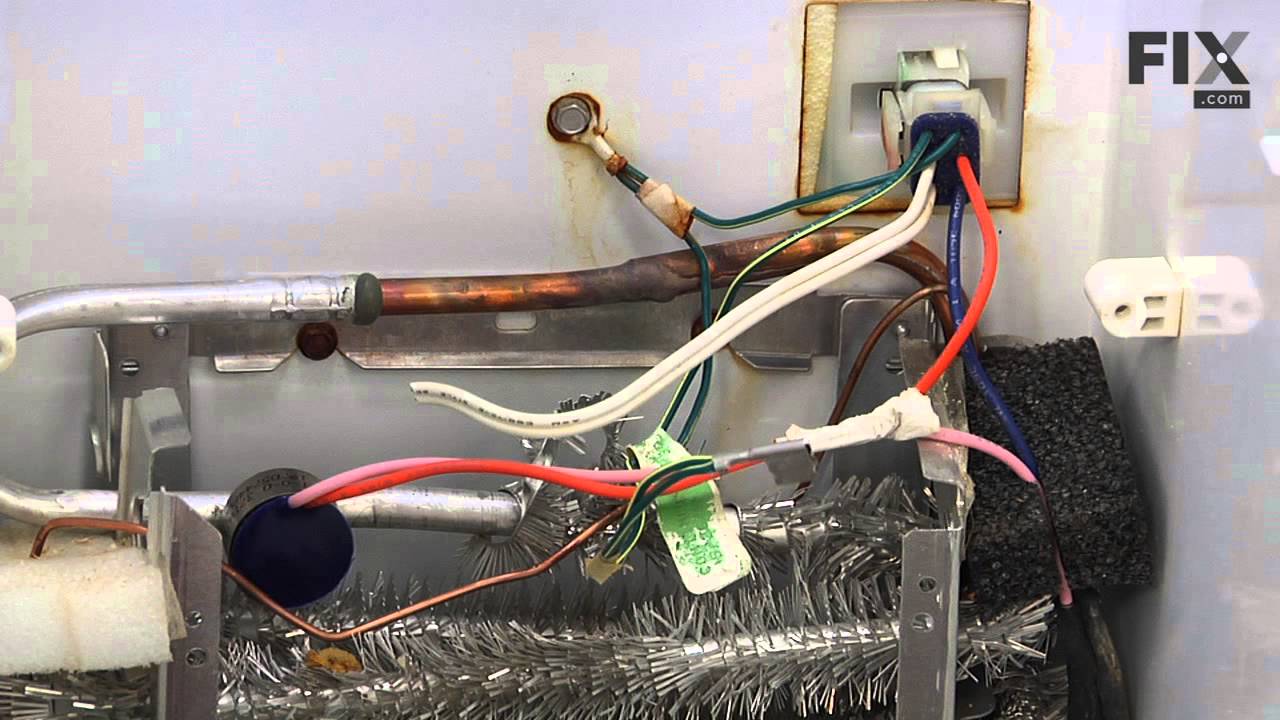
After replacing the defrost heater, main board and thermistor I still had the same problem. Called a repair guy and he (with the help of GE on the phone) diagnosed that the temperature sensor was bad. So I ordered from partselect and installed it and it fixed the problem. Been good for a couple months (knocking on wood). To install I
... Read more
had to cut the 2 wires to the old sensor, crimp the 2 new wires on and snap the new sensor to the clip on the evaporator. Very easy. Make sure you seal the ends of the wire crimps so moisture doesn't get in and corrode the connection.
Read less
Other Parts Used:


Was this helpful?
Thank you for voting!