


 My Orders




SRM-420ESAR (U14826001001-U14826999999) Echo Trimmer - Overview
Diagrams for SRM-420ESAR
See every part. Know exactly what you need.

Enter a part description. DIY Heroes keep it simple, eg. "belt" or "pump".
Search filter:
Clear Filter
Your search term must have 3 or more characters.

$9.80
In Stock
Purge Bulb
Part #12318139130
This OEM replacement part is used to pump fuel from the tank to the carburetor in order to start the engine. It may also be referred to as a Primer Bulb. It is made of durable black plastic and is sold individually. This part will be found in various locations, depending on your model; refer to your owners manual to locate it on your mach...Read moreine, but is commonly found on the side of the air cleaner or carburetor.
To complete this repair, you will need a screwdriver. The Purge Bulb needs to be replaced when it is cracked or damaged. It will become fatigued through regular use and may leak fuel when it is malfunctioning.
Customers rated this repair as Easy.
Read less

$9.83
Special Order
Fuel Filter
Part #A369000440
This OEM Fuel Filter is a white and silver, steel part, sold individually. It requires a pair of pliers to install and is ranked as Easy to repair by our customers. This part attaches inside of the fuel tank, and is used to clean the fuel of debris.
This part should be changed regularly as part of good engine maintenance. If the engine ...Read moresounds like it is not getting enough fuel or is underperforming, remove the filter to heck for a blockage. If there is a blockage or the part is leaking, then it likely needs a replacement.
Read less

$6.40
In Stock
Spark Arrester Screen
Part #14586240630
Also referred to as a Spark Arrester, this Spark Arrester Screen is an authentic OEM replacement part that is not part of a kit or assembly. It is made of metal and sold individually. The purpose of this screen is to prevent flammable debris from entering the engine and becomes worn through regular use. If the screen is clogged, remove th...Read moree screen from the muffler, hold it with pliers, and use a torch to burn off the debris before reinstalling the screen.
This part needs to be replaced when it becomes damaged or worn. When the screen is malfunctioning, you may notice debris exiting through the muffler. To complete this repair, you will need a screwdriver and pliers. This screen is located within the muffler; refer to your owner's manual for the exact location on your model.
Customers rated this repair as Easy.
Read less

$6.06
In Stock
Trimmer Nut
Part #90050000005
This OEM nut is a 5mm, gold, metal nut, which is sold individually. It can be installed with a Wrench or Socket and Torque Wrench by torquing to the manufacturer specifications. This nut is used to secure another part in place, and should be replaced if damaged due to fatigue (such as damaged threads or rounded ends).
This nut can have v...Read morearious uses on various equipment, and as such the difficulty of the installation can vary, but generally this is an easy repair.
Read less

$6.40
Special Order
Spark Plug
Part #A425000000
This spark plug is a genuine OEM part that is used on gas-powered lawn and garden equipment. The spark plug creates the spark that ignites the fuel and air mixture inside the engine, allowing it to run. It comes in a cylindrical shape with a ceramic insulator and a metal electrode that protrudes from the top. If your spark plug is faulty,...Read more your small engine may misfire, have difficulty starting, consume more fuel or not start at all. To check that the spark plug is faulty, you will need to use a spark tester to test it for electrical failure. Once you have done so, you can remove the faulty spark plug using a spark plug socket and ratchet. Place the new spark plug in to the socket and use your hands to carefully thread it into the engine. It is important to note that you should not wait until your spark plug is faulty to replace it. It should be replaced regularly as part of your annual small engine maintenance.
Read less

$7.94
In Stock
Trimmer Vent Cover
Part #13132840630
Genuine OEM replacement part, this item is sold individually. The Vent Cover is installed on the vent tube on the carburetors for the outdoor products listed below. After the Vent Hood is installed on the vent line, the the Fuel Tank vent is attached to the Vent Hood.

$6.40
In Stock
Screw 5x65
Part #V805000100
It is a genuine manufacturer sourced replacement screw that is specially made for use with Shindaiwa and Echo handheld lawn and garden equipment. This high-quality hardware has multiple applications depending on the model of your equipment, please refer to appropriate diagrams for correct location and use of this item. Please note this durable metal Torx screw is sold individually.

$8.06
In Stock
Cap Asy - Orange
Part #P021040430
This is a genuine replacement part which is supplied directly from the original equipment manufacturer for use with Echo gas powered handheld lawn and garden equipment. It is specially designed to keep the fuel in the tank. This cap assembly is made of durable orange plastic and it is sold individually, note it includes the retainer which stays inside the tank to prevent the cap from falling on the ground.

$6.40
In Stock
Auger Nut
Part #90050200006

$6.40
In Stock
Screw 5x20
Part #V805000160
It is a genuine OEM sourced replacement part that is specially made for use with Echo handheld lawn and garden equipment. This screw has multiple applications depending on the model of your unit, please refer to appropriate diagrams for correct location and use of this hardware. It is made from high-quality metal and it is sold individually.

$6.06
In Stock
Screw 5x16
Part #V805000150
This is an authentic replacement part manufactured for use with outdoor power equipment. The screw has multiple applications depending on the model of equipment. This screw is sold as an individual replacement part please see model diagram for associative parts.

$6.40
In Stock
Flange Nut 5
Part #90056250005
An authentic item that is supplied by original equipment manufacturer for use with Shindaiwa and Echo power equipment. This flange nut is a high quality hardware which has multiple applications depending on your equipment, please make sure to check appropriate diagrams for correct location and use of this item. One durable metal nut is included per order.
Watch our pros, then fix it yourself.
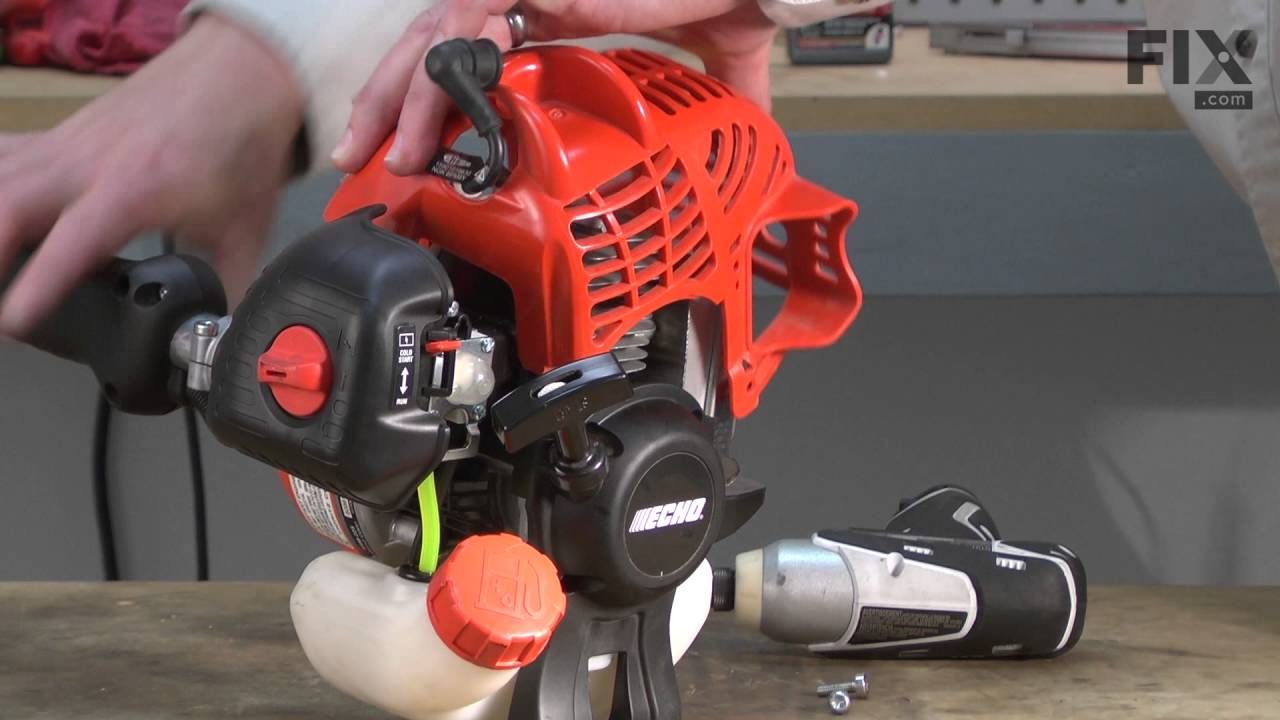
See how others fixed this model. Time, tools, difficulty, and steps that lead to victory!
View More