


 My Orders




SRM-2501S (SRM-2501 After S/N 098241) Echo Trimmer - Overview
Diagrams for SRM-2501S
See every part. Know exactly what you need.
_WW_1.gif "Page A Diagram and Parts List for SRM-2501 After S/N 098241 Echo Trimmer")
_WW_2.gif "Page B Diagram and Parts List for SRM-2501 After S/N 098241 Echo Trimmer")
_WW_3.gif "Page C Diagram and Parts List for SRM-2501 After S/N 098241 Echo Trimmer")
_WW_4.gif "Page D Diagram and Parts List for SRM-2501 After S/N 098241 Echo Trimmer")
_WW_5.gif "Page E Diagram and Parts List for SRM-2501 After S/N 098241 Echo Trimmer")
_WW_6.gif "Page F Diagram and Parts List for SRM-2501 After S/N 098241 Echo Trimmer")
_WW_7.gif "Page G Diagram and Parts List for SRM-2501 After S/N 098241 Echo Trimmer")
_WW_8.gif "Page H Diagram and Parts List for SRM-2501 After S/N 098241 Echo Trimmer")
Enter a part description. DIY Heroes keep it simple, eg. "belt" or "pump".
Search filter:
Clear Filter
Your search term must have 3 or more characters.

$6.40
In Stock
Trimmer Fuel Grommet
Part #13211546730
This is a genuine ECHO/Shindaiwa replacement part It is compatible with over 150 machines listed below. The Fuel Line Grommet is placed into the fuel tank. The Vent tube, Fuel return line and fuel line are inserted through the three holes. A worn Fuel Line Grommet will cause fuel to leak from the tank. When replacing the Grommet it is advisable to replace the fuel lines at the the same time.

$8.52
In Stock
Trimmer Trimer Purge Bulb
Part #P005003120
This Primer Bulb is a clear, plastic, individually sold part with an Outer Diameter of 0.720 inches (18.30 mm) and a Height of 0.674 inches (17.12 mm). With Flange: 0.842" (21.40 mm). This part is rated as Easy to install by customers, and attaches to the primer pump assembly.
If the part shows signs of breakage, such as cracks appearin...Read moreg due to the bulb drying out, or fatigue, then it must be replaced. Refer to your owners manual/model number to ensure you are choosing the correct part.
Read less

$6.40
In Stock
Trimmer Fuel Return Tube
Part #13201056330
The fuel return tube or fuel return line, as it is also known, delivers fuel back to the tank from the primer bulb. This is a genuine OEM part from the manufacturer, and it is yellow in color and sold individually. Its overall dimensions are 3x6x90mm. Over time, or due to over-tightening, cracks may appear in your fuel return tube, causin...Read moreg fuel to leak. You will know it is time to replace this part if you notice these symptoms.
This is an easy repair, according to our customers, and does not require any special tools. The new part will simply attach to the primer bulb and fuel tank.
Read less

$10.97
In Stock
Leaf Blower Fuel Tank Vent
Part #A356000031
This a a genuine OEM replacement check valve for your small engine. It is also known as a fuel tank vent. You may need to replace this part if you are noticing debris or dirty oil in the reservoir. Make sure the engine is cool before you begin this repair, and remove the wire and boot from the spark plug to prevent the engine from starting up.

$6.40
In Stock
Fuel Line
Part #V471001191
This fuel pipe or fuel line is designed to deliver fuel to the carburetor from the fuel filter inside your tank. It is black in color, made of rubber, and its dimensions are 3x5x180mm. The fuel line is sold individually. If you notice fuel leaking from your fuel line, it could be cracked due to wear or drying out, and will need to be repl...Read moreaced.
Our customers rated this repair as easy, it does not require any special tools. Attach the new fuel line inside the tank onto the fuel filter and the carburetor.
Read less

$10.01
In Stock
Air Filter
Part #13031051830
Genuine Echo Replacement part, this item is sold individually. The 13031051830 Air Filter is used to keep dust and debris from contaminating the carburetor and engine. This filter is used on all the Echo Outdoor Products listed below. When this Filter gets clogged and dirty it will diminish the performance of the engine. It should be replaced at this time.

$6.40
In Stock
Throttle Trigger
Part #17801052130
This is an OEM replacement part, it is sold individually. The Throttle Trigger controls the speed of the engine of the models listed below. The throttle cable connects to the trigger, then down to the throttle lever on the carburetor. Because of its constant use the Throttle Trigger has a tendency to break or wear out.

$6.40
In Stock
Nut 10
Part #90051100010
The m10 Left Hand Thread Nut is a 10mm, gold metal part, sold individually. This nut is a "reverse thread". It requires a wrench or socket set to install, and installation is rated as "Easy". Use this part to secure the blade to the unit, by attaching it to the shaft, securing the cutting blade. If broken or damaged, it should be replaced...Read more. Refer to your make, model and diagrams to check if this is the right part for you.
Read less

$6.55
In Stock
Split Pin 2 X 22
Part #90030020022
The Cotter Pin (or Split Pin) is a 2x22mm silver metal part, sold individually. It is rated as "Easy" to install, and installation will require a set of pliers. It can be attached in various locations on a variety of equipment and is used to secure and lock parts in place. If broken, damaged, or worn down the part it is securing may becom...Read moree loose, and the part should be replaced. If this part is removed for repairs, replace it with a new one. Refer to your make, model, and diagrams to make sure this is the correct part.
Read less

No Longer Available
Spark Plug Champion Rcj6Y
Part #15901010630

$8.75
In Stock
Piston Ring
Part #A101000000
This piston ring is an authentic manufacturer approved replacement part. Is is commonly used on Echo gas trimmers/edgers. The purpose of a piston ring is to create an air tight seal inside the cylinder. A worn or broken piston ring will allow combustion gases to escape the seal and enter the crankcase. This would cause low compression and...Read more a loss of power. Replacing an o-ring should resolve this issue. This part is made out of metal and is sold individually. To complete this repair you will need a set of wrenches, pliers and a screwdriver. • Remove the air cleaner • Drain the fuel • Remove the air cleaner case • Remove the carburetor • Remove the intake insulator • Remove the spark plug • Remove the engine cover • Remove the insulator gasket • Remove the starter assembly • Remove the fuel tank • Remove the air duct • Separate the engine • Bind the engine • Remove the clutch • Remove the flywheel • Remove the starter pulley • Unbind the engine • Remove the muffler • Separate the cylinder from the crankcase • Remove the piston ring • Install the piston ring • Reassemble and test the equipment
Read less

$6.06
In Stock
Trimmer Nut
Part #90050000005
This OEM nut is a 5mm, gold, metal nut, which is sold individually. It can be installed with a Wrench or Socket and Torque Wrench by torquing to the manufacturer specifications. This nut is used to secure another part in place, and should be replaced if damaged due to fatigue (such as damaged threads or rounded ends).
This nut can have v...Read morearious uses on various equipment, and as such the difficulty of the installation can vary, but generally this is an easy repair.
Read less
Watch our pros, then fix it yourself.
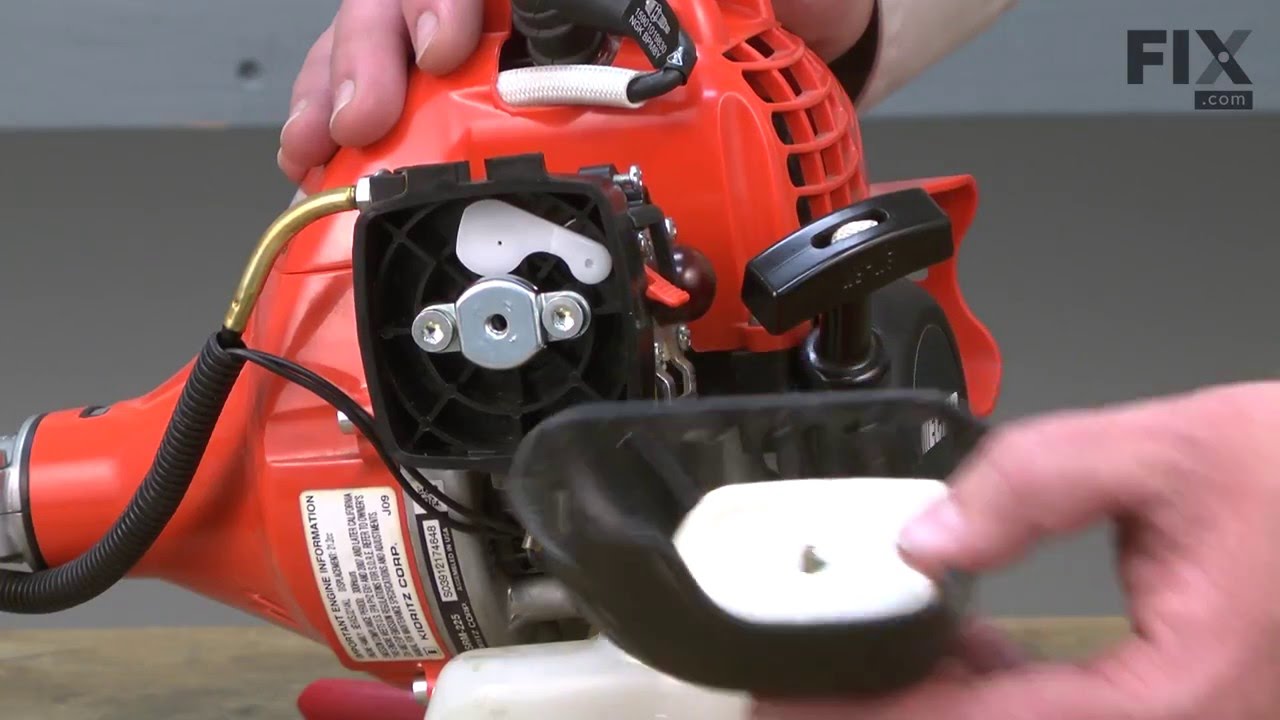
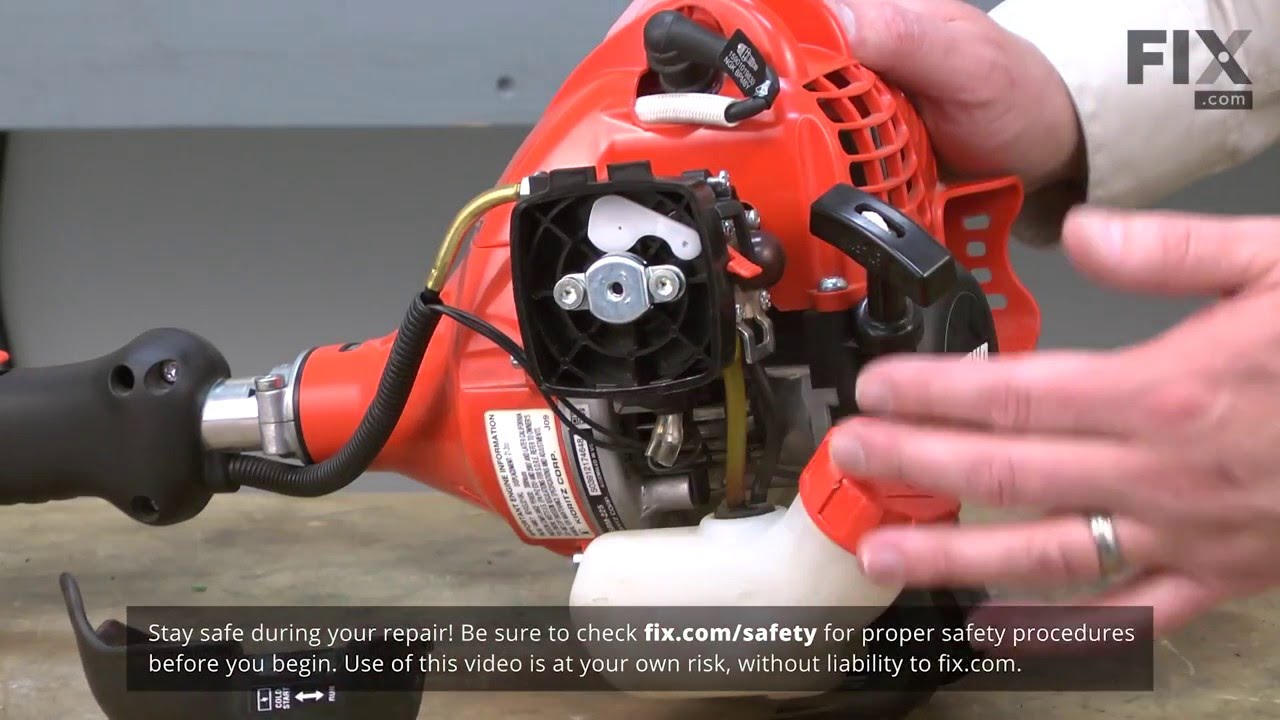
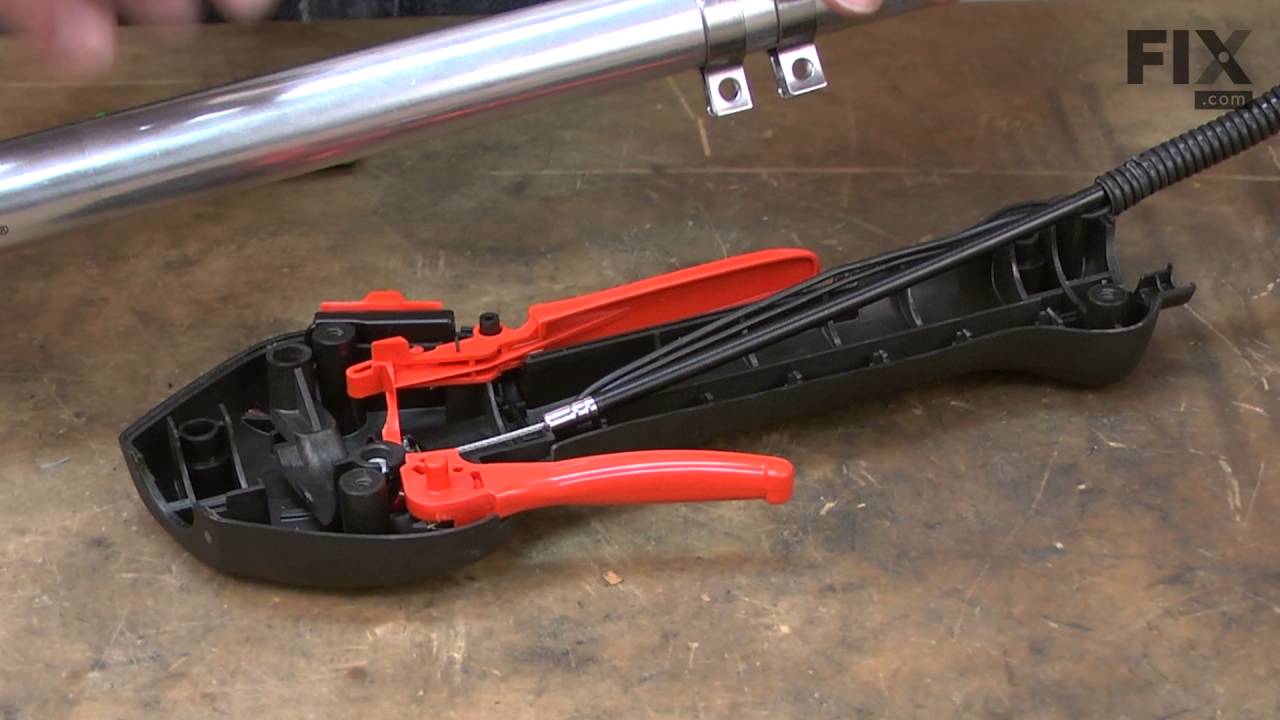

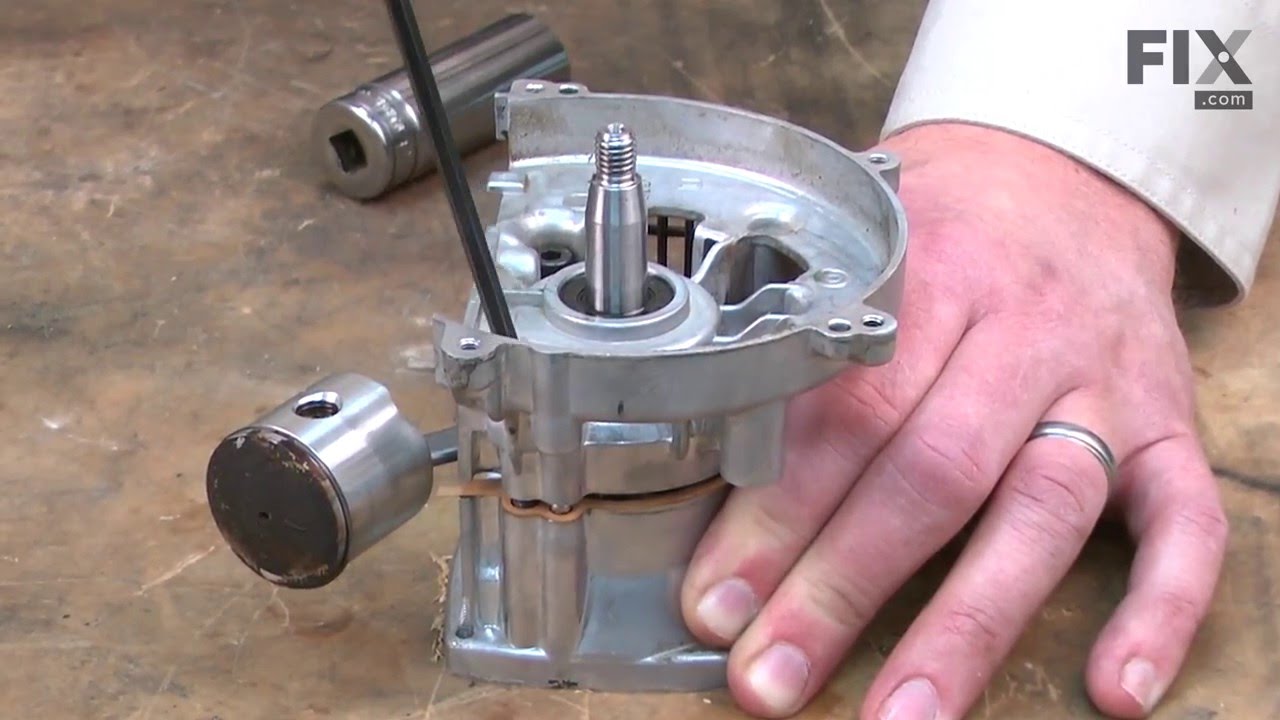
See how others fixed this model. Time, tools, difficulty, and steps that lead to victory!
View More
Search repair tips from other customers using simple keywords like "replace", "fit", "remove", "inspect". DIY doesn't mean you have to do it alone!
Search filter:
Clear Filter
Your search term must have 3 or more characters.
Fuel leaks
1 person
found this instruction helpful.
First remove any remaining fuel in the tank then remove existing fuel lines and grommet then replace with new grommet and fuel lines
Other Parts Used:

Was this helpful?
Thank you for voting!