


 My Orders




SRM-2501 (-651) Echo Trimmer - Overview
Diagrams for SRM-2501
See every part. Know exactly what you need.

Enter a part description. DIY Heroes keep it simple, eg. "belt" or "pump".
Search filter:
Clear Filter
Your search term must have 3 or more characters.

$6.40
In Stock
Trimmer Fuel Return Tube
Part #13201056330
The fuel return tube or fuel return line, as it is also known, delivers fuel back to the tank from the primer bulb. This is a genuine OEM part from the manufacturer, and it is yellow in color and sold individually. Its overall dimensions are 3x6x90mm. Over time, or due to over-tightening, cracks may appear in your fuel return tube, causin...Read moreg fuel to leak. You will know it is time to replace this part if you notice these symptoms.
This is an easy repair, according to our customers, and does not require any special tools. The new part will simply attach to the primer bulb and fuel tank.
Read less

$6.40
In Stock
Fuel Line
Part #V471001191
This fuel pipe or fuel line is designed to deliver fuel to the carburetor from the fuel filter inside your tank. It is black in color, made of rubber, and its dimensions are 3x5x180mm. The fuel line is sold individually. If you notice fuel leaking from your fuel line, it could be cracked due to wear or drying out, and will need to be repl...Read moreaced.
Our customers rated this repair as easy, it does not require any special tools. Attach the new fuel line inside the tank onto the fuel filter and the carburetor.
Read less

No Longer Available
Primer
Part #12538108660

$6.40
In Stock
Throttle Trigger
Part #17801052130
This is an OEM replacement part, it is sold individually. The Throttle Trigger controls the speed of the engine of the models listed below. The throttle cable connects to the trigger, then down to the throttle lever on the carburetor. Because of its constant use the Throttle Trigger has a tendency to break or wear out.

$6.40
In Stock
Nut 10
Part #90051100010
The m10 Left Hand Thread Nut is a 10mm, gold metal part, sold individually. This nut is a "reverse thread". It requires a wrench or socket set to install, and installation is rated as "Easy". Use this part to secure the blade to the unit, by attaching it to the shaft, securing the cutting blade. If broken or damaged, it should be replaced...Read more. Refer to your make, model and diagrams to check if this is the right part for you.
Read less

$6.55
In Stock
Split Pin 2 X 22
Part #90030020022
The Cotter Pin (or Split Pin) is a 2x22mm silver metal part, sold individually. It is rated as "Easy" to install, and installation will require a set of pliers. It can be attached in various locations on a variety of equipment and is used to secure and lock parts in place. If broken, damaged, or worn down the part it is securing may becom...Read moree loose, and the part should be replaced. If this part is removed for repairs, replace it with a new one. Refer to your make, model, and diagrams to make sure this is the correct part.
Read less

$6.06
In Stock
Trimmer Nut
Part #90050000005
This OEM nut is a 5mm, gold, metal nut, which is sold individually. It can be installed with a Wrench or Socket and Torque Wrench by torquing to the manufacturer specifications. This nut is used to secure another part in place, and should be replaced if damaged due to fatigue (such as damaged threads or rounded ends).
This nut can have v...Read morearious uses on various equipment, and as such the difficulty of the installation can vary, but generally this is an easy repair.
Read less

$6.40
In Stock
Screw
Part #90023805016
This is a genuine OEM sourced replacement part designed for use with Echo blowers/trimmers. This is a standard hardware which has multiple applications based on your unit. Please refer to diagrams for proper application. This screw is made out of metal and it is sold individually. To remove or install this screw you would need a screwdriver.

$6.40
In Stock
Trimmer Spark Plug Coil
Part #15901103432
This spark plug wire, also known as a spark plug coil or spark plug cap coil, is compatible with various makes and models of hand-held outdoor power equipment and is sold individually. This wire is installed within the spark plug boot and attaches to the spark plug for the ignition of your equipment. The spark plug wire is often exposed t...Read moreo extreme heat and excessive vibrations, so through normal wear and tear, it will likely break down. If your equipment is having difficulty starting or has general performance issues, the wire may be the reason why. To replace this wire, make sure your equipment is off before removing the wire and boot from the spark plug. Remove the boot from the wire and install the new wire within the boot before re-installing the boot back to the spark plug.
Read less

$33.01
In Stock
Trimmer Shield Assembly
Part #69900440931
This trimmer shield assembly is designed to protect the operator by deflecting grass, dirt, and debris away from the cutting area during trimming. Made from durable, impact-resistant plastic, it helps improve safety while also shielding key components from damage. Many versions include an integrated line-cutting blade to keep trimmer line...Read more at the proper length for consistent performance. Ideal for replacing a cracked or missing guard, it restores safe operation and dependable trimming control.
Read less

$6.06
In Stock
Washer 5
Part #90060300005
This OEM metal washer is commonly used on a variety of different small engine/lawn equipment models and is sold individually. This washer is used to help evenly distribute pressure from the securing bolt or screw with the cylinder cover, to reduce any effects of vibration from the engine. If the connection between the securing fastener be...Read morecomes loose, or if you are replacing the fastener itself, it is recommended that you replace this washer as well.
Read less

$6.40
In Stock
Screw-5x20
Part #90016205020
This replacement screw is specially designed for use with Echo handheld lawn and garden equipment. It is a high quality OEM sourced item, not an aftermarket imitation. This screw is a standard hardware which has multiple uses depending on the equipment. Please note, this hex socket head screw is sold individually.
Watch our pros, then fix it yourself.
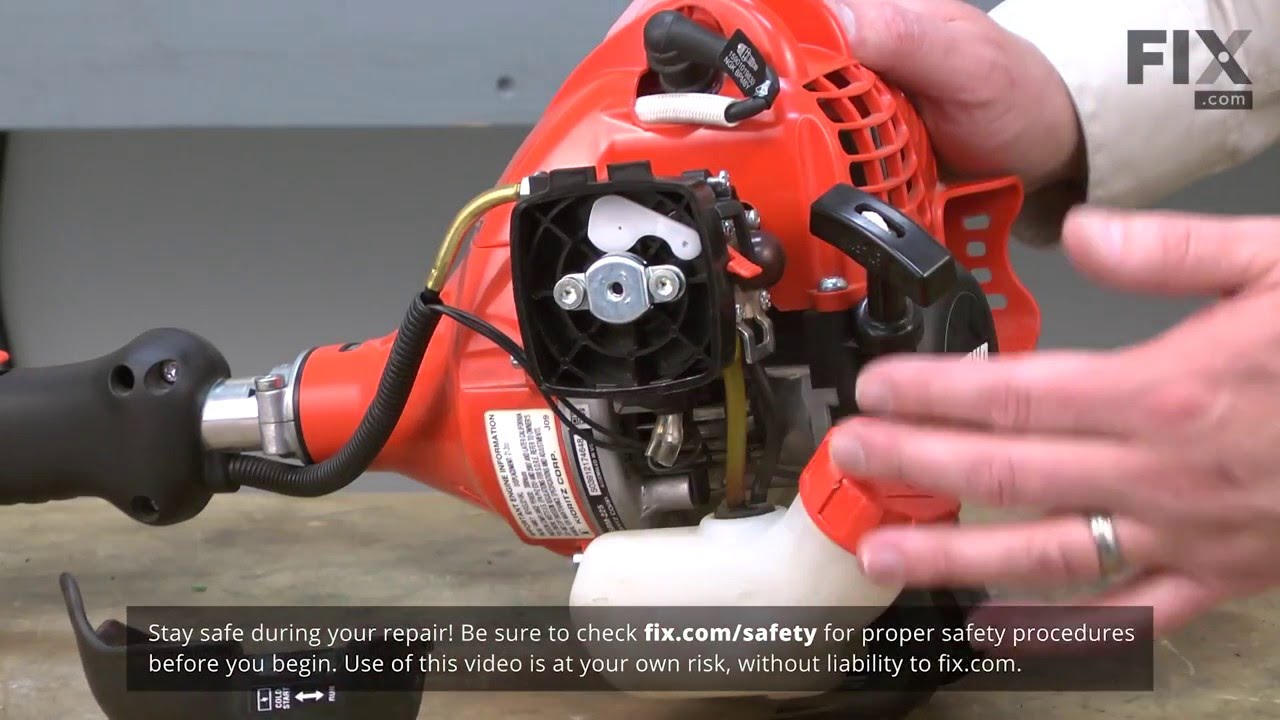
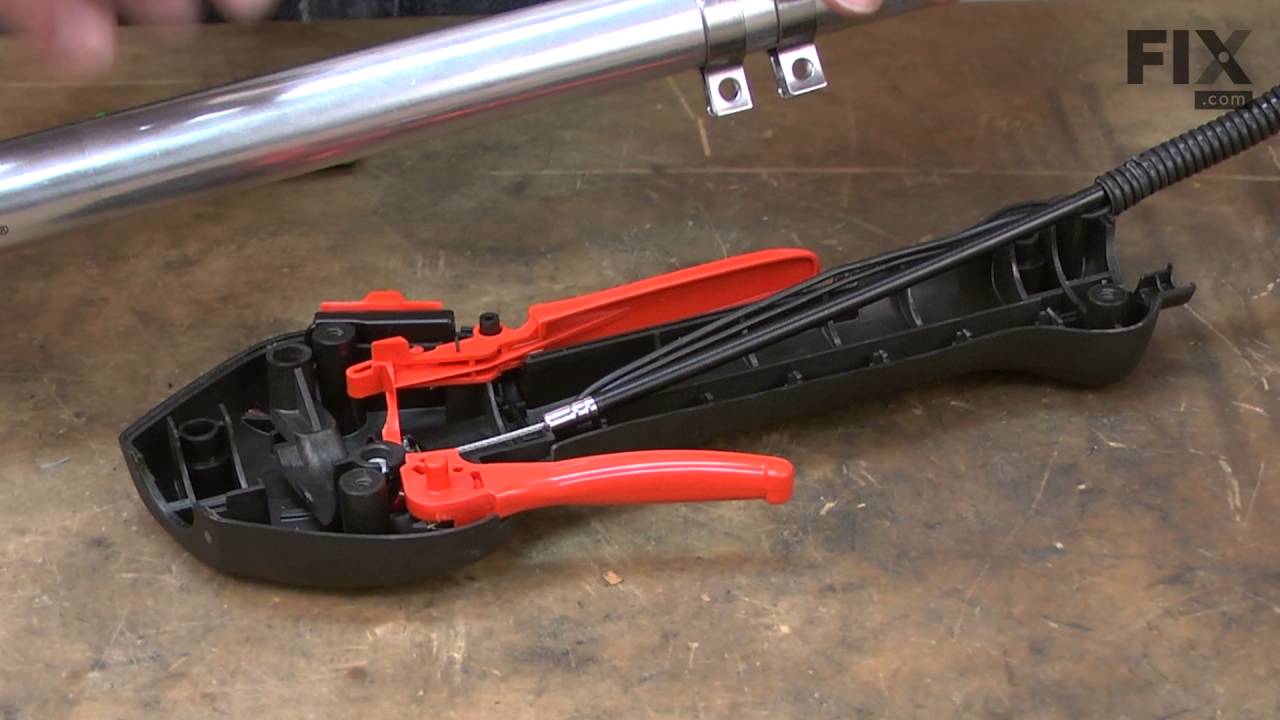
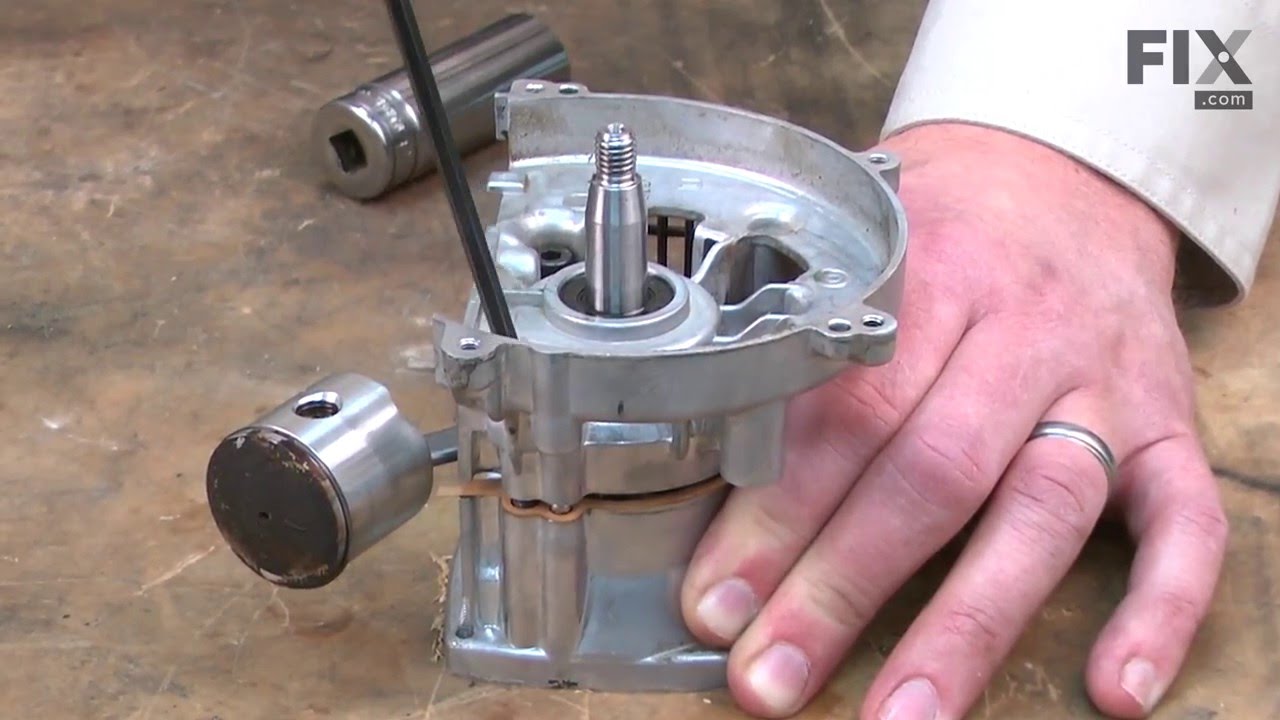
See how others fixed this model. Time, tools, difficulty, and steps that lead to victory!
View More