


 My Orders




SRI19W (P6034071W) Amana Refrigerator - Overview
Diagrams for SRI19W
See every part. Know exactly what you need.


Enter a part description. DIY Heroes keep it simple, eg. "belt" or "pump".
Search filter:
Clear Filter
Your search term must have 3 or more characters.

$19.69
In Stock
Light Bulb - 120V 25W
Part #WPA3073101
This light bulb is a 120 volt, 25 watt incandescent appliance light bulb with a small base screw-in that fits in a variety of appliances such as microwaves, refrigerators, freezers, cooktops, or stoves. Its purpose is to light up the appliance when the door is open. This is a genuine OEM part. You may need to replace the light bulb if the...Read more existing bulb is burnt out or broken. This light bulb is sold individually and is a common wear part, it is recommended to order a spare.
Read less

$65.73
In Stock
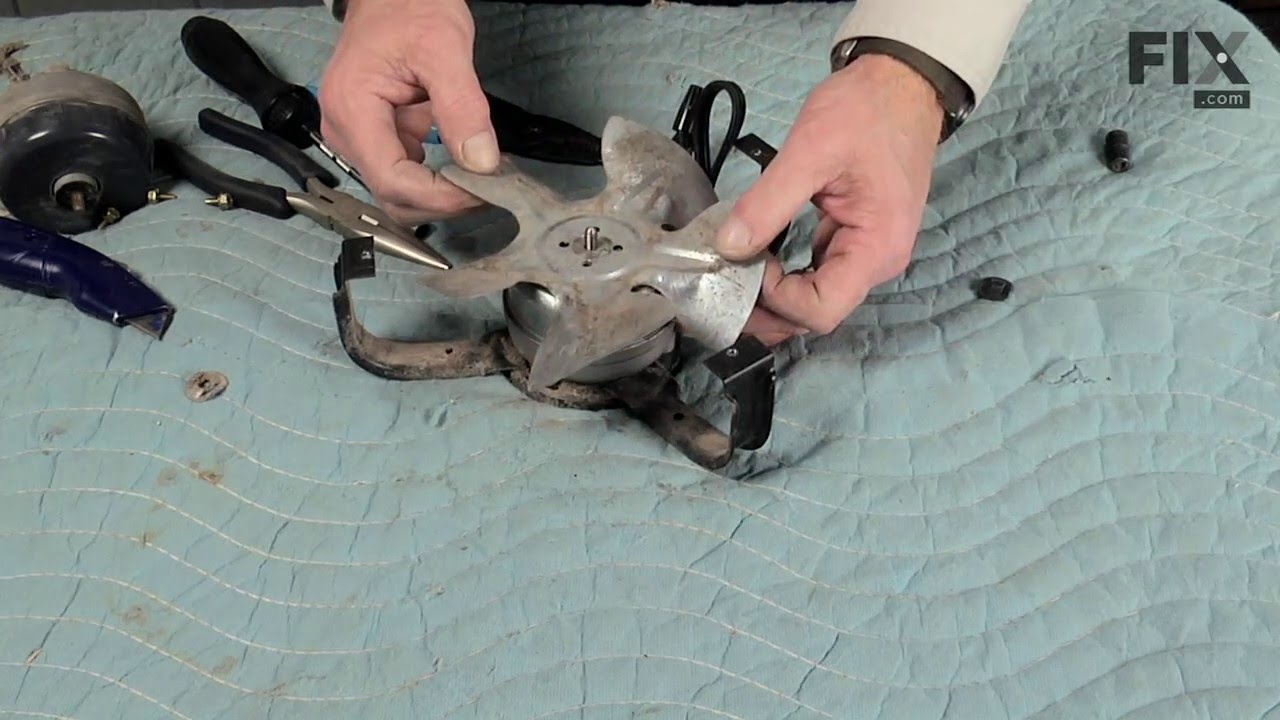
Refrigerator Condenser Fan Motor Kit
Part #833697
This condenser fan motor kit is designed for use with refrigerators. This fan draws air through the condenser coils and over the compressor. It does this with the goal of cooling the warm refrigerant before it enters the evaporator. When your fan or fan motor is not working your refrigerator will not cool properly. This is a 2-Watt, 115 V...Read moreolt motor that rotates the fan in a counter clockwise direction. This kit includes the hardware needed for installation, and a set of instructions. Before you begin any repair work make sure to unplug your appliance.
Read less

$7.47
In Stock

$54.24
In Stock
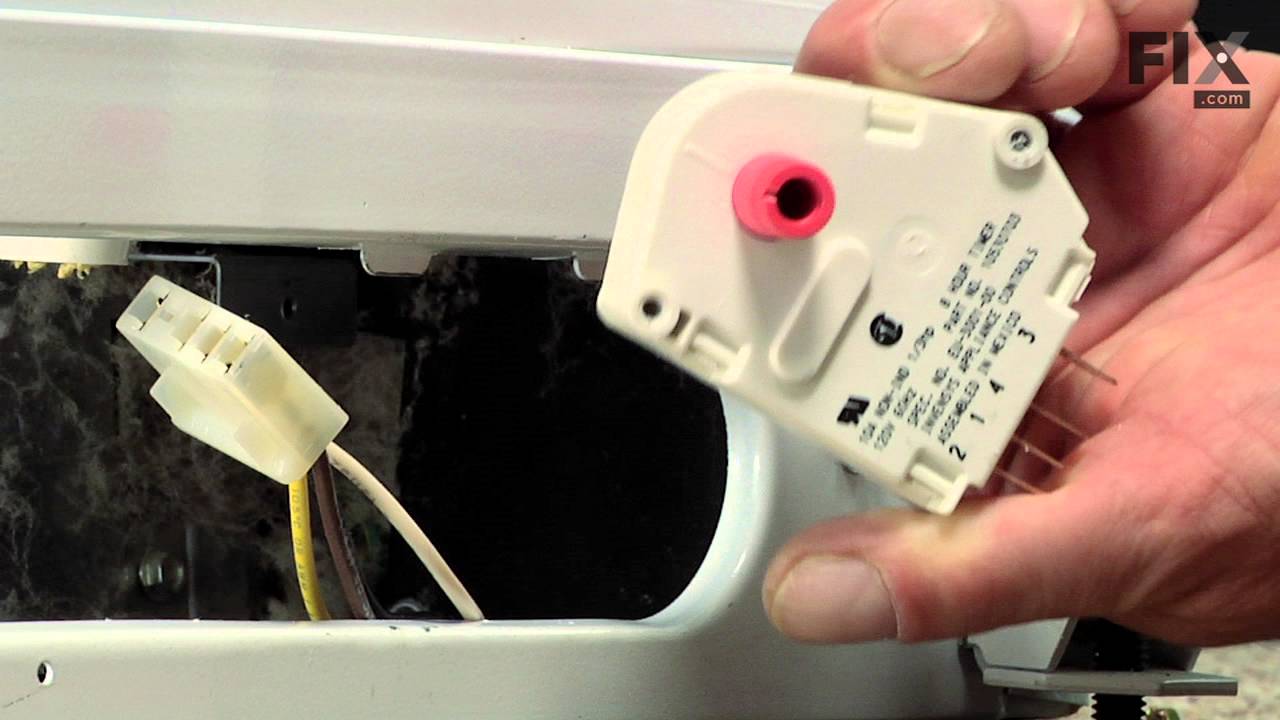
Defrost Timer Kit - 120V 60Hz
Part #R0131577
The timer will shut off the cooling system of the refrigerator and the defrost heater will turn on.

$16.07
In Stock
Light Bulb - 7W
Part #W10857122
Sold individually. This bulb is a 7-watt appliance incandescent light bulb. This appliance light bulb is two inches long. It is used for many clothes dryers. You will need a Phillips screwdriver and needle-nose pliers. Unplug the power from your dryer. You will find the light bulb by opening your dryer door and locating the casing surroun...Read moreding the bulb on the top of the inside of the door. You will need to remove the single screw holding it in place to access the bulb. Twist the old bulb out of place. Use your pliers if the base of the bulb is still inside the socket once the glass part of the bulb has been removed. Check to make sure that the socket itself is not damaged. If the socket is damaged it will need to be replaced as well. Screw your new bulb into place.
Read less

$17.15
In Stock
Refrigerator Plastic Tubing
Part #WPB5705307
This part supplies water to refrigerator components that require water, such as the ice maker and water dispenser. If you notice a leak coming from your refrigerator, the plastic tubing that feeds your water and ice dispenser might need to be replaced. This part is made of clear plastic and is 1/4 inch thick, and 8 1/2 feet long. Make sur...Read moree to disconnect power to the refrigerator and shut off the water supply prior to installing this part. Safely store any perishable food items that could deteriorate while the power to the refrigerator is disconnected. Work gloves are recommended to protect your hands during this installation.
Read less

$7.47
In Stock

$7.47
In Stock
Refrigerator Screw
Part #WP98165
This screw is a little under an inch long and is made of metal. It is used with a refrigerator's ice maker assembly. Sold individually.

$7.47
In Stock

$11.77
In Stock

$9.62
In Stock

$9.62
Special Order
Speed Nut
Part #WP486692
The speed nut (also referred to as a condenser motor fan nut), fits onto the condenser fan motor. The motor for this fan turns on simultaneously with the evaporator and the compressor motors, so a malfunction in the condenser fan motor could cause your fridge to cycle on and off more frequently or run too warm, or too noisily. Make sure t...Read morehat the speed nut is properly attached and tight. Check the nut for any signs of wear or damage. If the nut is damaged and refuses to tighten, you should replace the part immediately. Remember to unplug your refrigerator before starting this repair.
Read less
Common Symptoms of the SRI19W
How this model fails, and the parts that fix it.
Fridge too warm
Fixed by
these parts
these parts


Show All
Freezer section too warm
Fixed by
these parts
these parts
Show All
Noisy
Fixed by
these parts
these parts
Show All
Fridge runs too long
Fixed by
these parts
these parts
Show All
Leaking
Fixed by
these parts
these parts


Show All
Freezer not defrosting
Fixed by
these parts
these parts
Show All
Fridge and Freezer are too warm
Fixed by
these parts
these parts
Show All
Will Not Start
Fixed by
these parts
these parts
Show All
Too warm
Fixed by
these parts
these parts
Show All
Frost buildup
Fixed by
these parts
these parts
Show All
Freezer too cold
Fixed by
these parts
these parts
Show All
Watch our pros, then fix it yourself.
See how others fixed this model. Time, tools, difficulty, and steps that lead to victory!
View More