


 My Orders




SQD25MB-2 Amana Refrigerator - Overview
Diagrams for SQD25MB-2
See every part. Know exactly what you need.
-
Complete Refrigerator Assembly

-
Complete Refrigerator Assembly

-
Complete Refrigerator Assembly Page 2

-
Complete Refrigerator Assembly Page 2

-
Complete Refrigerator Assembly Page 3

-
Freezer Door - Hinge And Trim Parts

-
Freezer Door - Hinge And Trim Parts Page 2

-
Refrigerator Door

-
Refrigerator Door Page 2

-
Refrigerator Door, Hinge, Trim Parts

-
Refrigerator Door, Hinge, Trim Parts Page 2

-
Refrigerator Shelving And Drawers

-
Refrigerator Shelving And Drawers Page 2

-
Refrigerator Shelving And Drawers Page 3

-
Refrigerator Shelving And Drawers Page 4

-
Refrigerator Shelving And Drawers Page 5

-
Refrigerator Shelving And Drawers Page 6

-
Refrigerator Shelving And Drawers Page 7

-
Refrigerator Shelving And Drawers Page 8

-
Refrigerator,freezer Shelving & Refrigerator Light

-
Refrigerator/crushed Ice Bucket

-
Refrigerator/crushed Ice Bucket Page 2

-
Refrigerator/drain And Rollers

-
Refrigerator/drain And Rollers Page 2

-
Refrigerator/evaporator And Air Handling

-
Refrigerator/evaporator And Air Handling Page 2

-
Refrigerator/freezer Controls & Cabinet Parts

-
Refrigerator/ice And Water Cavity

-
Refrigerator/ice And Water Cavity Page 2

-
Refrigerator/ice And Water Cavity Page 3

-
Refrigerator/ice And Water Cavity Page 4

-
Refrigerator/ice Maker

-
Refrigerator/ice Maker

-
Refrigerator/ice Maker Page 2

-
Refrigerator/machine Compartment

-
Refrigerator/machine Compartment Page 2

-
Refrigerator/vabinet Back

-
Refrigerator/vabinet Back Page 2

Enter a part description. DIY Heroes keep it simple, eg. "belt" or "pump".
Search filter:
Clear Filter
Your search term must have 3 or more characters.

$19.54
In Stock
Light Bulb - 40W
Part #8009
This an authentic OEM 40-Watt replacement light bulb, used in a number of household appliances. It is specially designed to withstand extreme temperatures, which is why these replacement bulbs are most often used to light the inside of refrigerators and ranges. It features a standard socket base, which means you simply unscrew the burnt-o...Read moreut bulb and screw in the replacement. Depending on the appliance you may require a screwdriver or nut driver to access the light bulb. We recommend you wear work gloves while handling this replacement part. It is constructed of glass and metal and is sold individually. Depending on the appliance and location of the bulb within it, you may want to consider disconnecting power and using a flashlight for easier access to unscrewing and re-screwing in your bulb during this repair.
Read less

$95.17
In Stock
Replacement Ice Maker
Part #D7824706Q
This ice maker (Ice Maker Assembly, Refrigerator Ice Maker) produces ice cubes that are ejected into the storage bucket. It is located in the freezer section of your appliance, mounted on the freezer wall. The ice maker can break from normal wear and accidental damage. If this happens, your refrigerator may no longer make ice cubes, or ma...Read morey not make enough cubes, and the part should be replaced. This model measures approximately 11 inches long and 5 inches wide. It’s constructed of plastic and metal, and comes in black/white/silver. This assembly includes the ice mold and the control device.
Read less

$30.53
In Stock
Refrigerator Door Switch
Part #W11384469
If your refrigerator’s interior light is not working, the door switch may be the cause. It turns the light off when the door closes. This is an OEM part. Confirm compatibility using your refrigerator’s model number.

$45.29
In Stock
Refrigerator Capacitor
Part #WPW10662129
This capacitor (Refrigerator and Freezer Compressor Run Capacitor, Run Capacitor) provides the voltage or energy current required to start the compressor and keep it running. It allows the compressor in your appliance to easily cycle on and off. This capacitor mounts directly onto the compressor starting relay. If the capacitor is faulty ...Read morethe compressor may get unusually hot and draw excessive amperage. It the compressor overheats, it may fail to run until it cools down again. The compressor may also get noisy from overheating. If this part is totally electrically open, it is defective (often due to overheating) and needs to be replaced. The part measures 1 inch by 1-1/2 inches, and is constructed of plastic with two metal wire terminals. This item includes 1 capacitor, sold individually. This part comes in black.
Read less

$19.69
In Stock
Light Bulb - 120V 25W
Part #WPA3073101
This appliance light bulb illuminates the interior compartment so stored items are easier to see and reach. Its clear glass design allows light to spread through the surrounding area, while the incandescent filament produces light when powered. A burned-out filament or damaged bulb may leave the compartment dark. Replacing a failed bulb h...Read moreelps restore interior lighting. Disconnect appliance power and allow the old bulb to cool before removal, then gently screw the replacement into the socket without overtightening and reinstall the protective cover. This is an OEM part sourced directly from the manufacturer.
Read less

$65.73
In Stock
Refrigerator Condenser Fan Motor Kit
Part #833697
This condenser fan motor kit is designed for use with refrigerators. This fan draws air through the condenser coils and over the compressor. It does this with the goal of cooling the warm refrigerant before it enters the evaporator. When your fan or fan motor is not working your refrigerator will not cool properly. This is a 2-Watt, 115 V...Read moreolt motor that rotates the fan in a counter clockwise direction. This kit includes the hardware needed for installation, and a set of instructions. Before you begin any repair work make sure to unplug your appliance.
Read less

$9.62
In Stock
Door Closure Cam Kit
Part #R0181181
This door closing cam kit is intended for use on the bottom of your refrigerator and freezer door hinges. The cam helps close the doors and to lifts them slightly when opened. If your door will not open or close, or will not stay closed, there could be an issue with the door close cam. Other common symptoms associated with the door close ...Read morecam are: the door is sweating, the fridge is too warm, or a clicking sound can be heard coming from the door. If your refrigerator has an ice and water dispenser, you will need to disconnect the power and water to the unit before you begin the repair.
Read less

$7.47
In Stock

$56.33
In Stock
Compressor Start Device and Capacitor
Part #W10613606
This includes both the run capacitor and the start relay. The capacitor helps the compressor kick on and off while maintaining a constant temperature to keep things frozen in your freezer.
The start relay boosts the compressor, and then shuts off as soon as the motor gets up to speed and the overload provides extra protection against excessive temperatures.

$54.24
In Stock
Refrigerator Run Capacitor
Part #WP65889-4
This refrigerator run capacitor supports compressor motor operation by helping create the electrical phase shift needed for efficient running. It works with the motor windings to maintain the rotating magnetic field that drives the compressor. A weak or failed capacitor may cause humming, difficulty starting, interrupted compressor operat...Read moreion, or warmer storage temperatures. Replacing a faulty capacitor helps restore proper motor operation and cooling. Unplug the refrigerator before access, and remember that capacitors can retain an electrical charge after power is disconnected. Avoid touching exposed terminals. This is an OEM part sourced directly from the manufacturer.
Read less

$54.24
In Stock
Defrost Timer Kit - 120V 60Hz
Part #R0131577
The timer will shut off the cooling system of the refrigerator and the defrost heater will turn on.

$16.07
In Stock
Light Bulb - 7W
Part #W10857122
Sold individually. This bulb is a 7-watt appliance incandescent light bulb. This appliance light bulb is two inches long. It is used for many clothes dryers. You will need a Phillips screwdriver and needle-nose pliers. Unplug the power from your dryer. You will find the light bulb by opening your dryer door and locating the casing surroun...Read moreding the bulb on the top of the inside of the door. You will need to remove the single screw holding it in place to access the bulb. Twist the old bulb out of place. Use your pliers if the base of the bulb is still inside the socket once the glass part of the bulb has been removed. Check to make sure that the socket itself is not damaged. If the socket is damaged it will need to be replaced as well. Screw your new bulb into place.
Read less
Common Symptoms of the SQD25MB-2
How this model fails, and the parts that fix it.
Ice maker not making ice
Fixed by
these parts
these parts


Show All
Fridge too warm
Fixed by
these parts
these parts


Show All
Light not working
Fixed by
these parts
these parts

Show All
Leaking
Fixed by
these parts
these parts

Show All
Will Not Start
Fixed by
these parts
these parts


Show All
Freezer section too warm
Fixed by
these parts
these parts
Show All
Fridge and Freezer are too warm
Fixed by
these parts
these parts
Show All
Ice maker won’t dispense ice
Fixed by
these parts
these parts


Show All
Noisy
Fixed by
these parts
these parts
Show All
Clicking sound
Fixed by
these parts
these parts

Show All
Door won’t open or close
Fixed by
these parts
these parts

Show All
Fridge runs too long
Fixed by
these parts
these parts
Show All
Too warm
Fixed by
these parts
these parts
Show All
Freezer not defrosting
Fixed by
these parts
these parts
Show All
Not dispensing water
Fixed by
these parts
these parts

Show All
Ice maker dispenses too much ice
Fixed by
these parts
these parts

Show All
Door Sweating
Fixed by
these parts
these parts

Show All
Ice maker dispenses too little ice
Fixed by
these parts
these parts
Show All
Won’t start
Fixed by
these parts
these parts
Show All
Frost buildup
Fixed by
these parts
these parts
Show All
Freezer too cold
Fixed by
these parts
these parts
Show All
Watch our pros, then fix it yourself.
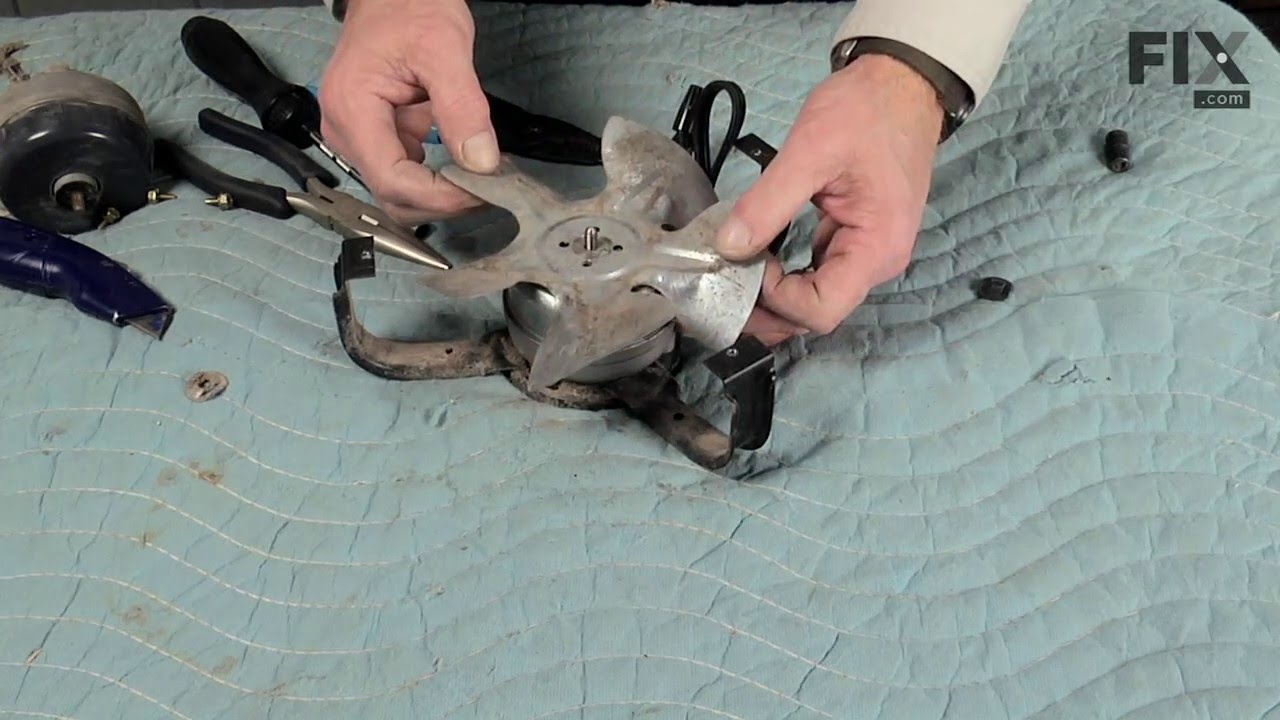
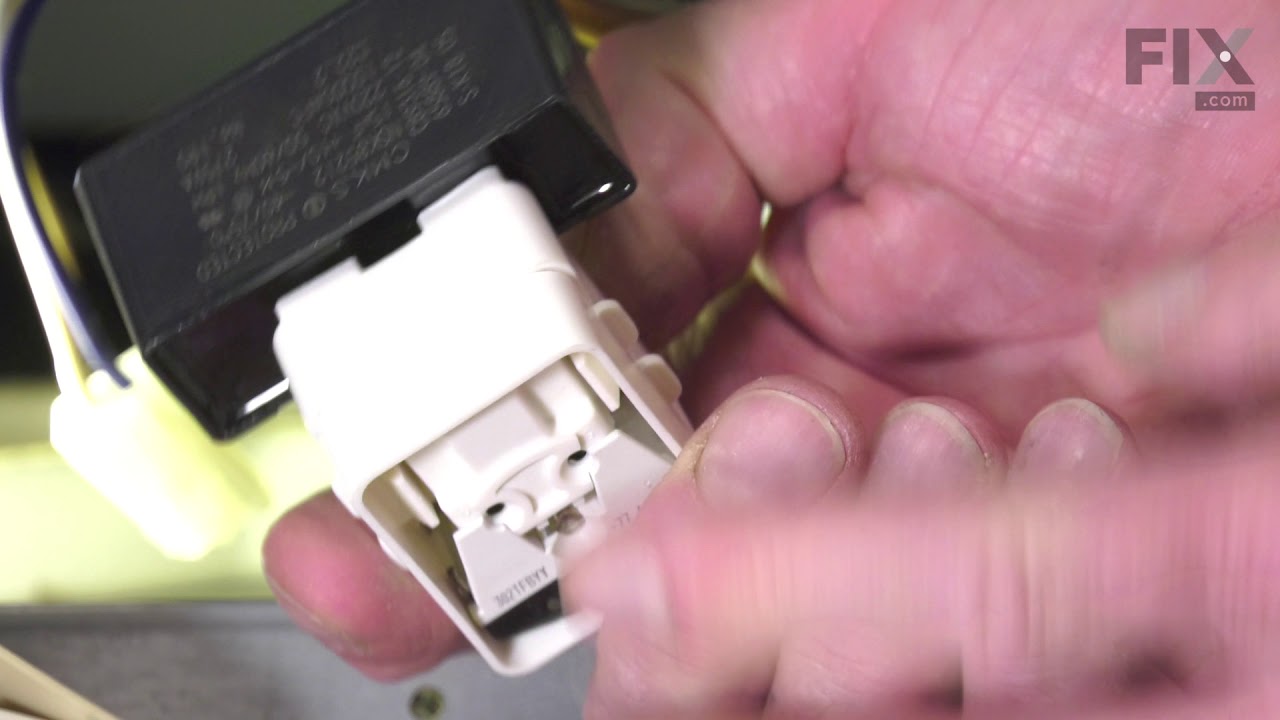
See how others fixed this model. Time, tools, difficulty, and steps that lead to victory!
View More
Search repair tips from other customers using simple keywords like "replace", "fit", "remove", "inspect". DIY doesn't mean you have to do it alone!
Search filter:
Clear Filter
Your search term must have 3 or more characters.
The compressor would not run.
327 of 375 people
found this instruction helpful.
I removed the screws in the lower back panel where the compressor is located. Then I unplugged the capacitor and plugged the new one in. I then checked to see if the compressor would start. It wouldn't so I replaced the overload relay with capacitor and that fixed the problem. The capacitor just plugs into the relay then plugs into the co
... Read more
mpressor. There are several screws but all in all it is easy.
Read less
Other Parts Used:


Was this helpful?
Thank you for voting!