


 My Orders




SM230PXW1 Frigidaire Washer - Overview
Diagrams for SM230PXW1
See every part. Know exactly what you need.


Enter a part description. DIY Heroes keep it simple, eg. "belt" or "pump".
Search filter:
Clear Filter
Your search term must have 3 or more characters.

$117.66
In Stock
Water Inlet Valve
Part #134190200
The water inlet valve has two ports for water to enter and controls the flow of water into a washing machine. Hot, cold, and warm water can easily enter the washer this way. If the water inlet valve is in any way damaged or defective, it may be slow to fill or even leak. Before beginning this replacement, make sure to unplug the washer fr...Read moreom the power range or shut off the house circuit breaker. Remember to wear gloves for safety. Refer to the installation instructions and the diagram provided by the manufacturer for best results and accuracy.
Read less

$26.35
Special Order
Screw-In Plastic Leveling Leg
Part #134548800
This is a screw in leveling leg for your washing machine. It supports the appliance by screwing in place to create a stable and flat surface. Take note that you are able to adjust the height of your appliance to make it leveled. This model is made entirely of plastic and is white in color. It is just under 2.5 inches long, 1.5 inches wide, and the head has a diameter of roughly 1.5 inches.

$25.25
In Stock
Screw
Part #131302800
This is a replacement screw for your washer or dryer. The screw is approximately half an inch in length and is a Phillips-head screw. It screws in from the outside of the drum, into the vane/baffle. The main reason you would replace this screw is if the old screw is missing or damaged. This part is sold individually and is an OEM part sourced directly from the manufacturer.

$26.35
In Stock

$19.68
In Stock

$25.14
In Stock
Upper Spin Bearing Washer
Part #5308002401
The upper spin bearing for a washer can solve many issues such as loud and odd noises, or leaking water. Replacing the spin bearing could solve these issues. The tools needed for this replacement are screwdrivers, a socket set, and a putty knife. To repair, first lift the top of the washer and remove the screws at the bottom of the front ...Read morepanel to pull away. Next, pull off the dispenser cover, cup, and agitator. Detach switch tube from the tub cover and remove tub cover, then use the 1/2 inch socket to remove the trunnion bolts and pull out inner tub. For the rest of the installation instructions, refer to the diagram provided by the manufacturer. Remember to unplug the appliance from the power source as a safety precaution.
Read less

$6.55
In Stock
CLAMP, HOSE
Part #5304538466

$57.44
Special Order
Lid Strike - White
Part #131390000
This part is used to activate the lid switch when the lid opens/closes.

No Longer Available
BELT
Part #144667

No Longer Available

$31.13
In Stock

$21.95
In Stock
SCREW
Part #218359202
Common Symptoms of the SM230PXW1
How this model fails, and the parts that fix it.
Leaking
Fixed by
these parts
these parts


Show All
No hot or cold water
Fixed by
these parts
these parts
Show All
Burning smell
Fixed by
these parts
these parts

Show All
Will Not Start
Fixed by
these parts
these parts

Show All
Watch our pros, then fix it yourself.
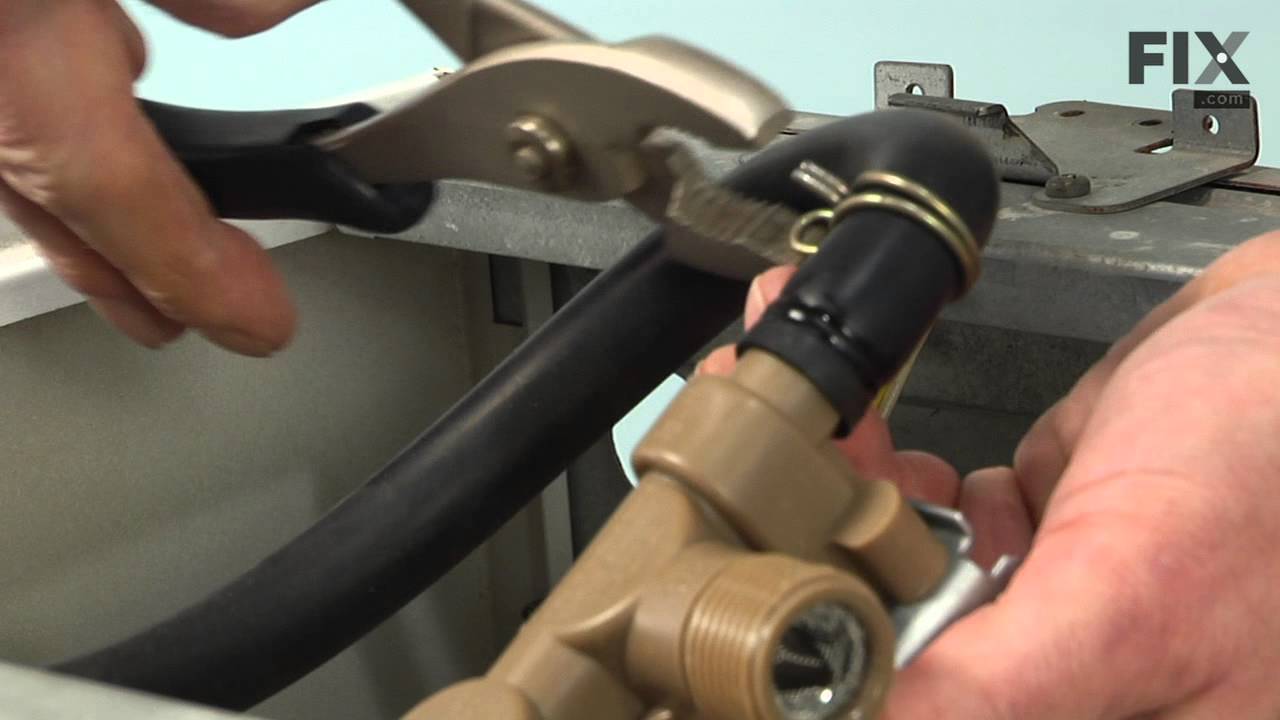
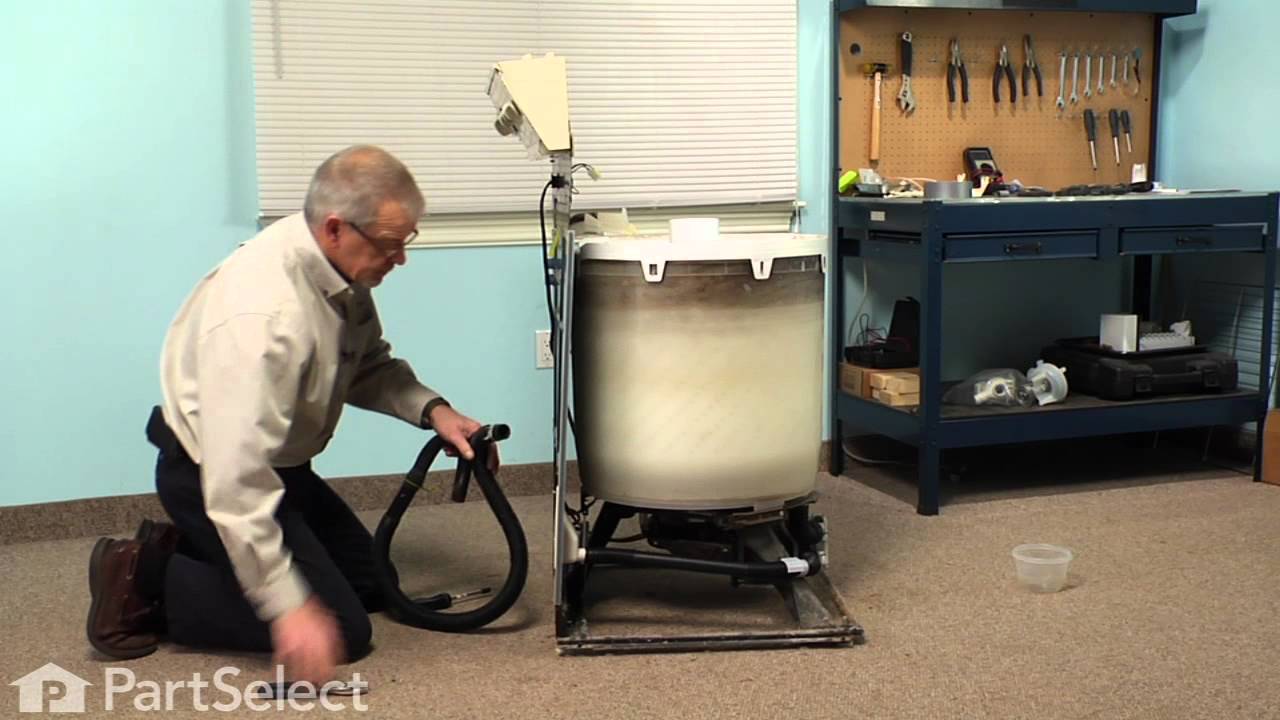
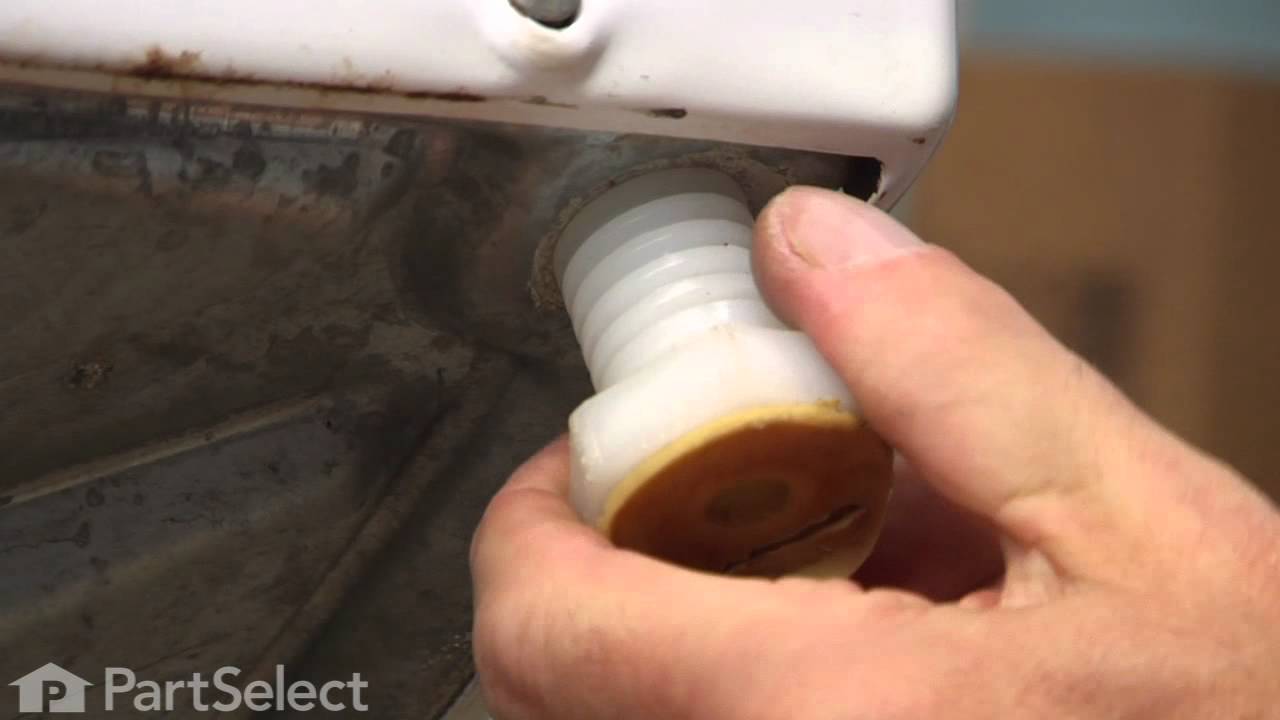
See how others fixed this model. Time, tools, difficulty, and steps that lead to victory!
View More