


 My Orders




SL25J (P7870132W) Amana Refrigerator - Overview

Enter a part description. DIY Heroes keep it simple, eg. "belt" or "pump".
Search filter:
Clear Filter
Your search term must have 3 or more characters.

$45.29
In Stock
Refrigerator Capacitor
Part #WPW10662129
This capacitor (Refrigerator and Freezer Compressor Run Capacitor, Run Capacitor) provides the voltage or energy current required to start the compressor and keep it running. It allows the compressor in your appliance to easily cycle on and off. This capacitor mounts directly onto the compressor starting relay. If the capacitor is faulty ...Read morethe compressor may get unusually hot and draw excessive amperage. It the compressor overheats, it may fail to run until it cools down again. The compressor may also get noisy from overheating. If this part is totally electrically open, it is defective (often due to overheating) and needs to be replaced. The part measures 1 inch by 1-1/2 inches, and is constructed of plastic with two metal wire terminals. This item includes 1 capacitor, sold individually. This part comes in black.
Read less

$65.73
In Stock
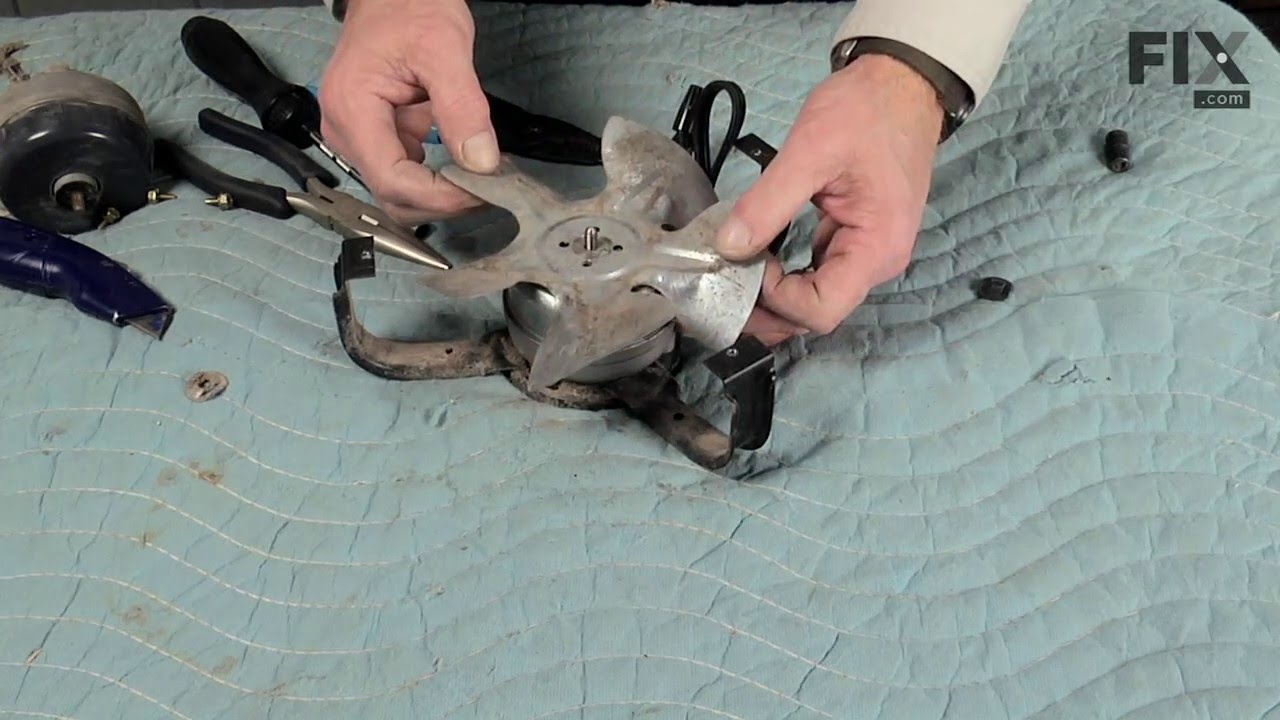
Refrigerator Condenser Fan Motor Kit
Part #833697
This condenser fan motor kit is designed for use with refrigerators. This fan draws air through the condenser coils and over the compressor. It does this with the goal of cooling the warm refrigerant before it enters the evaporator. When your fan or fan motor is not working your refrigerator will not cool properly. This is a 2-Watt, 115 V...Read moreolt motor that rotates the fan in a counter clockwise direction. This kit includes the hardware needed for installation, and a set of instructions. Before you begin any repair work make sure to unplug your appliance.
Read less

$7.47
In Stock

$54.24
In Stock
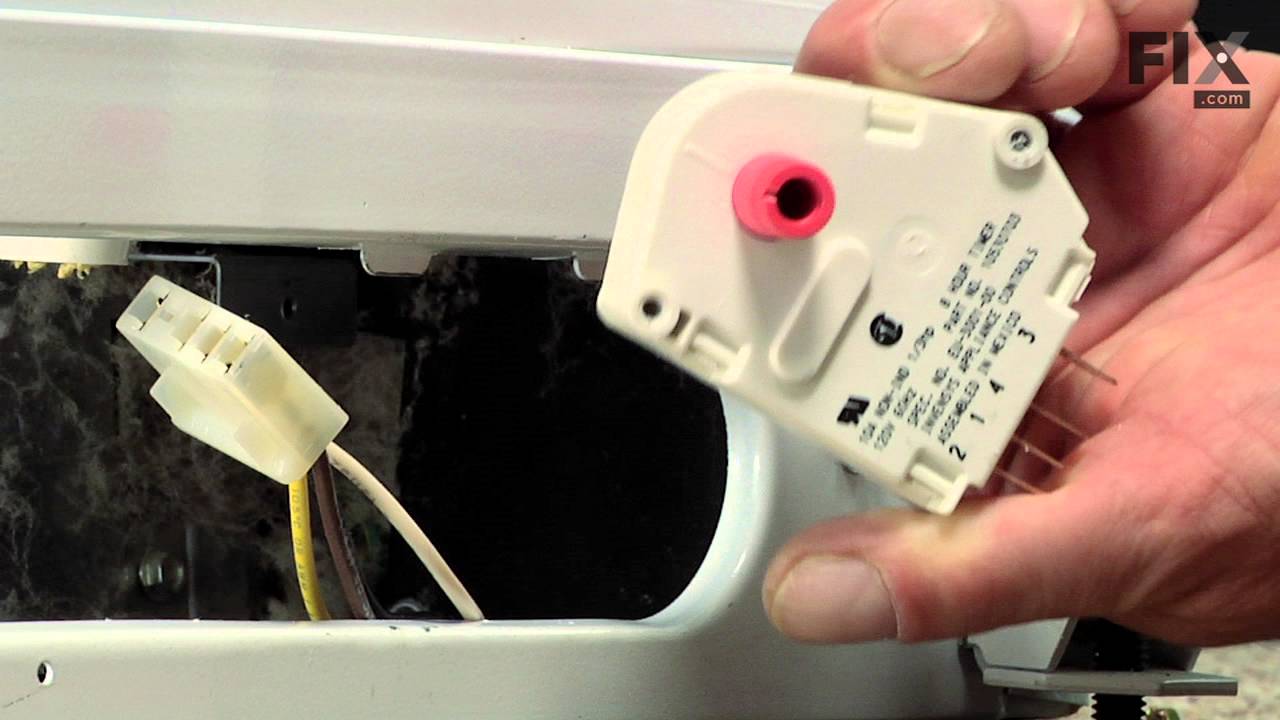
Defrost Timer Kit - 120V 60Hz
Part #R0131577
The timer will shut off the cooling system of the refrigerator and the defrost heater will turn on.

$7.47
In Stock
Refrigerator Single Hex Head Screw
Part #WP489069
Sold individually. The size of this screw is 1/4" hex head and 10-12 x 1/2".

$9.62
In Stock

$9.62
In Stock

$7.47
In Stock

$7.47
In Stock
Zip Tie
Part #WPW10339879
A zip tie, also known as a cable tie or a wire tie, is a fastening device that holds wires or tubing together. If a machine has wires or tubing that are easily shifted, you need to hold them tightly together using a zip tie. It is a flexible, plastic strip that has serrated teeth and a locking mechanism. If the zip tie is damaged, it shou...Read moreld be replaced. Freely moving wires may rub against surfaces, causing them to break over time. Zip ties are single-use and may not be reused after they are removed from a machine. To release the locking mechanism, you will need to insert a small flat tool into the head of the zip tie, between the tongue and the serration, and depress the bar. You can then pull the teeth out of the mechanism to loosen the cable tie. This part is produced by the original equipment manufacturer and is sold individually.
Read less

$77.22
Special Order
Start Relay
Part #2154436
The start relay briefly boosts the compressor, and then shuts off as soon as the motor gets up to speed.

$81.96
In Stock
Filter
Part #WPB2150504
No Longer Available
BLADE- FAN
Part #B5742603
Common Symptoms of the SL25J
How this model fails, and the parts that fix it.
Fridge too warm
Fixed by
these parts
these parts


Show All
Freezer section too warm
Fixed by
these parts
these parts
Show All
Will Not Start
Fixed by
these parts
these parts
Show All
Fridge and Freezer are too warm
Fixed by
these parts
these parts
Show All
Noisy
Fixed by
these parts
these parts
Show All
Fridge runs too long
Fixed by
these parts
these parts
Show All
Freezer not defrosting
Fixed by
these parts
these parts
Show All
Clicking sound
Fixed by
these parts
these parts
Show All
Too warm
Fixed by
these parts
these parts
Show All
Frost buildup
Fixed by
these parts
these parts
Show All
Won’t start
Fixed by
these parts
these parts
Show All
Freezer too cold
Fixed by
these parts
these parts
Show All
Leaking
Fixed by
these parts
these parts
Show All
Watch our pros, then fix it yourself.
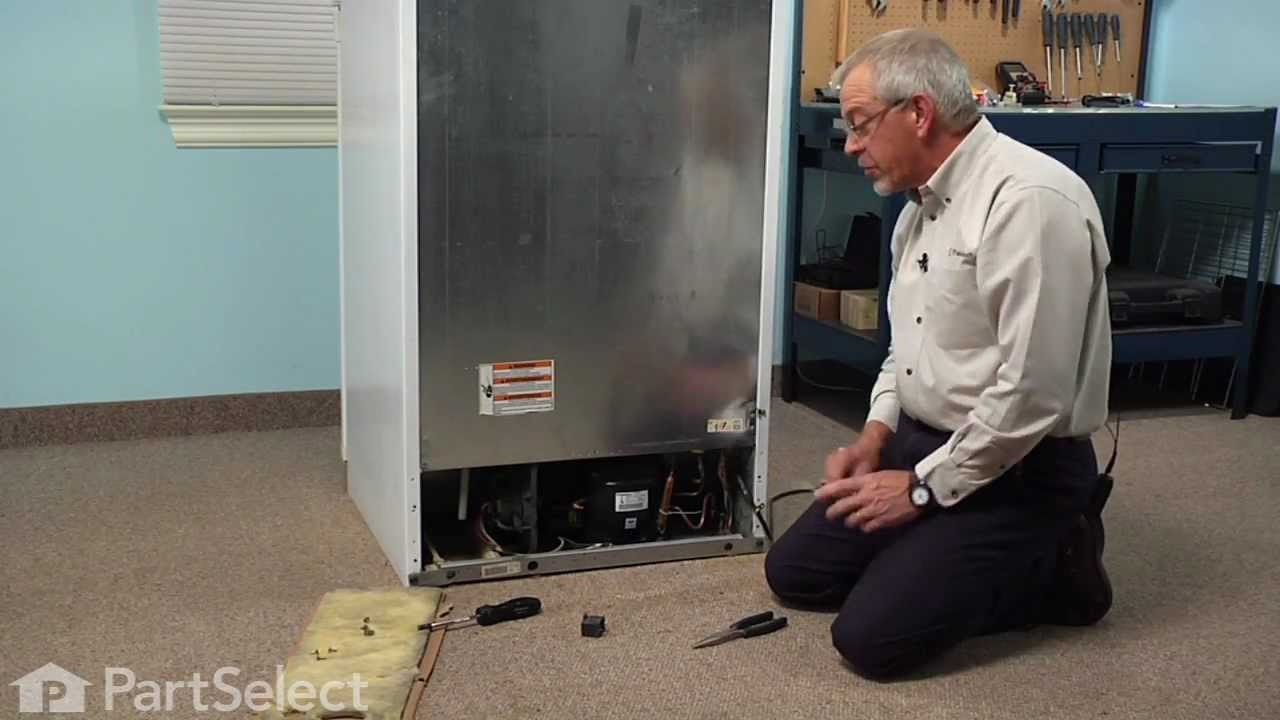
See how others fixed this model. Time, tools, difficulty, and steps that lead to victory!
View More