


 My Orders




SHREE General Electric Refrigerator - Overview

Enter a part description. DIY Heroes keep it simple, eg. "belt" or "pump".
Search filter:
Clear Filter
Your search term must have 3 or more characters.

$74.23
In Stock
Refrigerator Ice and Water Filter
Part #MWFP
This ice and water filter helps reduce impurities in select side by side and bottom freezer refrigerators. Replace it about every six months, or when water flow slows, ice production drops, or the filter light turns red. Some older filter setups may need an adapter. Place a cloth under the filter before removal. Check the exact refrigerator model before ordering.

$35.95
In Stock
Defrost Thermostat
Part #WR50X10068
This defrost termination thermostat (Defrost Limiter Thermostat, High Limit Thermostat, Refrigerator Defrost Bi-Metal Thermostat) acts as a safety device to stop the evaporator coil from overheating, by turning off the defrost heater at the end of the defrost cycle. This part attaches to the tubing of the evaporator coil in the freezer. A...Read more faulty defrost termination thermostat may result in the defrost heater never heating and a solid frost buildup on the evaporator coil, which results in too warm temperatures. The thermostat contacts are normally closed and have continuity until it reaches 140 degrees. If this high limit thermostat is open at room temperature or colder, it is defective. This limit thermostat has an attached mounting clip and comes with pink and amber wire leads. The thermostat is 1 inch in diameter and 1/2 inch thick, the 2 wire leads are 10 inches long.
Read less

$75.13
In Stock
Evaporator Fan Motor
Part #WR60X31522
A refrigerator that runs warmer than usual may need a new evaporator fan motor. Located in the freezer compartment, it moves air over the cooling coils. This OEM motor is rated at 115 VAC, 60 Hz, and 3.3 W, and is compatible with flammable refrigerants.

$72.54
In Stock
Crisper Drawer Cover
Part #WR32X10398
The crisper drawer cover sits on top of your vegetable crispers and helps to maintain proper crisper temperatures. It also doubles as a sturdy lower shelf for extra storage in your refrigerator. If the drawer cover is damaged or cracked, it will not be able to do either of its jobs, and should be replaced. This replacement cover features ...Read moreshallow, wide grooves to prevent leaks and to catch spills. It also has rail brackets underneath to hold the drawer, allowing the drawer to slide in and out. It is made with some added structural rigidity that makes it stronger and more durable than the original. This model measures 24 1/2 inches long x 19 inches wide x 2 5/8 inches deep.
Read less

$381.06
In Stock
Main Control Board Assembly
Part #WR55X10942C
This electronic board (Main Control Board Assembly, Control Board, Motherboard) controls the temperature and defrost functions of the unit. This control board is located on the back of the refrigerator, and measures 8 inches by 5 inches. It’s constructed of metal and plastic, and comes in green. This kit includes one main control board wi...Read moreth built in defrost controls. If broken due to electrical surges or normal use, your fridge may experience temperatures that are too warm or too cold, or inconsistent defrost cycles. If this happens, the part should be replaced.
Read less

$15.00
In Stock
Union Connector - 5/16 Inch to 5/16 Inch
Part #WR02X11330
A refrigerator water system uses this straight quick union connector to join two plastic water lines. Both ends connect to 5/16-inch lines. This is an OEM part, so check that it matches your refrigerator’s model before ordering.

$83.64
In Stock
Evaporator Fan Motor
Part #WR60X10185
To replace the motor that circulates air through your refrigerator’s fresh food compartment, first confirm fit using the refrigerator’s model number. This OEM motor is rated at 9.75 VDC and 3.25 W. Unplug the refrigerator and wear work gloves before installation.

$181.18
In Stock
Ice Bucket and Auger Assembly
Part #WR17X23191
This ice container and auger assembly is a genuine replacement part designed for select GE refrigerators, including models under the Hotpoint, Haier, Monogram, and Café brands. It serves a dual function: storing ice produced by the ice maker and dispensing it through the door via a rotating auger mechanism. The auger pushes ice toward the...Read more dispenser chute, ensuring smooth and consistent delivery. A damaged or malfunctioning assembly may result in poor dispensing performance, ice jams, or unusual noises. Replacement is recommended if the container is cracked, the auger is broken, or dispensing issues persist. Installation is straightforward and may require basic tools and reference to your appliance’s manual.
Read less

$15.28
In Stock
Refrigerator Bypass
Part #WR17X22070
This part is a replacement filter bypass cap for your refrigerator. If you intend to use an external water filtration system for your refrigerator, the bypass cap will allow you to do so. To use a filter bypass cap, simply screw it in where you would normally screw in the regular water filter. If you have a bypass system installed and you...Read morer ice maker doesn’t make ice, your water dispenser doesn’t make water, or if there is water dripping inside your refrigerator, you may need to replace the bypass filter cap. This part is made of white plastic and is sold individually.
Read less

$40.56
In Stock
Ice Bucket - White
Part #WR30X10154
The ice bucket in your freezer collects the ice from the ice maker and stores it. If your old ice bucket is damaged you may want to replace it as it can leak. This product is made of white plastic and is approximately 13 inches in length and 9 inches wide at the widest point. This is an OEM part sourced directly from the manufacturer. Man...Read morey of our customers have rated this repair as very easy. To complete this repair, simply remove the damaged bucket, making sure to collect any broken pieces. Then, simply slide the new bucket in place.
Read less

$78.26
In Stock
Condenser Fan Motor - 12V
Part #WR60X10209
This DC fan motor moves air across the condenser coils and compressor to help remove heat. A failed motor may cause poor cooling, a hot compressor, or humming and squealing sounds. Before replacing it, clean the coils and check the fan blade, wiring, and air path for dirt or damage. Confirm fit with the full appliance model, 4-pin plug, a...Read morend 11.3- to 12-volt rating. Unplug the refrigerator before removing the rear panel. Keep hands away from the blade, protect the cooling lines, and reinstall the panel before testing the unit.
Read less

$57.33
In Stock
Drawer Slide Rail Bracket - Left Side
Part #WR72X10169
This is the replacement drawer side rail for the left side of your refrigerator. It is made of white plastic and is approximately 12 inches long, and 2 inches wide. The slide rail supports the crisper drawer as it slides in and out. If the slide rail is broken, you may have difficulty sliding the drawer in and out. This rail is for the le...Read moreft side of the drawer, and the slide for the right side is sold separately. This part is sold individually and is and OEM part.
Read less
Common Symptoms of the SHREE
How this model fails, and the parts that fix it.
Fridge too warm
Fixed by
these parts
these parts


Show All
Noisy
Fixed by
these parts
these parts

Show All
Freezer section too warm
Fixed by
these parts
these parts
Show All
Not dispensing water
Fixed by
these parts
these parts


Show All
Leaking
Fixed by
these parts
these parts

Show All
Freezer not defrosting
Fixed by
these parts
these parts
Show All
Will Not Start
Fixed by
these parts
these parts
Show All
Ice maker not making ice
Fixed by
these parts
these parts

Show All
Ice maker won’t dispense ice
Fixed by
these parts
these parts

Show All
Clicking sound
Fixed by
these parts
these parts
Show All
Fridge and Freezer are too warm
Fixed by
these parts
these parts
Show All
Too warm
Fixed by
these parts
these parts
Show All
Frost buildup
Fixed by
these parts
these parts
Show All
Freezer too cold
Fixed by
these parts
these parts
Show All
Fridge runs too long
Fixed by
these parts
these parts
Show All
Fridge too cold
Fixed by
these parts
these parts
Show All
Ice maker dispenses too little ice
Fixed by
these parts
these parts
Show All
Won’t start
Fixed by
these parts
these parts
Show All
Door won’t open or close
Fixed by
these parts
these parts

Show All
Touchpad does not respond
Fixed by
these parts
these parts
Show All
Doesn’t stop running
Fixed by
these parts
these parts
Show All
Watch our pros, then fix it yourself.
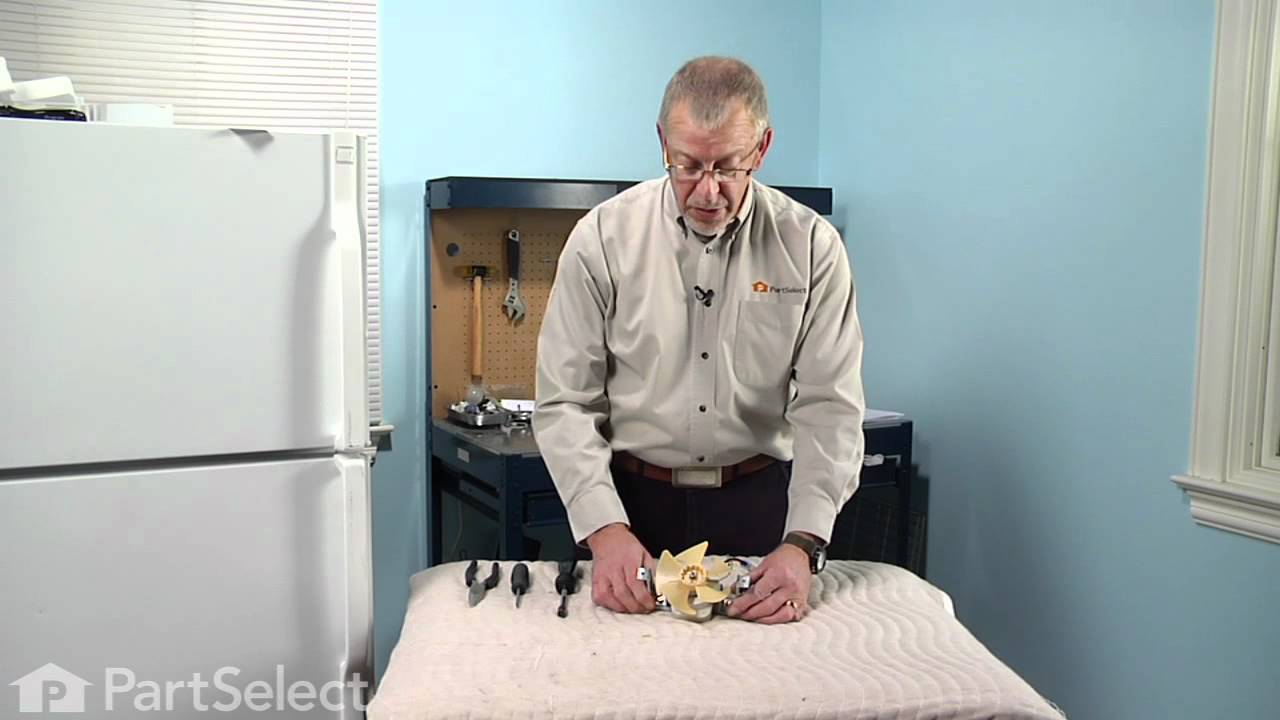
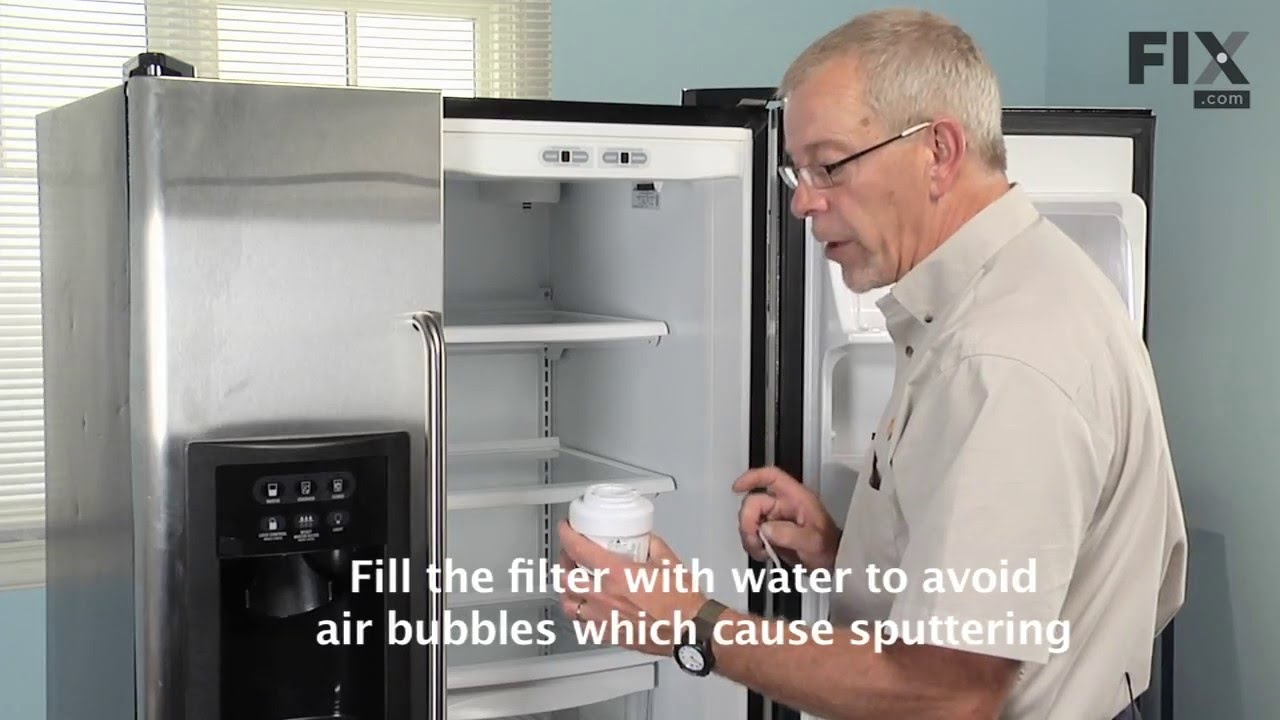
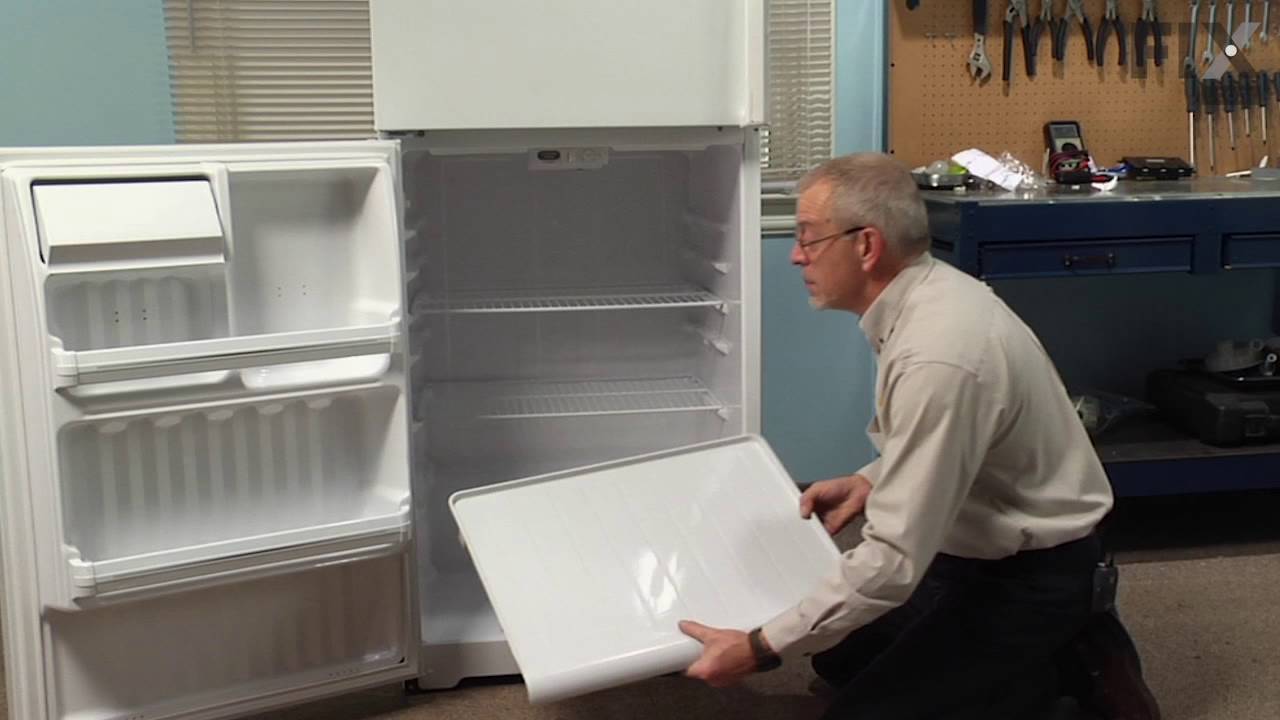
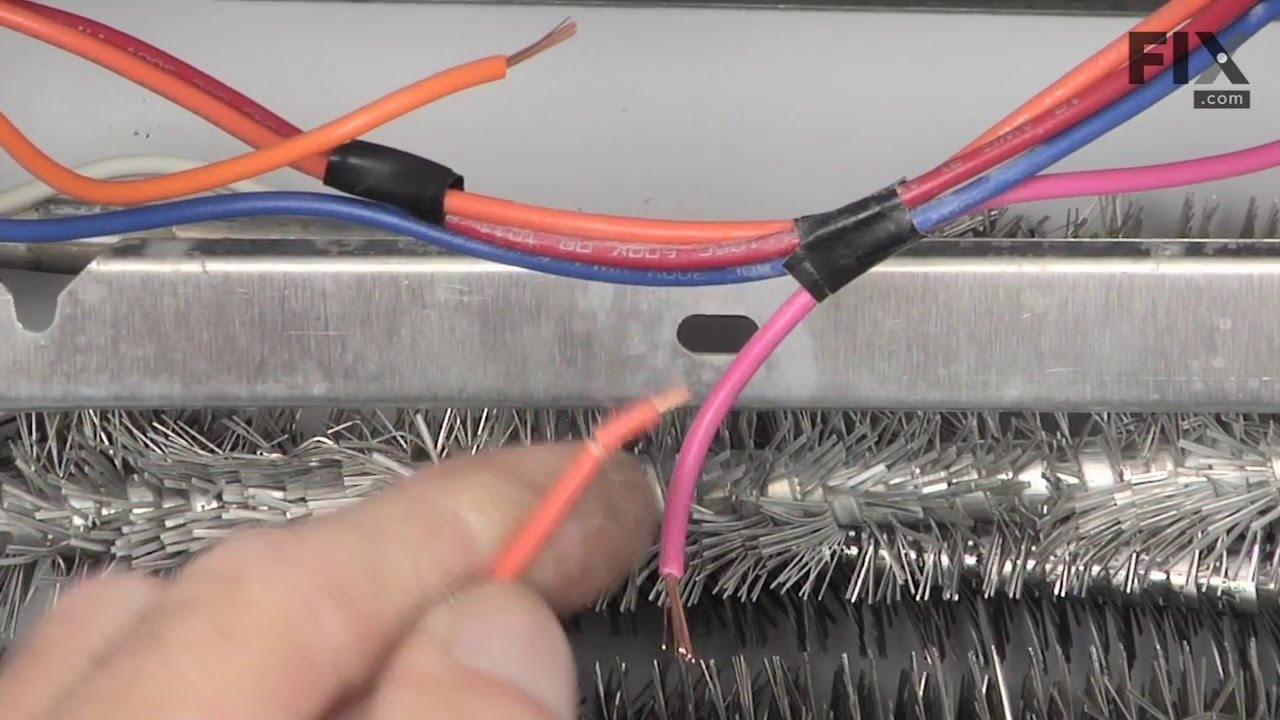
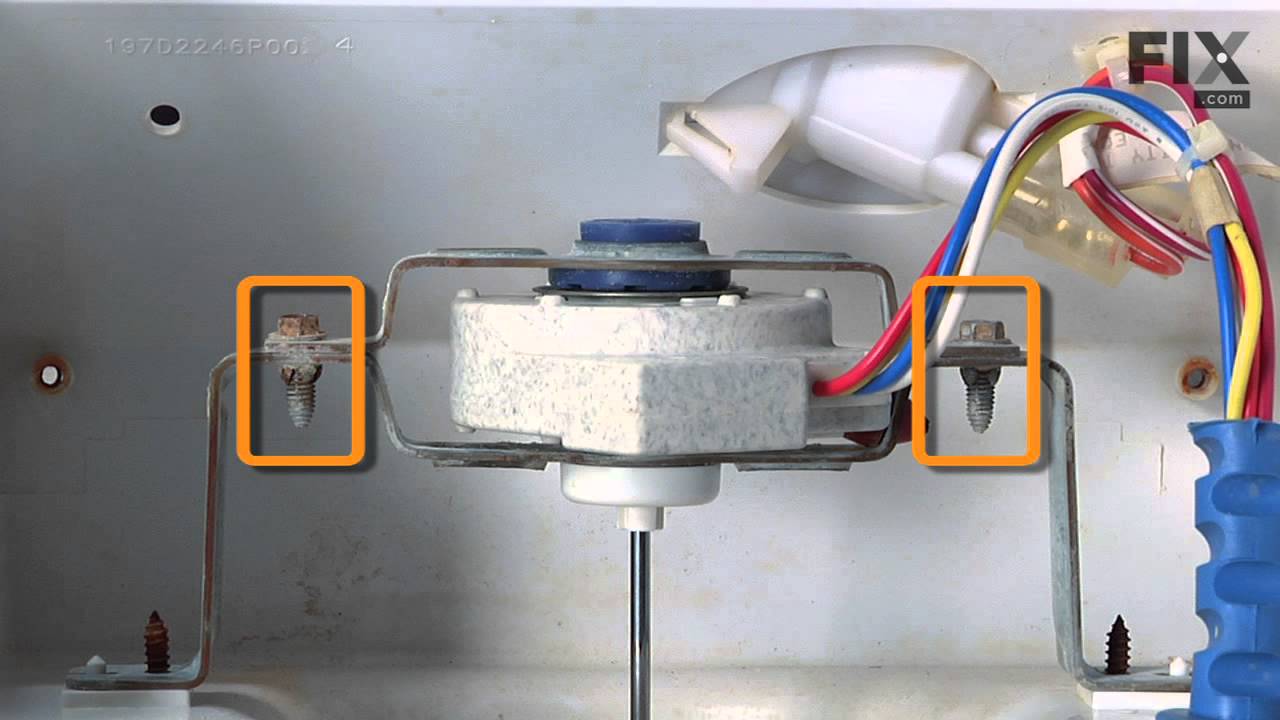


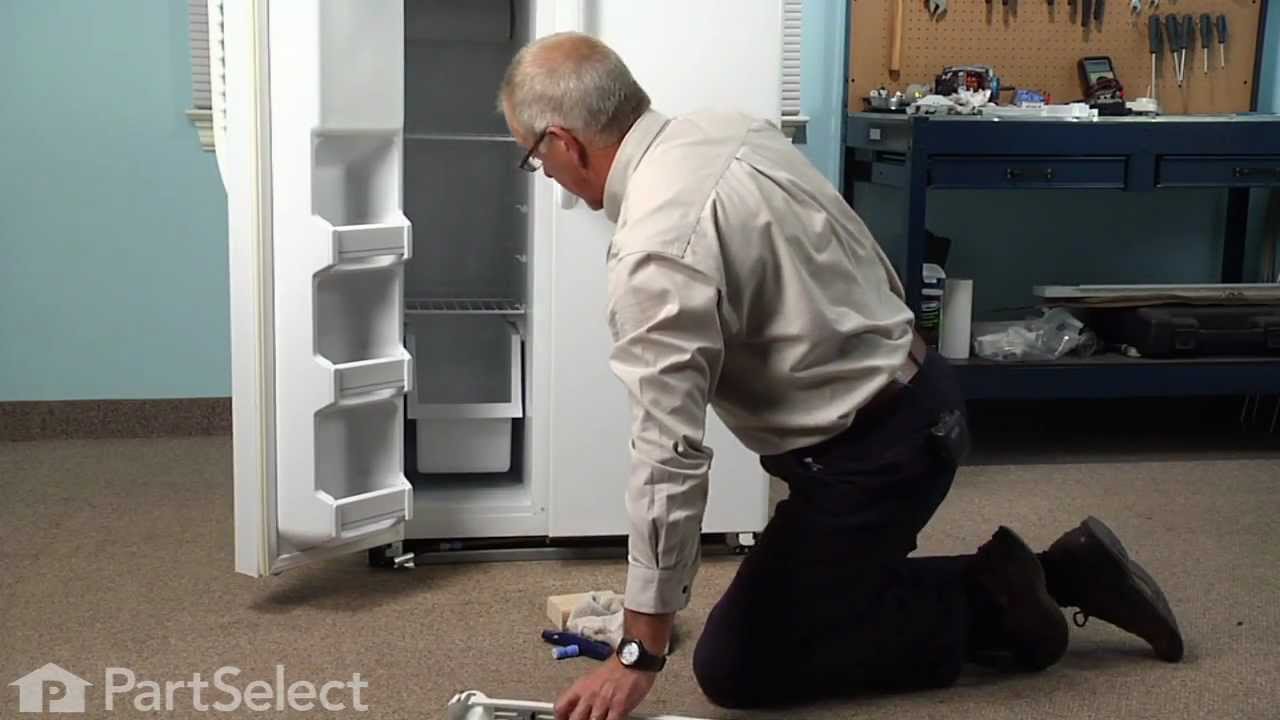
See how others fixed this model. Time, tools, difficulty, and steps that lead to victory!
View More