
EasyApplianceParts is now PartSelect! We've merged our sites to provide a better shopping experience for you.   Full Details
✖

Find Parts

Parts Departments

Top Model Types

Top Brands

Repair Help

Expert Repair Videos

Keep typing for more specific results...

SF3000SKW0 Whirlpool Range - Overview

Diagrams for SF3000SKW0

See every part. Know exactly what you need.

Enter a part description. DIY Heroes keep it simple, eg. "belt" or "pump".

Search filter:
Clear Filter
Your search term must have 3 or more characters.
Range Insulation – Part Number: WPW10208653
$50.56
In Stock
Range Insulation
★★★★★
★★★★★
(8)
Part #WPW10208653
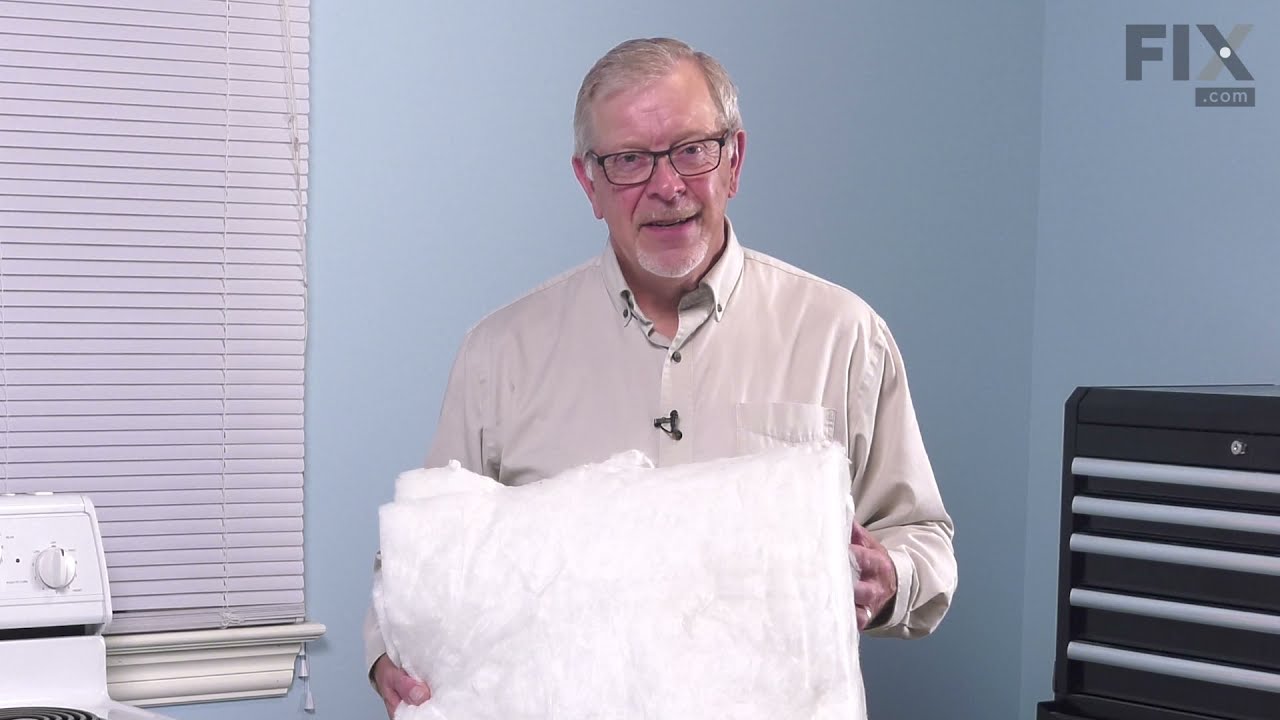
This insulation is also known as oven wrap insulation, and is used in conjunction with your range. Its purpose is to be installed in between the oven and the cabinets that surround it. This will help prevent the heat from escaping while cooking and essentially keep it locked inside the oven. The most common reason for needing to replace the insulation in your oven is that it becomes a comfy place for vermin to nest. Before making this installation, it would be best to disconnect the electrical power to your appliance, and to make sure that your range is cool to the touch.
CLIP – Part Number: 98005642
$50.56
Special Order
CLIP
Part #98005642
USE WPL Y0L01002199 – Part Number: 878710
No Longer Available
USE WPL Y0L01002199
Part #878710
Back, Main – Part Number: 878155
No Longer Available
Back, Main
Part #878155
Panel, Oven Door (White) – Part Number: 878691
No Longer Available
Top, Main (White) – Part Number: 878176
No Longer Available
Top, Main (White)
Part #878176
Front, Main – Part Number: 878178
No Longer Available
Front, Main
Part #878178
Runner, Base (Left Side) – Part Number: 878181
No Longer Available
Hinge, Broiler Door (Left Side) – Part Number: 878183
No Longer Available
Track, Broiler (Right Side) – Part Number: 878113
No Longer Available
Panel, End (Almond) – Part Number: 878129
No Longer Available
Panel, End (Almond)
Part #878129
BURNR-TOP – Part Number: 878131
No Longer Available
BURNR-TOP
Part #878131

Watch our pros, then fix it yourself.
See how others fixed this model. Time, tools, difficulty, and steps that lead to victory! View More

Search repair tips from other customers using simple keywords like "replace", "fit", "remove", "inspect". DIY doesn't mean you have to do it alone!

Search filter:
Clear Filter
Your search term must have 3 or more characters.
mice had made nests in the insulation wrap in the range
129 of 211 people found this instruction helpful.
  • Wendy from Red Hook, NY
  • Easy
  • More than 2 hours
  • Screw drivers
I numbered every part. ex: 1 L., for first part removed left side. I used a magic marker to circle the holes and wrote the number of screws used on the part, set the srews in a separete place, so that I new where these screws went to. The cleanup was pretty time consuming, but I was able to keep my stove, when every repairman I called to fix my stove told me I was better off buying a new stove. ($600.00 stove 2 years old)Please Note: The insulation blanket needed for the entire stove is two pieces, the sides and top are one part # and the bottom and back, are another part #. I did not know this. I just purchased the top and sides. I got lucky, the back and bottom were still in good shape. So I guess I should have read the description of the part more carefully to see what it covers, before I ordered it. It took two people two hours to do the work, it was really nice to have an extra set of eyes, to remember what direction pieces of metal from the stove went. I would do it all over in a heart beat instead of buying a new stove.
Was this helpful?
Thank you for voting!