


 My Orders




SE960PEYN3 Whirlpool Range - Overview
Diagrams for SE960PEYN3
See every part. Know exactly what you need.


Enter a part description. DIY Heroes keep it simple, eg. "belt" or "pump".
Search filter:
Clear Filter
Your search term must have 3 or more characters.

$19.54
In Stock
Light Bulb - 40W
Part #8009
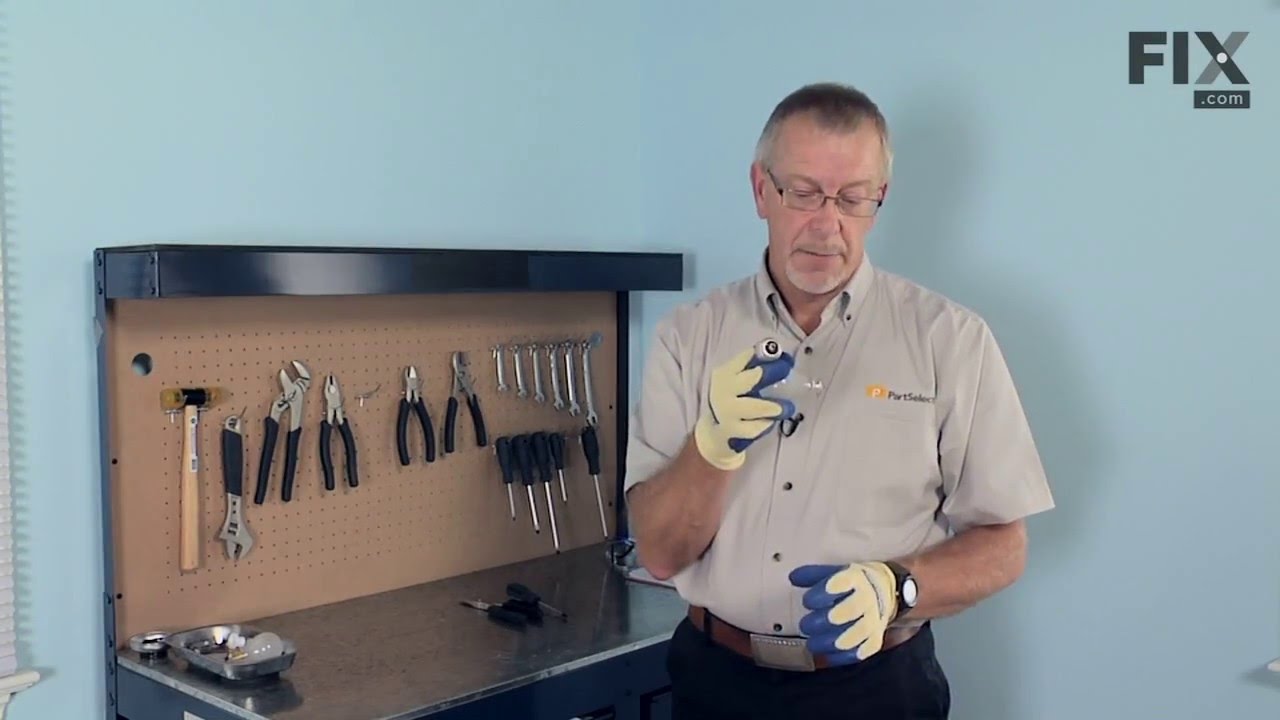
This an authentic OEM 40-Watt replacement light bulb, used in a number of household appliances. It is specially designed to withstand extreme temperatures, which is why these replacement bulbs are most often used to light the inside of refrigerators and ranges. It features a standard socket base, which means you simply unscrew the burnt-o...Read moreut bulb and screw in the replacement. Depending on the appliance you may require a screwdriver or nut driver to access the light bulb. We recommend you wear work gloves while handling this replacement part. It is constructed of glass and metal and is sold individually. Depending on the appliance and location of the bulb within it, you may want to consider disconnecting power and using a flashlight for easier access to unscrewing and re-screwing in your bulb during this repair.
Read less

$7.47
In Stock

$50.56
In Stock
Range Insulation
Part #WPW10208653
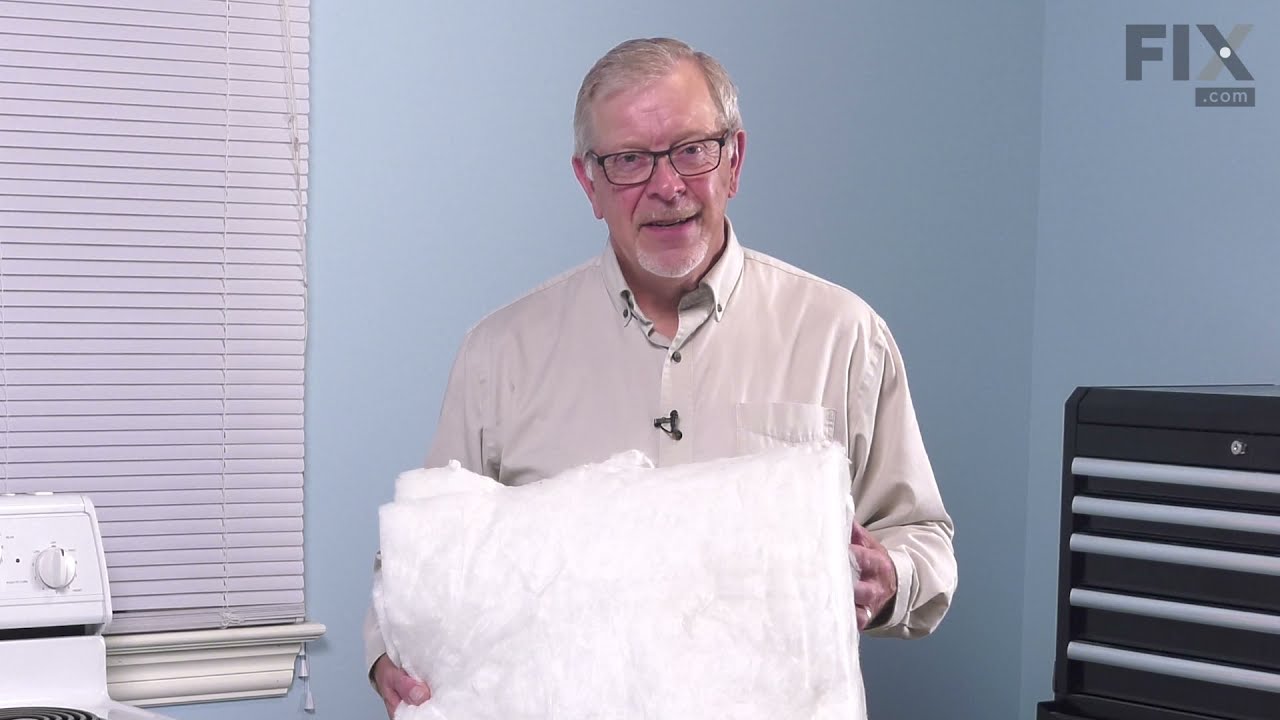
This insulation is also known as oven wrap insulation, and is used in conjunction with your range. Its purpose is to be installed in between the oven and the cabinets that surround it. This will help prevent the heat from escaping while cooking and essentially keep it locked inside the oven. The most common reason for needing to replace t...Read morehe insulation in your oven is that it becomes a comfy place for vermin to nest. Before making this installation, it would be best to disconnect the electrical power to your appliance, and to make sure that your range is cool to the touch.
Read less

$105.35
On Order
Range Flat Oven Igniter
Part #814269
This igniter is lighted by the spark switch to produce a flame to ignite the oven.

$69.91
Special Order
Range Light Blub Fluorescent 18 Watt
Part #WP95292
This light bulb is used in a range's control panel.

$53.20
Special Order
Range Rocker Switch (Black)
Part #WP4314961
This rocker switch can be used for both the oven selector and/or the oven light.

No Longer Available

No Longer Available

$9.62
In Stock

$7.47
In Stock
Zip Tie
Part #WPW10339879
A zip tie, also known as a cable tie or a wire tie, is a fastening device that holds wires or tubing together. If a machine has wires or tubing that are easily shifted, you need to hold them tightly together using a zip tie. It is a flexible, plastic strip that has serrated teeth and a locking mechanism. If the zip tie is damaged, it shou...Read moreld be replaced. Freely moving wires may rub against surfaces, causing them to break over time. Zip ties are single-use and may not be reused after they are removed from a machine. To release the locking mechanism, you will need to insert a small flat tool into the head of the zip tie, between the tongue and the serration, and depress the bar. You can then pull the teeth out of the mechanism to loosen the cable tie. This part is produced by the original equipment manufacturer and is sold individually.
Read less

No Longer Available
Spark Module
Part #4372836
This part sends enough current to the igniter to create a spark to the bottom of the burner cap.

No Longer Available
GLIDE-DRWR
Part #816621
Manuals & Care Guides for SE960PEYN3
Click to downloadCommon Symptoms of the SE960PEYN3
How this model fails, and the parts that fix it.
Gas igniter glows, but will not light
Fixed by
these parts
these parts

Show All
Will Not Start
Fixed by
these parts
these parts

Show All
Little to no heat when baking
Fixed by
these parts
these parts
Show All
Watch our pros, then fix it yourself.
See how others fixed this model. Time, tools, difficulty, and steps that lead to victory!
View More