EasyApplianceParts is now PartSelect! We've merged our sites to provide a better shopping experience for you.   Full Details
✖

Find Parts

Parts Departments

Top Model Types

Top Brands

Repair Help

Expert Repair Videos

Keep typing for more specific results...

SE960PEPW5 Whirlpool Range - Overview

Enter a part description. DIY Heroes keep it simple, eg. "belt" or "pump".

Search filter:
Clear Filter
Your search term must have 3 or more characters.
Light Bulb - 40W – Part Number: 8009
$19.54
In Stock
Light Bulb - 40W
★★★★★
★★★★★
(78)
Part #8009
This an authentic OEM 40-Watt replacement light bulb, used in a number of household appliances. It is specially designed to withstand extreme temperatures, which is why these replacement bulbs are most often used to light the inside of refrigerators and ranges. It features a standard socket base, which means you simply unscrew the burnt-out bulb and screw in the replacement. Depending on the appliance you may require a screwdriver or nut driver to access the light bulb. We recommend you wear work gloves while handling this replacement part. It is constructed of glass and metal and is sold individually. Depending on the appliance and location of the bulb within it, you may want to consider disconnecting power and using a flashlight for easier access to unscrewing and re-screwing in your bulb during this repair.
Flat Style Oven Igniter – Part Number: 786324
$56.33
In Stock
Flat Style Oven Igniter
★★★★★
★★★★★
(18)
Part #786324
The flat style oven igniter is also known as a range oven igniter. The function of this part is to glow extremely hot in order to ignite the gas for the oven burner. With this flat style oven igniter, you must reuse the original bracket from your original igniter. Be very careful during installation to not touch the black element part of the flat style oven igniter as it is very fragile. If your oven does not heat you should check to see if your igniter is glowing. If your igniter is glowing and the oven is not heating there is a chance that the igniter is not strong enough to heat your oven and it will need to be replaced.
Air Conditioner Cover Screw – Part Number: WP308685
$7.47
In Stock
Air Conditioner Cover Screw
Part #WP308685
Sold individually.
Range Insulation – Part Number: WPW10208653
$50.56
In Stock
Range Insulation
★★★★★
★★★★★
(8)
Part #WPW10208653
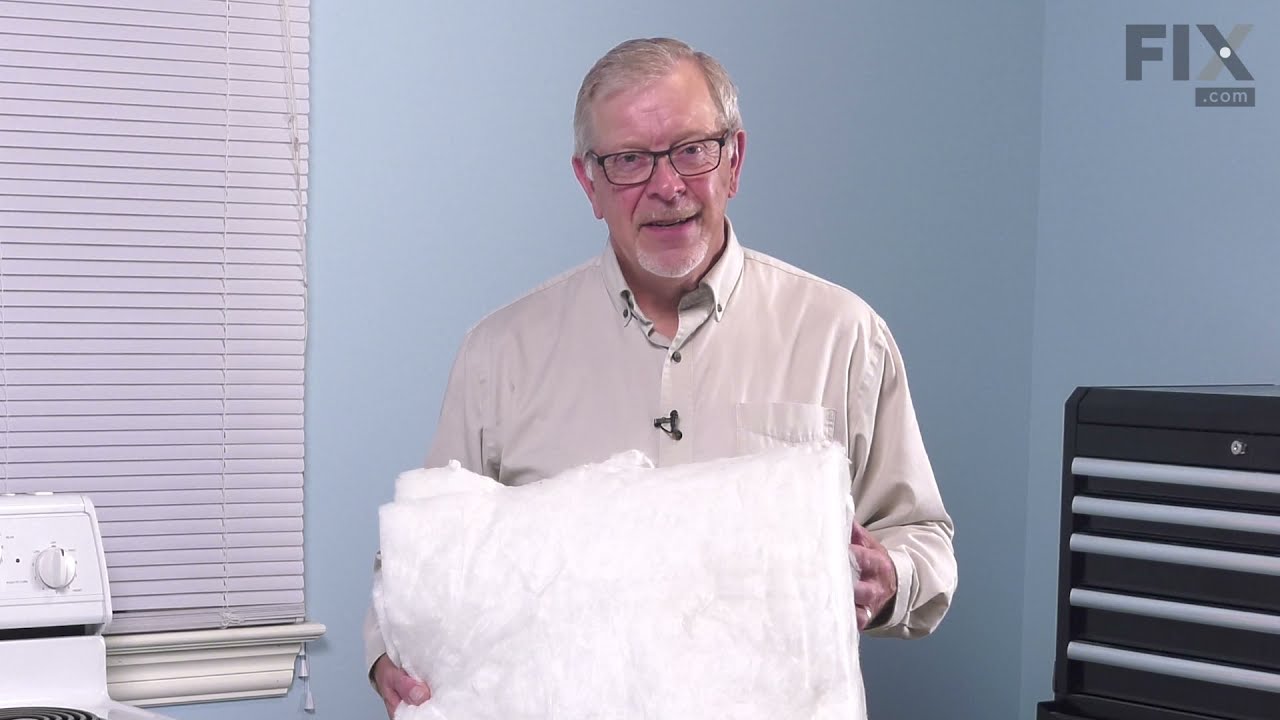
This insulation is also known as oven wrap insulation, and is used in conjunction with your range. Its purpose is to be installed in between the oven and the cabinets that surround it. This will help prevent the heat from escaping while cooking and essentially keep it locked inside the oven. The most common reason for needing to replace the insulation in your oven is that it becomes a comfy place for vermin to nest. Before making this installation, it would be best to disconnect the electrical power to your appliance, and to make sure that your range is cool to the touch.
Range Hex Nut – Part Number: WP488130
$8.55
Special Order
Range Hex Nut
★★★★★
★★★★★
(2)
Part #WP488130
This hex nut is an authentic Whirlpool part that is sourced directly from the original equipment manufacturer, and will fit a variety of appliances including ovens, microwaves, refrigerators, air conditioners, and dishwashers. It is a metal part with a threaded hole to fasten parts in the appliance together. It is common for this part to wear out; it is recommended to order a spare. To replace this part the tools needed are a nut driver or wrench. This nut features a built-in external tooth lock washer, which is used to help keep the nut in place.
Range Bowldrip – Part Number: WP786333
$18.22
In Stock
Range Bowldrip
Part #WP786333
This single square chrome drip pan has sides measuring just about eight inches. Its center hole has a diameter of just over four inches wide. Use this drip pan for your Amana brand gas range. Sold individually.
Range Light Blub Fluorescent 18 Watt – Part Number: WP95292
$69.91
Special Order
Range Light Blub Fluorescent 18 Watt
Part #WP95292
This light bulb is used in a range's control panel.
Light Switch – Part Number: 866294
No Longer Available
Light Switch
Part #866294
This light switch is located in the door of the oven.
Surface Burner Knob – Part Number: Y0302434
No Longer Available
Surface Burner Knob
Part #Y0302434
Sold individually. This knob accepts a D-shaped shaft.
Gas Valve Burner Orifice -  #58 LPG – Part Number: 31864901
No Longer Available
Surface Igniter – Part Number: 4157608
$81.43
Special Order
Surface Igniter
Part #4157608
Screw – Part Number: WP486754
$7.47
In Stock
Screw
Part #WP486754
Sold individually.

Manuals & Care Guides for SE960PEPW5

Click to download

Common Symptoms of the SE960PEPW5

How this model fails, and the parts that fix it.

Watch our pros, then fix it yourself.
See how others fixed this model. Time, tools, difficulty, and steps that lead to victory! View More

Search repair tips from other customers using simple keywords like "replace", "fit", "remove", "inspect". DIY doesn't mean you have to do it alone!

Search filter:
Clear Filter
Your search term must have 3 or more characters.
Oven wouldn't heat. Glow ignitor was weak and wouldn't ignite flame.
93 of 102 people found this instruction helpful.
  • John from Niles, MI
  • Easy
  • 15 - 30 mins
  • Screw drivers
After shutting off the gas and removing the oven door, which simply slid off of the hinges, I removed the oven plate. The ignitor was attached to the manifold. I removed that and noted the wires were attached back behind a hole in the back of the oven. I thought I would have to access them from the back but when I pulled on them I was able to reach them from the front. I was surprised to find plastic lugs covering the wire ends, rather than ceramic. I attached the new ignitor wires and reused the plastic lugs, as no ceramic ones came with the new ignitor. I carefully slid the new ignitor back into the cage/shield attached to the manifold and replaced the manifold. I then turned the gas back on and tested the ignitor (which worked perfectly) before replacing the oven plate. The repair took less than 30 minutes, but my wife and I thoroughly cleaned the door and interior while we had it apart. The hardest part was getting the door back on the hinges, but this too was accomplished after several attempts. The oven heats up beautifully now.
Was this helpful?
Thank you for voting!
mice had made nests in the insulation wrap in the range
129 of 211 people found this instruction helpful.
  • Wendy from Red Hook, NY
  • Easy
  • More than 2 hours
  • Screw drivers
I numbered every part. ex: 1 L., for first part removed left side. I used a magic marker to circle the holes and wrote the number of screws used on the part, set the srews in a separete place, so that I new where these screws went to. The cleanup was pretty time consuming, but I was able to keep my stove, when every repairman I called to fix my stove told me I was better off buying a new stove. ($600.00 stove 2 years old)Please Note: The insulation blanket needed for the entire stove is two pieces, the sides and top are one part # and the bottom and back, are another part #. I did not know this. I just purchased the top and sides. I got lucky, the back and bottom were still in good shape. So I guess I should have read the description of the part more carefully to see what it covers, before I ordered it. It took two people two hours to do the work, it was really nice to have an extra set of eyes, to remember what direction pieces of metal from the stove went. I would do it all over in a heart beat instead of buying a new stove.
Was this helpful?
Thank you for voting!
Oven would not light
14 of 15 people found this instruction helpful.
  • Rick from Laguna HIlls, CA
  • Really Easy
  • 15 - 30 mins
  • Nutdriver, Screw drivers
After the appliance store told me that the repair would cost about $500 to fix an oven that wouldn't light we didn't have the money to repair it or buy a new one so we went without an oven (only the oven) for almost 1 year. The igniter would glow but the oven would not light. my son found your site online and passed it on to me. It was so simple it's almost funny. I opened the oven door and removed the burner cover. Then reached in and removed the three screws that held the igniter in place. Turned off the gas, disconedted it so I could pull the stove out to get behind it. Found the wires to the igniter and undid the 2 wire nuts. Removed the igniter cover from the old one and slid it onto the new one. Be very careful because the igniter is very delicate and be sure to not toucjh the heating eliment. Slid the new part into place, reinstalled the screws, connected the new wires with the old wire nuts, reconnected the gas and turned on the oven. BAM it worked like a charm.
Was this helpful?
Thank you for voting!