


 My Orders




SDL20KCSBBS General Electric Refrigerator - Overview
Diagrams for SDL20KCSBBS
See every part. Know exactly what you need.


Enter a part description. DIY Heroes keep it simple, eg. "belt" or "pump".
Search filter:
Clear Filter
Your search term must have 3 or more characters.

$30.53
In Stock
Temperature Sensor
Part #WR55X10025
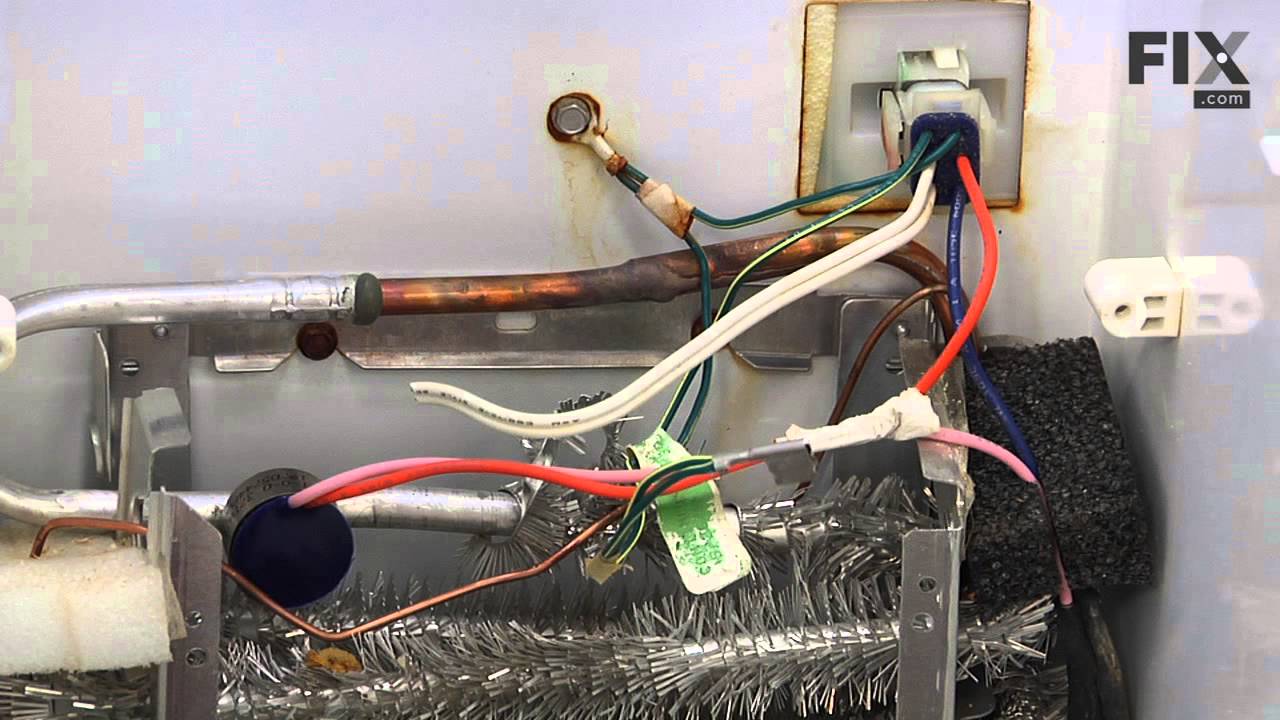
This temperature sensor, also called a thermistor, measures temperature inside the refrigerator or freezer and sends readings to the main control board. The board uses this information to control cooling, including compressor and fan operation. Incorrect readings may cause the compartment to become too warm or too cold, or make cooling ru...Read moren longer than needed. The replacement includes the sensor body and wire leads. Its location varies by appliance. This is an OEM part sourced directly from the manufacturer.
Read less

$207.55
In Stock
Ice Maker
Part #WR30X10093
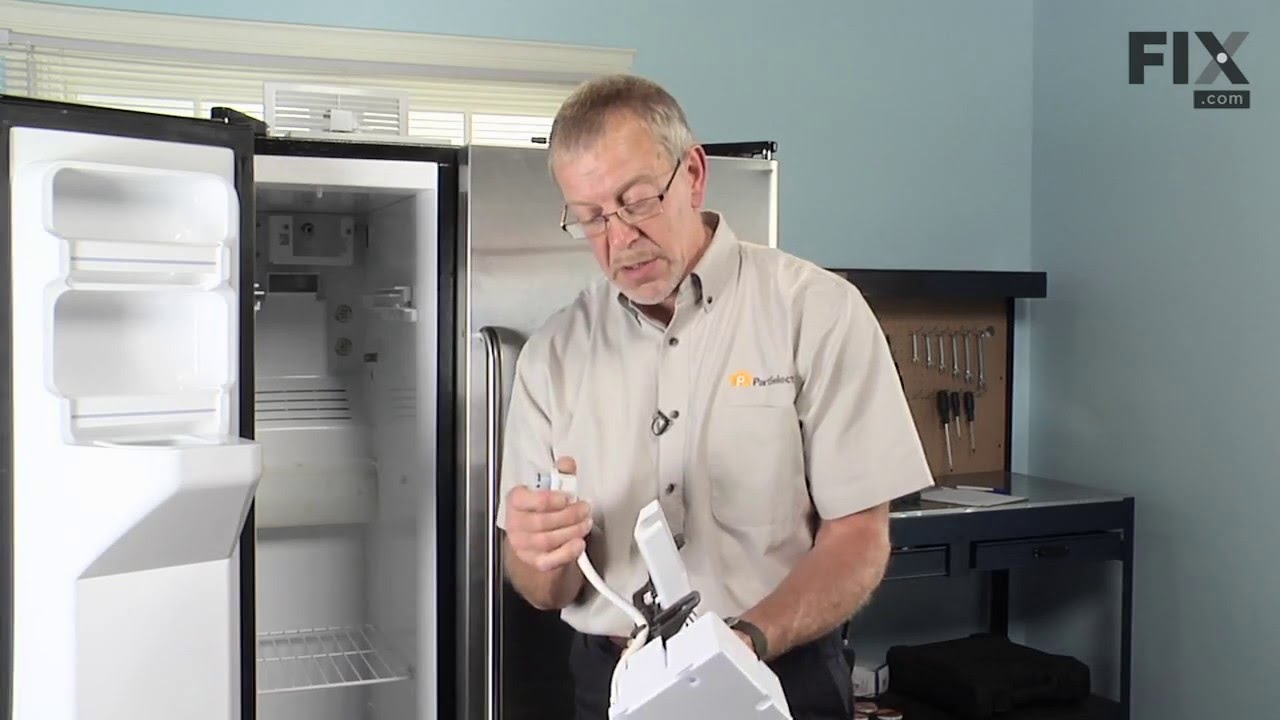
This refrigerator ice maker assembly automatically freezes water and releases crescent-shaped ice cubes into the storage bin. It replaces an existing ice maker that has stopped cycling, fails to release ice, or has damaged components. Poor ice production can also result from a restricted water supply or incorrect freezer temperature, so c...Read moreheck these conditions before replacing the assembly. Confirm the mounting arrangement, fill cup position, electrical connections, and included adapters against the appliance parts list to ensure the kit matches the original installation. This is an OEM part sourced directly from the manufacturer.
Read less

$381.06
In Stock
Main Control Board Assembly
Part #WR55X10942C
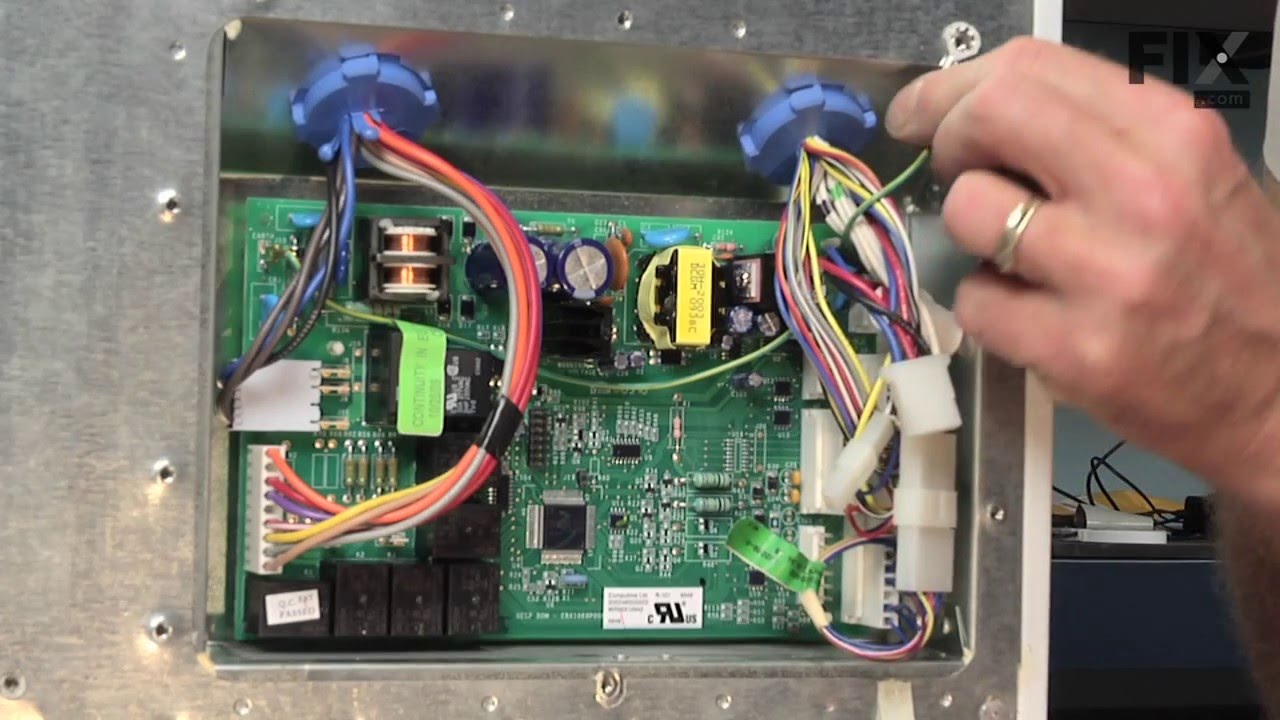
This electronic board (Main Control Board Assembly, Control Board, Motherboard) controls the temperature and defrost functions of the unit. This control board is located on the back of the refrigerator, and measures 8 inches by 5 inches. It’s constructed of metal and plastic, and comes in green. This kit includes one main control board wi...Read moreth built in defrost controls. If broken due to electrical surges or normal use, your fridge may experience temperatures that are too warm or too cold, or inconsistent defrost cycles. If this happens, the part should be replaced.
Read less

$21.95
In Stock
Light Bulb - 40W
Part #40A15
This 40-Watt light bulb is sold individually.
It is specially designed to withstand extreme temperatures, so this bulb is compatible with a variety of appliance types including refrigerators, ranges, microwaves, and dryers. It features a frosted glass bulb with a standard metal socket base, which allows you to easily unscrew the burnt-out light and twist the new bulb into place.

$56.34
In Stock
Refrigerator Outlet Valve Kit
Part #WR57X10033
The water inlet valve on your refrigerator allows water to enter the ice maker and water dispenser. If your ice maker or water dispenser is not functioning properly, or you notice a leak, you may need to replace the single outlet valve. This single outlet valve has 1/4-inch compressions fittings and is intended for use with refrigerators ...Read morethat make crescent-shaped ice cubes. As per the manufacturer, this valve has a new quick connection. You must cut the retaining nut off your current plastic water line, and gently push it into the new valve. Be sure to disconnect the water and power sources from the refrigerator before you begin this repair.
Read less

$61.39
In Stock
Run Capacitor
Part #WR55X24064
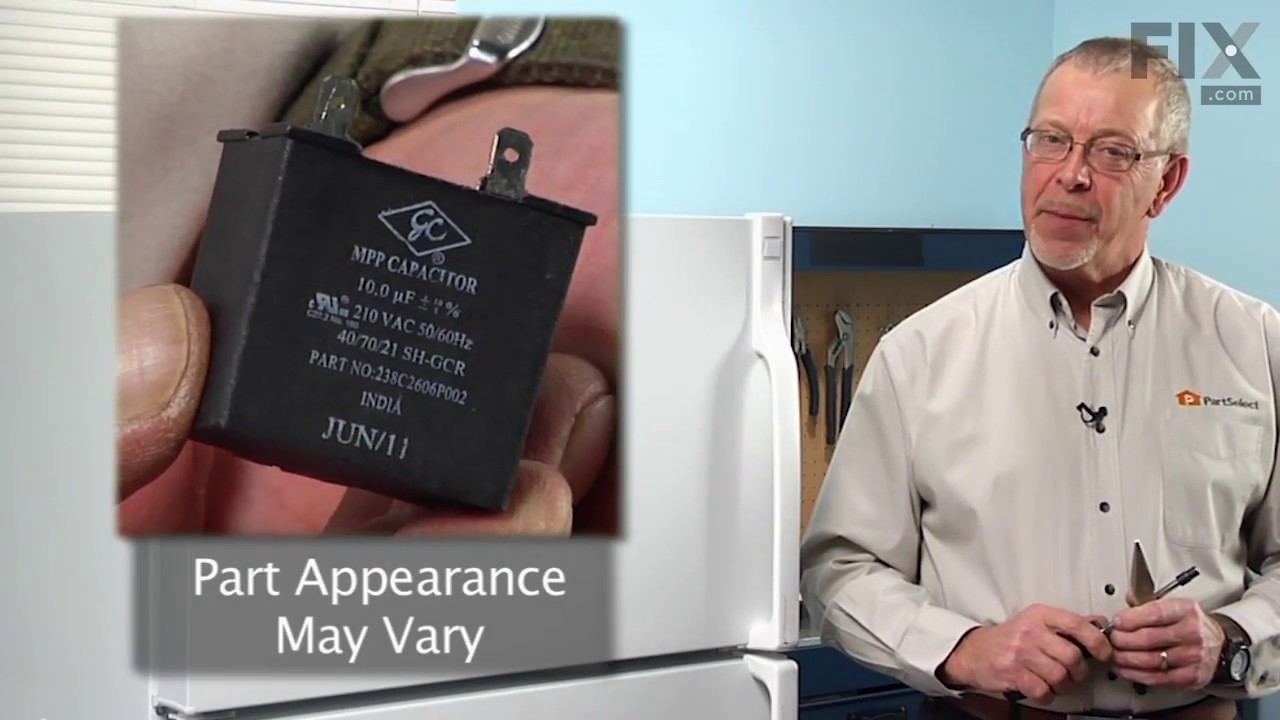
Support steady compressor operation with this refrigerator run capacitor. It provides the electrical phase shift needed for the compressor motor to run properly as the cooling system operates. A failing capacitor may contribute to humming, difficulty starting, interrupted compressor operation, or rising compartment temperatures. Visible s...Read morewelling, leaking, or burned terminals may also indicate damage. Unplug the refrigerator before accessing the component. Capacitors can retain an electrical charge after power is disconnected, so follow approved discharge procedures and avoid touching or shorting the terminals. Record the wire positions before replacement. This is an OEM part sourced directly from the manufacturer.
Read less

$16.08
In Stock

No Longer Available
Refrigerator Door Bin - White/Clear
Part #WR17X11606
This door shelf bin is a genuine OEM replacement part for your refrigerator door. This clear and white plastic bin holds food items on the door of your fridge. It can become cracked or go missing and need replacing. To replace this part, simply pull out the existing door bin, and snap the new one into place using the mounting tabs.

No Longer Available

$57.26
In Stock
Power Cord
Part #WR23X10300
This heavy-duty cord has a three-pronged plug (2 electrical, 1 grounding). The power cord supplies power to your refrigerator, allowing it to keep the contents inside cool. There could be an issue with your cord if you notice that the refrigerator will not turn on, or intermittently turns on and off. Check the cord for fraying, or other v...Read moreisible damage. If the power cord shows any signs of damage, replace the cord immediately as it could become an electrical or fire hazard. Before you begin this repair, ensure that the power is disconnected from the unit, and that all food that could ruin is stored away while the power is off.
Read less

$132.82
In Stock
Condenser Fan Motor
Part #WR84X10055
The fan blade is not included. This motor operates the fan to help circulate the air for cooling of the compressor and the coils. It also helps to evaporate the excess water located in the drain pan.

$19.64
In Stock
Manuals & Care Guides for SDL20KCSBBS
Click to downloadCommon Symptoms of the SDL20KCSBBS
How this model fails, and the parts that fix it.
Fridge too warm
Fixed by
these parts
these parts


Show All
Ice maker not making ice
Fixed by
these parts
these parts


Show All
Freezer section too warm
Fixed by
these parts
these parts
Show All
Will Not Start
Fixed by
these parts
these parts
Show All
Fridge too cold
Fixed by
these parts
these parts
Show All
Freezer not defrosting
Fixed by
these parts
these parts
Show All
Leaking
Fixed by
these parts
these parts
Show All
Fridge and Freezer are too warm
Fixed by
these parts
these parts
Show All
Clicking sound
Fixed by
these parts
these parts
Show All
Ice maker won’t dispense ice
Fixed by
these parts
these parts
Show All
Too warm
Fixed by
these parts
these parts
Show All
Noisy
Fixed by
these parts
these parts
Show All
Frost buildup
Fixed by
these parts
these parts
Show All
Fridge runs too long
Fixed by
these parts
these parts
Show All
Not dispensing water
Fixed by
these parts
these parts
Show All
Freezer too cold
Fixed by
these parts
these parts
Show All
Light not working
Fixed by
these parts
these parts

Show All
Ice maker dispenses too little ice
Fixed by
these parts
these parts
Show All
Ice maker dispenses too much ice
Fixed by
these parts
these parts
Show All
Doesn’t stop running
Fixed by
these parts
these parts
Show All
Too cold
Fixed by
these parts
these parts
Show All
Door won’t open or close
Fixed by
these parts
these parts

Show All
Won’t start
Fixed by
these parts
these parts
Show All
Watch our pros, then fix it yourself.

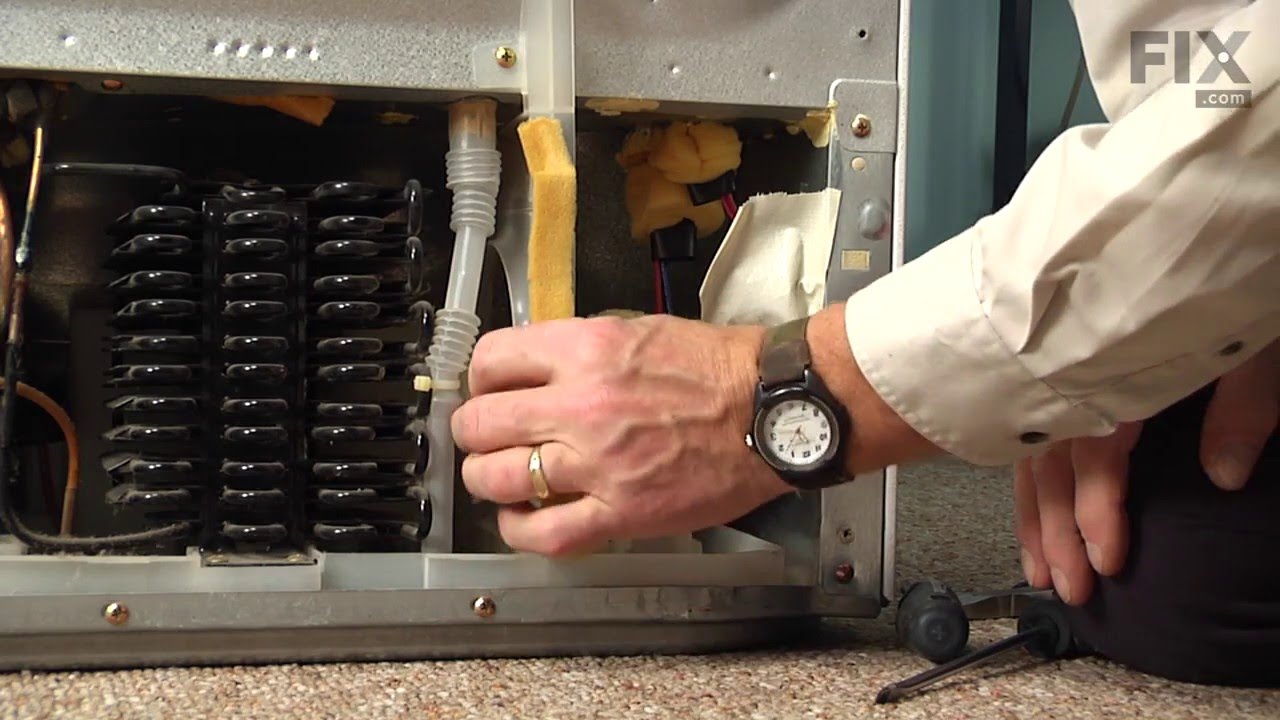


See how others fixed this model. Time, tools, difficulty, and steps that lead to victory!
View More