


 My Orders




SC24 - Overview
Models starting with SC24
Click on the best match to narrow your results.
- SC240 Panasonic Canister Vacuum (Panasonic Vacuum Cleaner Model SC240 Parts)
- SC2400 Cub Cadet Lawn Mower (Cub Cadet Lawn Mower Model SC2400 Parts)
- Sc2400 (54A) Cub Cadet Lawn Tractor (Sc2400 (54a) 54aea4n-727 54aea4no727 54aea4np727 54aea4nq727 54aea4nr727 54afa4n-727 54afa4no727 54afa4np727 54afa4nq727 54afa4nr727 54aga4n-727 54aga4no727 54aga4np727 54aga4nq727 54aga4nr727)
- Sc2400 (54B) Cub Cadet Lawn Tractor (Sc2400 (54b) 54bea4t-727 54bea4to727 54bea4tp727 54bea4tq727 54bea4tr727 54bfa4t-727 54bfa4to727 54bfa4tp727 54bfa4tq727 54bfa4tr727 54bga4t-727 54bga4to727 54bga4tp727 54bga4tq727 54bga4tr727)
- SC2450 (7800391) Snapper Lawn Tractor (50" 24Hp Zt Twin Stick Rider 150Z Series)
- Sc2450 (54A,54A-G4RV727,54AEG4RV727,54AGG4RV727) Cub Cadet Lawn Tractor (Sc Series Compact Tractor)
- Sc2450 (54B,54B-G4TV727,54BEG4TV727,54BFG4TV727) Cub Cadet Lawn Tractor (Sc Series Compact Tractor)
- SC24572 Kalorik Slow Cooker (S.S 3.5 Qt Slow Cooker)
- SC24C7DTLA Gibson Dishwasher
- SC24C7DTLB Gibson Dishwasher
- SC24C7DTLC Gibson Dishwasher (Portable)
- SC24C7WTLA Gibson Dishwasher
- SC24C7WTLB Gibson Dishwasher
- SC24C7WTLC Gibson Dishwasher (Portable)
- SC24C7YTLA Gibson Dishwasher
- SC24C7YTLB Gibson Dishwasher
- SC24C7YTLC Gibson Dishwasher (Portable)
Enter a part description. DIY Heroes keep it simple, eg. "belt" or "pump".
Search filter:
Clear Filter
Your search term must have 3 or more characters.

$16.03
In Stock
Heating Element Brass Nut
Part #154106202
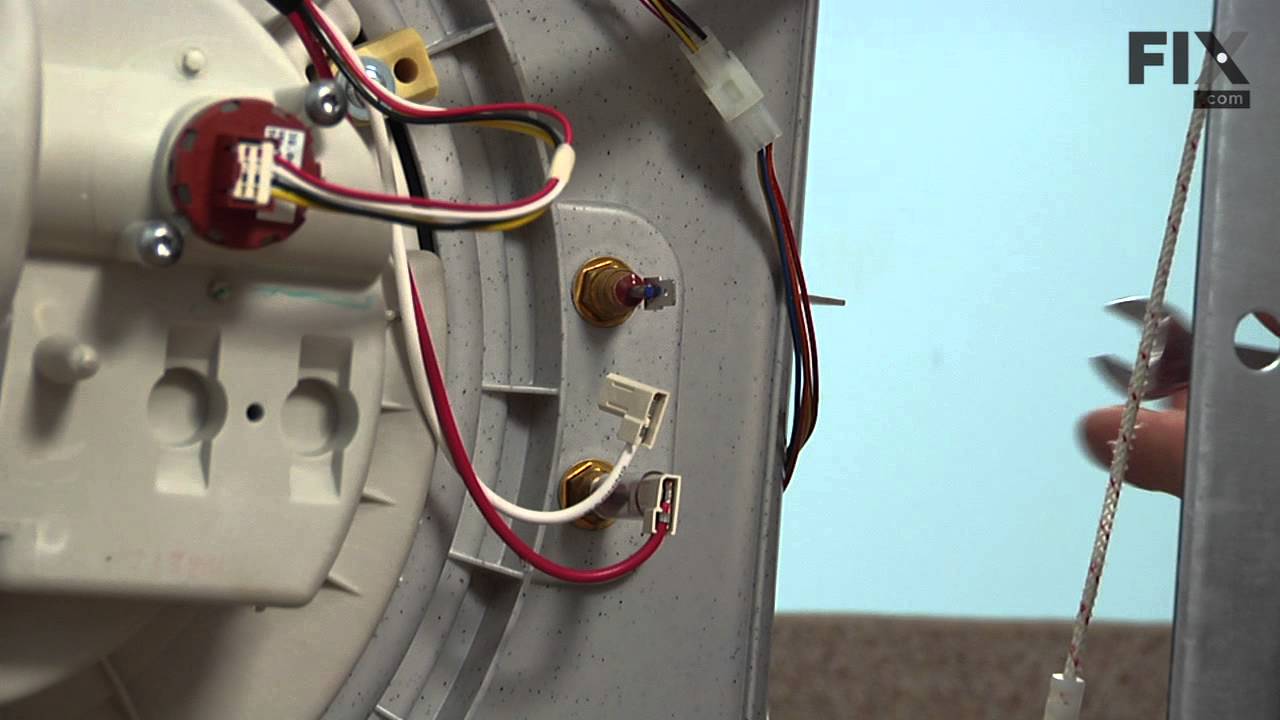
The heating element nut is used to connect the heating element to the dishwasher tub. If water is leaking from underneath your dishwasher, you may need to tighten or replace the heating element nut. Replacing the nut is an easy job, does not require any specialty tools, and should not take you more than 10 minutes. For our step by step gu...Read moreide, click the video below. The brass nut measures 7 inches in length x 1 inch in width x 5 inches in height, and fits most dishwashers. To see if this part is compatible with your dishwasher, check the list of compatible brands below.
Read less

No Longer Available
Element Grommet
Part #5300806833
This grommet is used in a number of household appliances. Most often it is used in the dishwasher as part of the assembly that mounts and holds the heating element in place. This replacement part is made out of rubber, which helps create a seal between the element and the appliance. This grommet is sold individually. If you are replacing ...Read morethe heating element, or the brass nut that holds it in place, we recommend you replace the grommet at the same time. Before you begin any repair work on your dishwasher, make sure you have unplugged it and shut off the water supply.
Read less

$45.11
In Stock
BASKET
Part #5304509753
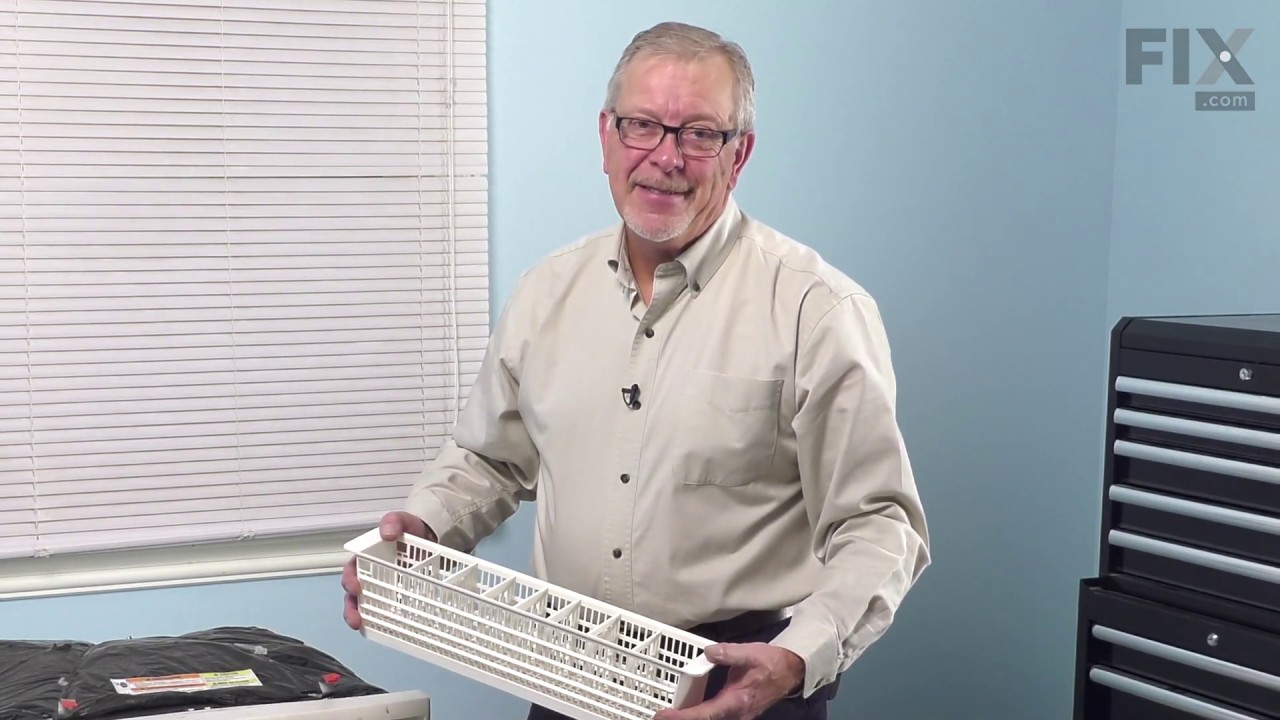
This is a basket for your dishwasher. It sits in the lower dishrack and holds small utensils during a washing cycle. This basket has six smaller sections where you can separate your cutlery into specific groups. This silverware holder is made entirely of plastic with a crisscross pattern allowing water and small food particles to pass thr...Read moreough it during the cleaning process. This model is grey and roughly 14 inches long, about 6 inches high, and almost 4 inches thick.
Read less

$19.68
In Stock

$6.40
In Stock
Snow Blower Shear Pin
Part #703063
Shear Pins are designed to break off in order to prevent further damage to your machine. Because they are designed to break, we recommend having a few spares on hand. This part is made of metal, is silver, is not part of a kit or assembly, and is sold individually.
A Shear Pin will break when you hit a large chunk or ice or other debris...Read more. Once it is broken, it will need to be replaced. You will need pliers to complete this repair.
Customers rate this repair as Easy.
Read less

$22.97
In Stock

No Longer Available

$21.95
In Stock
SCREW
Part #218359202

$10.65
In Stock
Bearing, Ball 11/16x1
Part #1705897SM
This ball bearing is sourced from the original equipment manufacturer and can be used in a variety of outdoor equipment. It has an inner diameter of 11/16 inches. The ball bearing provides support for the rotating parts in your equipment and reduces the amount of friction they are subject to during use. If the bearing is not adequately lu...Read morebricated or has worn down, you may hear grinding or squeaking from your equipment and notice excessive vibration when in use. It is important to address this issue promptly as a faulty ball bearing can potentially damage the parts located near it. To replace the ball bearing, use a pry bar or bearing puller to pry it out of its housing. Clean the housing thoroughly and press your new ball bearing in position. Note that when pressing the ball bearing into place, apply force only to the outer portion of the bearing.
Read less

$14.76
In Stock
Snow Blower Greased Bearing
Part #2108202SM
This Ball Bearing is an individually sold, silver/black, metal part. It reduces friction in the spindle assembly between the spindle shaft and the spindle housing. If broken due to wear/fatigue, you will hear a grinding, growling, rumbling or screeching sound, and should replace the part. Refer to your make, model and diagrams to ensure this is the right part for you.

$62.99
In Stock
HOUSING, Arbor Bottom with Lube Fitting
Part #1713338ASM
Introducing the Simplicity Arbor Bottom Housing Assembly, a premium quality component that successfully enhances the functionality of your lawn tractor. This particularly designed Mandrel Housing is adept at securely housing the shaft that delivers an effective spin to the cutting blade. Durably constructed and complete with a lube fittin...Read moreg, the housing ensures smooth operation and prolonged part life. It's recommended to don work gloves to ensure protection while installing this prime part. Upgrade your mower's performance effortlessly with this Bottom Arbor Housing from Simplicity, a name synonymous with quality and performance. Maximize your lawn care experience by opting for Simplicity's Arbor Bottom Housing Assembly today.
Read less

$8.77
In Stock
Wheel
Part #1714760SM
This authentic OEM sourced replacement wheel is specially designed for use with Snapper, Simplicity and Murray lawn mowers and tractors. It is the wheel for the mower deck, it will help to support its weight and assist in turning. This wheel is made out plastic material and it is sold individually. Replacing this deck wheel is a simple task that should only require a set of wrenches.
Exact Part matches for your search term

$4.08
Special Order
Screw- Set
This part number matches the current model number SC24
Part #SC24
This is a genuine OEM part. The Bostitch set screw is compatible with several specialty nailers. The metal screw helps to secure the housing assembly. A hex key is necessary in making the repair. The set screw is sold individually. It is encouraged to purchase a spare, as they can wear over time and regular use.
Common Symptoms of models starting with SC24
How this model fails, and the parts that fix it.


Watch our pros, then fix it yourself.
See how others fixed this model. Time, tools, difficulty, and steps that lead to victory!
View More
Search repair tips from other customers using simple keywords like "replace", "fit", "remove", "inspect". DIY doesn't mean you have to do it alone!
Search filter:
Clear Filter
Your search term must have 3 or more characters.
Water leaking from under dishwasher
14 of 15 people
found this instruction helpful.
Removed lower trim covers (2 Phillips screws) disconnected power supply at breaker box. Removed wire from heating element, removed (broken) brass nut, unclipped heating element and removed. Removed flat washers and replaced with new grommets. Kind of tricky getting them in there. Also had to lube them with silicone to get the element back
... Read more
through. Installed new brass nuts and installed wire connectors. Reset breaker and started diswasher to verify repair. No leaks, working just fine, reinstalled lower trim covers
Read less
Other Parts Used:
Was this helpful?
Thank you for voting!