


 My Orders




S40STRP Maytag Refrigerator - Overview
Diagrams for S40STRP
See every part. Know exactly what you need.


Enter a part description. DIY Heroes keep it simple, eg. "belt" or "pump".
Search filter:
Clear Filter
Your search term must have 3 or more characters.

$18.22
In Stock
Shelf Retainer Bar End Cap
Part #WP61002112
The shelf retainer bar end cap is used to keep the retainer bar in place, and can be used on either the right or left hand side of the bar. This white, OEM end cap is approximately 2 inches long, and made entirely of plastic. The shelf bar and cap snap into place on the door to attach the door shelf bar to the inner door liner. This part ...Read moreis also known as a rail end cap. If the door bar is not properly attached to the inner door liner, your items will not be secure on the shelf, and are likely to fall.
Read less

$30.53
In Stock
Refrigerator Door Switch
Part #W11384469
If your refrigerator’s interior light is not working, the door switch may be the cause. It turns the light off when the door closes. This is an OEM part. Confirm compatibility using your refrigerator’s model number.

$52.67
In Stock
Door Shelf Retainer Bar
Part #W11045462
The white trim snaps onto a refrigerator door to hold items on the shelf. It may need to be cut to fit your refrigerator. This is an OEM part.

$21.45
On Order
Screw
Part #W11233072
This is a multi-use and multi-appliance screw. It can be used on a microwave, refrigerator, range/oven, air conditioner, dehumidifier, washer, or dryer. The measurements of this screw are 8 x 1/2 inch. It has 6 threads. Refer to the manual provided by the manufacturer for further information on repair and accurate guidance. Remember to wear work gloves as a safety precaution.

No Longer Available
Crisper Drawer Shelf Support
Part #67764-1
This crisper drawer shelf support is used for many refrigerators.

$35.80
In Stock
Refrigerator Water Fill Cup & Bearing
Part #WP628356
This refrigerator ice maker fill cup dispenses the water into the ice cube mold during the fill cycle. Replacing the water fill cup is a possible solution if you notice that the ice maker is leaking, or not making/dispensing ice. If you notice the fill cup has been damaged or cracked; replace the part straight away. This water fill cup is...Read more a genuine OEM part and will fit most refrigerators, but check the list of compatible brands to make sure yours is included before purchasing.
Read less

$26.82
In Stock
Ice Cube Tray
Part #WP61002140
This ice cube tray is located inside your refrigerator and is eleven inches long, with 48 molds. It comes in white and is made entirely from plastic. If your tray is broken, cracked, or damaged, replacing this part can solve the problem. Here are some ice cube tray tips to consider: the easiest way to release the cubes is by giving the tr...Read moreay a twisting motion from both sides. If that does not work, set it on your counter for a couple minutes until the tray warms up and it should work. Remember not to beat the tray, especially on a hard surface, to prevent damage. Refer to manual instructions provided by the manufacturer if needed.
Read less

$7.47
In Stock

$60.51
In Stock
Cycling thermostat
Part #WP627985
The ice maker thermostat, also known as the cycling thermostat, controls and regulates the ice maker ejection cycle by monitoring the temperature inside the freezer to determine when to release the ice into the bin and start the ice making cycle again. If your ice maker is making unusual noises, or if the ice maker is not making or dispen...Read moresing ice, there could be an issue with the thermostat. Before you begin this repair, make sure the power is disconnected from your refrigerator, and that any food that may spoil is safely stored. This is an OEM part and is sourced directly from the manufacturer. This thermostat is sold individually, and comes with two attachment clips.
Read less

$36.85
In Stock
Lower Hinge Pin
Part #WP61001925
This lower hinge pin is just over an inch long. It is black in color and is made of plastic. It is located on the bottom part of the door hinge.

$12.85
In Stock
Hinge Washer
Part #WP61002231
This hinge can be used for washers and refrigerators. The hinge is used to easily open and close your appliance door. If you put too much pressure or weight on the door, it can break the hinge or the hinge bearing. If this is the case, replacing this part can solve the issue. This hinge is 1 inch in diameter, is black in color and made fr...Read moreom plastic. Remember to unplug your appliance from the power source before beginning this installation project. Refer to the manual provided by the manufacturer for further installation instructions.
Read less

$11.77
In Stock
Refrigerator Compression Nut
Part #WP627018
The compression nut is used as a connection between the water supply line and other components in your refrigerator such as your ice maker and your water dispenser. Tools required for this repair include a pair of pliers and a socket set. Before installing this part you should take all perishable foods out of your refrigerator and store t...Read morehem somewhere cool, unplug the refrigerator from the power source, and shut off the water supply. This repair may require you to wear work gloves to protect your hands, and is considered an easy do-it-yourself fix.
Read less
Common Symptoms of the S40STRP
How this model fails, and the parts that fix it.
Light not working
Fixed by
these parts
these parts

Show All
Ice maker not making ice
Fixed by
these parts
these parts


Show All
Leaking
Fixed by
these parts
these parts


Show All
Door won’t open or close
Fixed by
these parts
these parts


Show All
Ice maker won’t dispense ice
Fixed by
these parts
these parts
Show All
Fridge too warm
Fixed by
these parts
these parts

Show All
Ice maker dispenses too much ice
Fixed by
these parts
these parts
Show All
Freezer section too warm
Fixed by
these parts
these parts
Show All
Fridge too cold
Fixed by
these parts
these parts

Show All
Noisy
Fixed by
these parts
these parts

Show All
Freezer not defrosting
Fixed by
these parts
these parts
Show All
Door latch failure
Fixed by
these parts
these parts

Show All
Watch our pros, then fix it yourself.

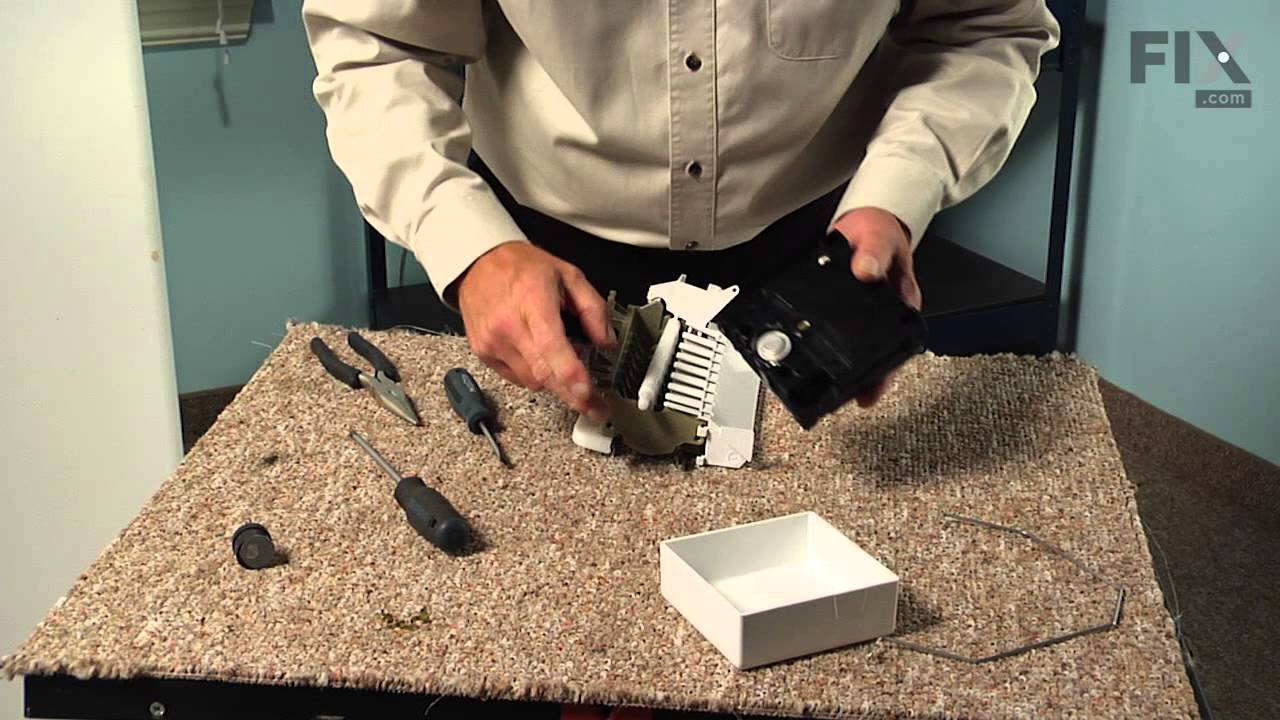
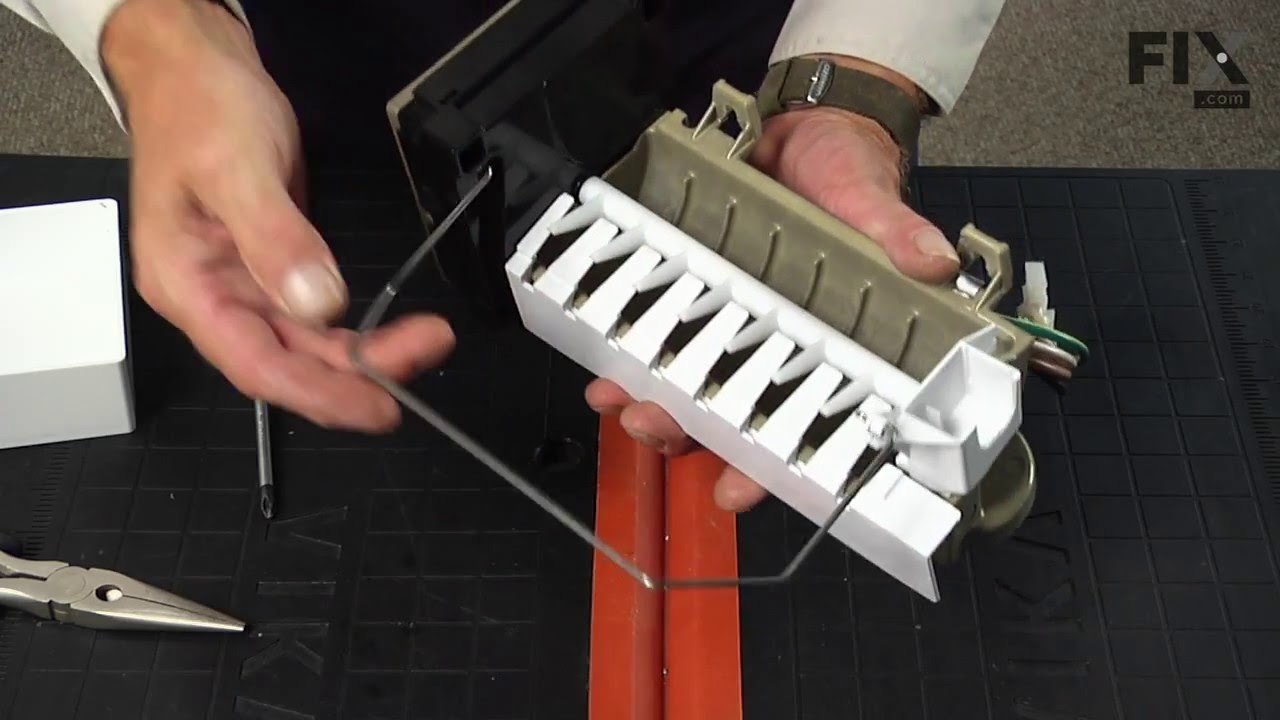
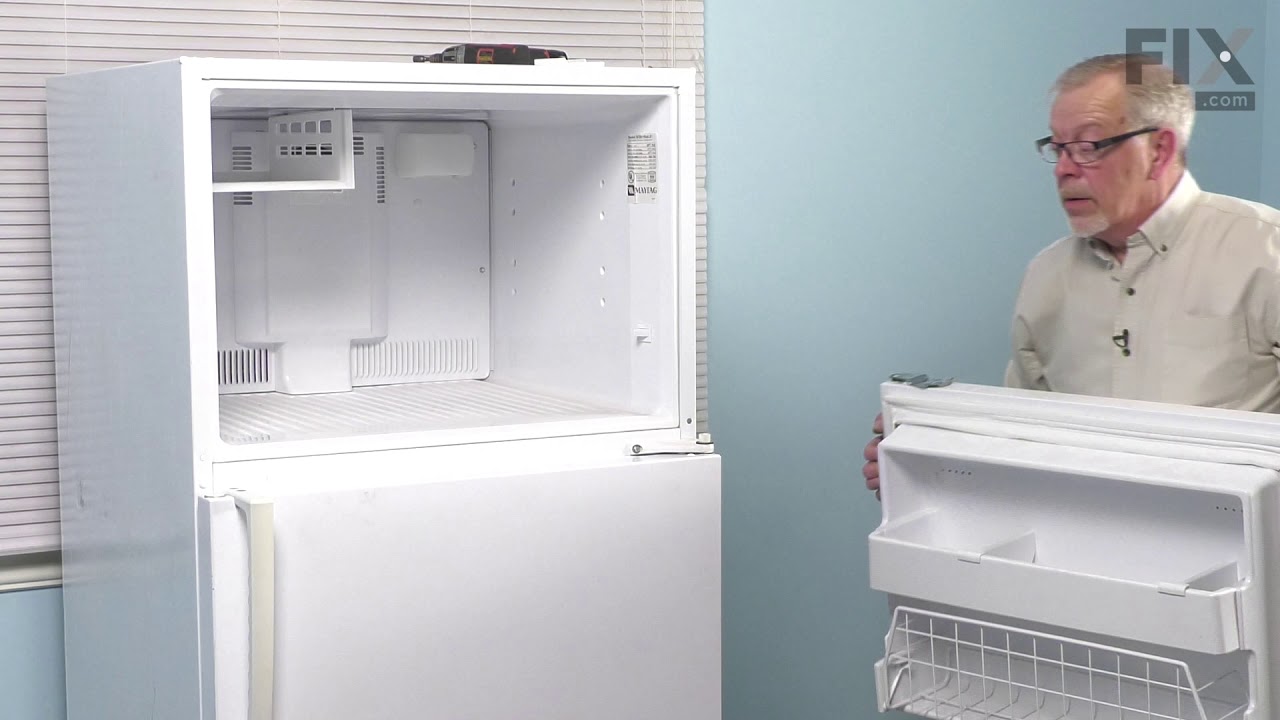
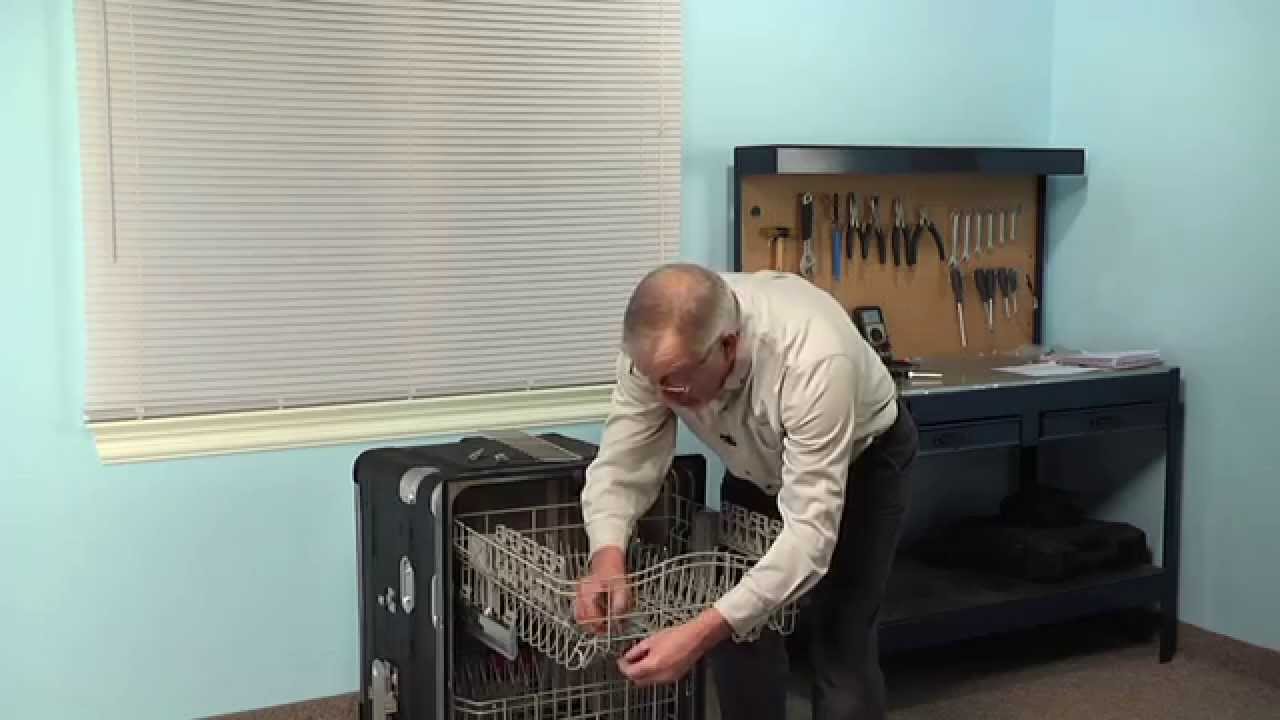
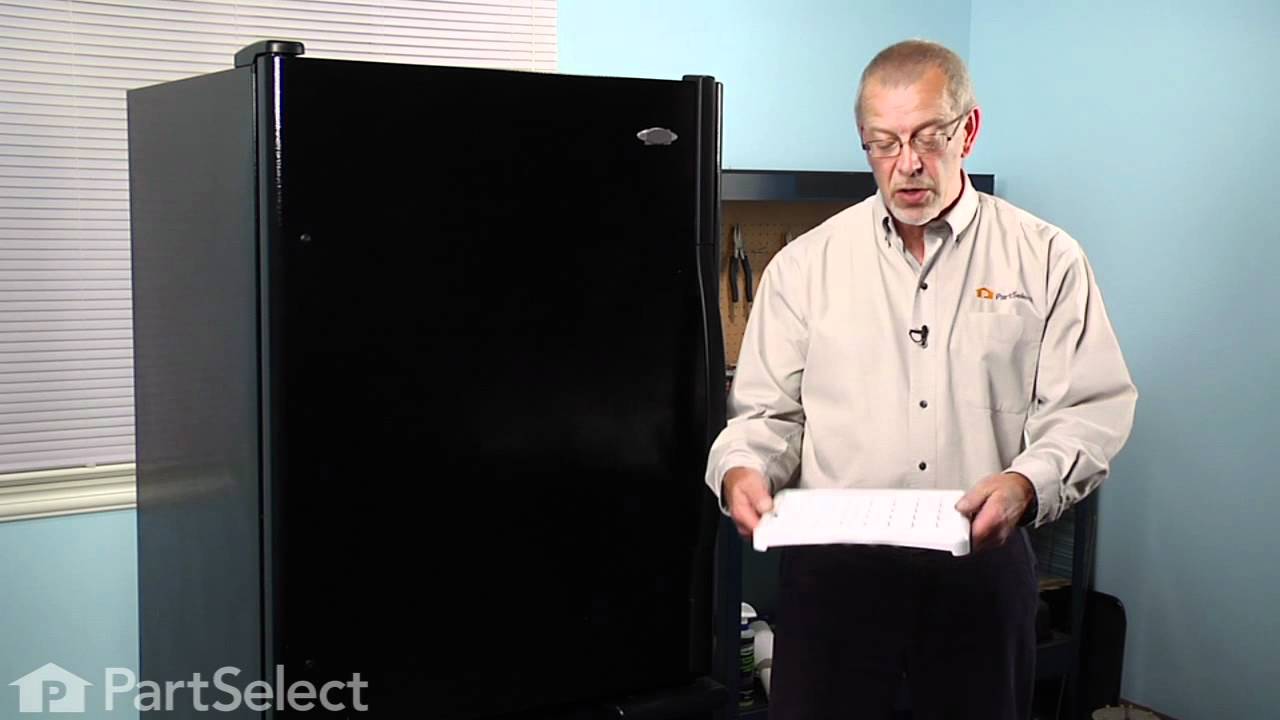
See how others fixed this model. Time, tools, difficulty, and steps that lead to victory!
View More