



 My Orders




S22 - Overview
Models starting with S22
Click on the best match to narrow your results.
- S2200 Sure Flame Heater (Contruction Heater)
- S2200 Hoover Upright Vacuum (Flair Bagless Vacuum)
- S2200--- Hoover Upright Vacuum
- S2200001 Hoover Upright Vacuum
- S2200001A Hoover Upright Vacuum (Hoover Vacuum Cleaner Model S2200001A Parts)
- S2200A Hoover Upright Vacuum (Hoover Vacuum Cleaner Model S2200A Parts)
- S2200D Sure Flame Heater (Direct Duel Fuel Heater)
- S2200Y0WW General Electric Washer
- S2200Y1WW General Electric Washer
- S2200Y3WW General Electric Washer
- S2201 Hoover Upright Vacuum (Upright Vacuum)
- S2201--- Hoover Upright Vacuum
- S2203 Hoover Upright Vacuum (Brush Vac)
- S2203--- Hoover Upright Vacuum
- S2211--- Hoover Upright Vacuum
- S2211100 Hoover Upright Vacuum
- S2220 Hoover Upright Vacuum (Flair Bagless With Powered Nozzle Vacuum)
- S2220--- Hoover Upright Vacuum
- S2220PN Hoover Upright Vacuum (Hoover Vacuum Cleaner Model S2220P.N. (S2220PN, S2220P N ) Parts)
- S2265 (7800189) Snapper Lawn Mower (22" 6.5Gt 3N1 Push Rear Discharge Mower)
- S2265FC (7800262) Snapper Lawn Mower (22" 6.5Gt 3N1 Push Mower)
- S22675 (7800604) Snapper Lawn Mower (22" 6.75Gt 3N1 Push Mower)
- S22675 (7800828) Snapper Lawn Mower (22-Inch 6.75gt 3n1 Push Mower)
- S22675FC (7800610) Snapper Lawn Mower (22" 6.75Gt 3N1 Push Mower)
- S22B5DA (966067901 - 2010-06) Bluebird Aerator (Aerator)
- S22B5DAC (968999645 - 2008-05) Bluebird Aerator (Aerator)
- S22FA-2KLX Magic Chef Range (Gas)
- S22FK-2KLX Magic Chef Range (Gas)
- S22FN-2KLX Magic Chef Range (Gas)
- S22FY-2KLX Magic Chef Range (Gas)
- S22H5DA (968999441 - 2010-04) Bluebird Aerator (Aerator)
- S22NEDA (968999442 - 2008-05) Bluebird Aerator (Aerator)
- S22QFWH00 Whirlpool Refrigerator (REFRIGERATORS)
- S22S6DA (968999681 - 2007-07) Bluebird Aerator (Aerator)
Enter a part description. DIY Heroes keep it simple, eg. "belt" or "pump".
Search filter:
Clear Filter
Your search term must have 3 or more characters.

$39.42
Special Order
DAMPENING STRAP 2PACK
Part #WH01X39337
The tub dampening straps support the wash tub and reduce vibration by keeping the tub at the center of the cabinet. If your washer shakes and moves, or is making a loud banging noise during the wash cycle, the washing machine tub could be off-balance, meaning one or more of these straps may be loose, or broken. Other symptoms include: the...Read more washer leaking, not agitating, or pumping but not spinning. These straps are sold individually. However, we recommend that you replace all 4 straps at the same time. It is also recommended that you check the tub for cracks where these straps mount.
Read less

$19.54
In Stock
Light Bulb - 40W
Part #8009
This an authentic OEM 40-Watt replacement light bulb, used in a number of household appliances. It is specially designed to withstand extreme temperatures, which is why these replacement bulbs are most often used to light the inside of refrigerators and ranges. It features a standard socket base, which means you simply unscrew the burnt-o...Read moreut bulb and screw in the replacement. Depending on the appliance you may require a screwdriver or nut driver to access the light bulb. We recommend you wear work gloves while handling this replacement part. It is constructed of glass and metal and is sold individually. Depending on the appliance and location of the bulb within it, you may want to consider disconnecting power and using a flashlight for easier access to unscrewing and re-screwing in your bulb during this repair.
Read less

$24.67
In Stock
Selector Knob with Clip
Part #WH1X2721
The selector knob is what you use to start the dryer. This replacement knob comes with a retaining clip. This is a very easy repair, the only tool you may need is a pair of needle nose pliers. Remove the existing knob by pulling it off, making sure to remove the retaining clip as well. Line up the new knob with the D-shaped shaft and slide it into place.

$44.23
In Stock
Agitator Coupling Kit
Part #WH49X10042
The agitator coupler connects the agitator to the agitator shaft. Common symptoms of a damaged coupler include: a grinding sound during the wash cycle, the washer refusing to agitate or spin, or the washing machine shakes and moves during the wash cycle. Unplug the washer and pull the agitator straight up. Remove the bolt that holds the c...Read moreoupler onto the shaft of the transmission and pull the coupler off. Be sure to clean any dirt, rust, or residue off the transmission spline grooves, and make sure the grooves on the agitator splines are clean and undamaged. We recommend using the gasket and bolt that come with the replacement coupling.
Read less

$70.95
In Stock
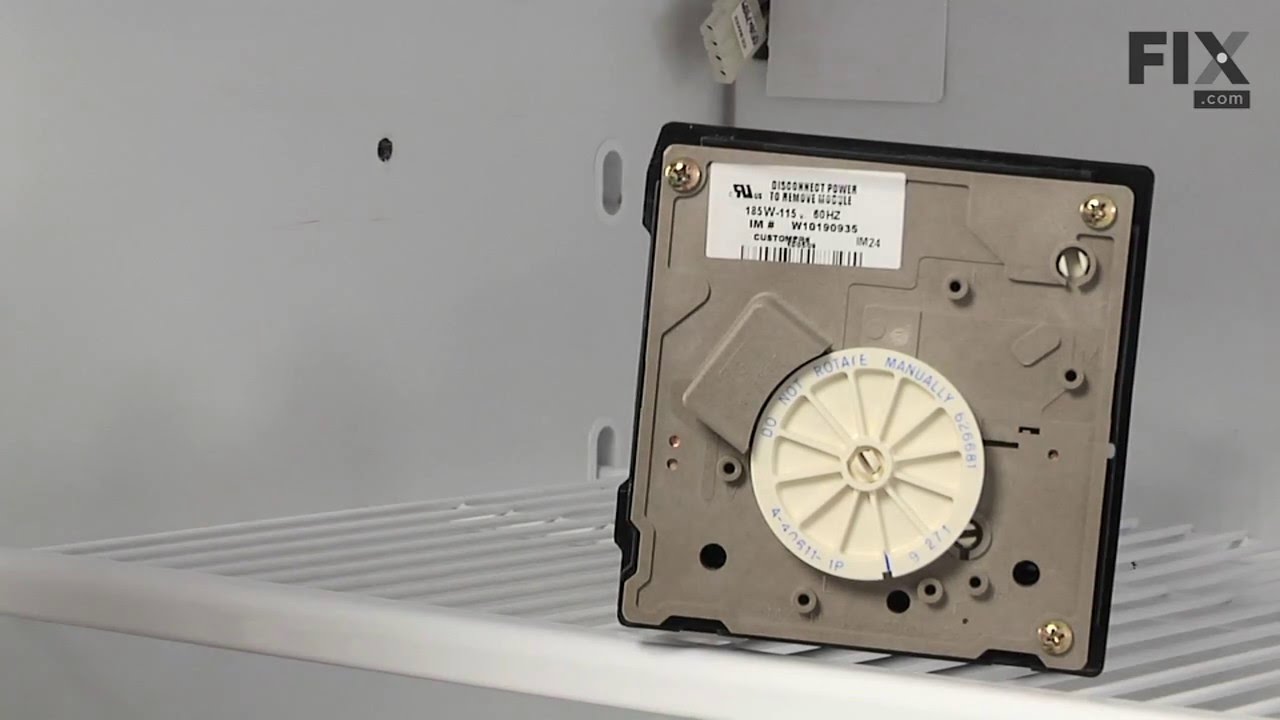
Icemaker Control Assembly
Part #W10190935
The “Icemaker Control Assembly” (Module & Motor Assembly, Ice Maker Control Module, Icemaker Module, Refrigerator Ice Maker Module) is what controls the actions of your ice maker. The control turns the timing cams and the ejector blades. It controls most of the basic parts and functions such as the heater, water inlet valve, the cube size...Read more, and cube ejection. If your ice maker control is broken it can no longer properly control the ice maker functions. It may not produce any ice, make small ice cubes, or have intermittent operation. This can occur due to normal wear and tear. The icemaker control assembly is attached to the ice maker mold, and is under the white cover. Test the icemaker control assembly by using a multimeter. If this reveals the assembly to be defective, you will need to replace this part. It is approximately 4.25 inches square, beige, and is constructed of plastic and metal. This replacement part features one icemaker control assembly, including the control module and the motor.
Read less

$50.56
In Stock
Flat Style Oven Igniter Kit
Part #12400035
The flat style oven igniter kit is used in gas ovens and ranges. It is what provides the heat needed to open the gas valve, and it ignites fuel for the burner assembly. This part can be used for both bake and broil elements, and it can replace both short and long igniters. However, it cannot replace round style oven igniters. If your igni...Read moreter glows for 90 seconds or more without igniting the burner, this means it is too weak to open the valve. The element in your igniter may have shorted it and it might not glow at all, or it might only glow orange or red. It needs to glow white hot; if it cannot get hot enough the gas will not be released from the safety valve and it will be impossible to light the burner in your oven. This kit includes the igniter, ceramic wire nuts, an insulation pad, a metal bracket, a variety of plug ends, and an instruction sheet. The body length is 3 3/4 inches, and the element inside is approximately 1 1/2 inches. This replacement part has an amperage range of 3.3 to 3.6. The element inside this igniter is extremely fragile, do not touch it. Before you start repairing your oven or range, make sure you have unplugged it and shut off the gas supply.
Read less

$34.74
In Stock
Defrost Timer
Part #W10822278
The Defrost Timer (Defrost control) acts like a clock by switching on the defrost heater circuit after a predetermined amount of compressor run time. This allows the defrost circuit to clear the evaporator of ice or frost to maintain proper airflow. If this part is not working, it can lead to temperature increases in your refrigerator. If...Read more the compressor circuit fails, no cooling will take place; if the defrost circuit isn't activated, ice will quickly build up on the evaporator coils and reduce airflow and efficiency. If the timer doesn't advance or if the contacts have no continuity, the timer will need to be replaced. This part is located inside of the control housing on most models, and is approximately 3 inches long and 2.5 inches wide. This part is constructed of plastic and metal, and comes in white. It features 1 defrost timer, along with all necessary mounting hardware and installation instructions
Read less

$30.53
In Stock

$61.55
In Stock
Drain Pump and Motor Assembly
Part #WH23X10030
This pump helps expel water from the washing machine and is activated after the spin speed is maintained for a specific period of time. If you notice that your washing machine will not drain, there is a good chance that you will have to replace the drain pump. The drain pump is located inside the washing machine, near the bottom. To acces...Read mores the drain pump for this repair, you will need to remove the front panel. Before you begin this repair, be sure that the power source is disconnected and the water source is shut off.
Read less

$22.24
In Stock
Tub Seal
Part #WH02X10383
The main tub seal is located between the transmission and the outer tub. Its the primary water seal in the outer tub for the transmission-shaft. If your washer is leaking during the fill cycle, or at agitation time, your tub seal may need to be replaced. You can check if the tub seal needs to be replaced by watching that area during an ac...Read moretual fill cycle. Take off the front panel, or if it is a front-loading washer, the rear panel. Without touching the washing machine, observe the place where the shaft of the transmission comes into the tub and the weep holes at the housing of the rear bearing. If there is water leaking, the tub seal is at fault.
NOTE: This seal is difficult to replace and should probably be installed by a qualified technician.
Read less

$18.65
In Stock
Ice Maker Water Fill Tube Kit
Part #WP2196157
The icemaker water fill tube provides water to the icemaker so it can produce ice and dispense water. If you notice that your ice maker is not making or dispensing ice, or is leaking, you may need to replace the water fill tube. This water fill tube kit comes with a fill tube and a compression nut. This part is made of white plastic and i...Read mores approximately 10 inches in length. The ice maker water fill tube is in the rear of the fridge. To complete this repair, you will need a 1/4 inch nut driver and a utility knife. Before beginning this repair, you may want to disconnect the water and power supply to the refrigerator.
Read less

$95.16
Special Order
Dual Water Inlet Valve
Part #WH13X10024
This water inlet valve attaches the water lines to the back of your appliance. The attaching solenoids on the valve open and close according to the desired temperature, or amount of water needed.
Common Symptoms of models starting with S22
How this model fails, and the parts that fix it.
Leaking
Fixed by
these parts
these parts


Show All
Will not agitate
Fixed by
these parts
these parts


Show All
Ice maker not making ice
Fixed by
these parts
these parts


Show All
Gas igniter glows, but will not light
Fixed by
these parts
these parts


Show All
Light not working
Fixed by
these parts
these parts


Show All
Will not drain
Fixed by
these parts
these parts

Show All
Will Not Start
Fixed by
these parts
these parts


Show All
Little to no heat when baking
Fixed by
these parts
these parts
Show All
Fridge too warm
Fixed by
these parts
these parts

Show All
Noisy
Fixed by
these parts
these parts

Show All
Door won’t open or close
Fixed by
these parts
these parts


Show All
Freezer not defrosting
Fixed by
these parts
these parts
Show All
Freezer section too warm
Fixed by
these parts
these parts

Show All
Ice maker won’t dispense ice
Fixed by
these parts
these parts


Show All
Element will not heat
Fixed by
these parts
these parts
Show All
No hot or cold water
Fixed by
these parts
these parts

Show All
Fridge and Freezer are too warm
Fixed by
these parts
these parts
Show All
Shaking and Moving
Fixed by
these parts
these parts
Show All
Fridge runs too long
Fixed by
these parts
these parts
Show All
Oven not heating evenly
Fixed by
these parts
these parts
Show All
Door won’t close
Fixed by
these parts
these parts

Show All
Gas smell
Fixed by
these parts
these parts
Show All
Little to no heat when broiling
Fixed by
these parts
these parts
Show All
Fridge too cold
Fixed by
these parts
these parts

Show All
Frost buildup
Fixed by
these parts
these parts
Show All
Not dispensing water
Fixed by
these parts
these parts

Show All
Freezer too cold
Fixed by
these parts
these parts
Show All
Burning smell
Fixed by
these parts
these parts

Show All
Too warm
Fixed by
these parts
these parts
Show All
Spinning Issues
Fixed by
these parts
these parts

Show All
Won’t Start
Fixed by
these parts
these parts

Show All
Noisy and Marks Left on Clothes
Fixed by
these parts
these parts

Show All
Ice maker dispenses too much ice
Fixed by
these parts
these parts
Show All
Won’t start
Fixed by
these parts
these parts
Show All
Marks left on clothes
Fixed by
these parts
these parts
Show All
Spins slowly
Fixed by
these parts
these parts
Show All
Water Filling Issues
Fixed by
these parts
these parts
Show All
Oven is too hot
Fixed by
these parts
these parts

Show All
Clicking sound
Fixed by
these parts
these parts
Show All
Watch our pros, then fix it yourself.


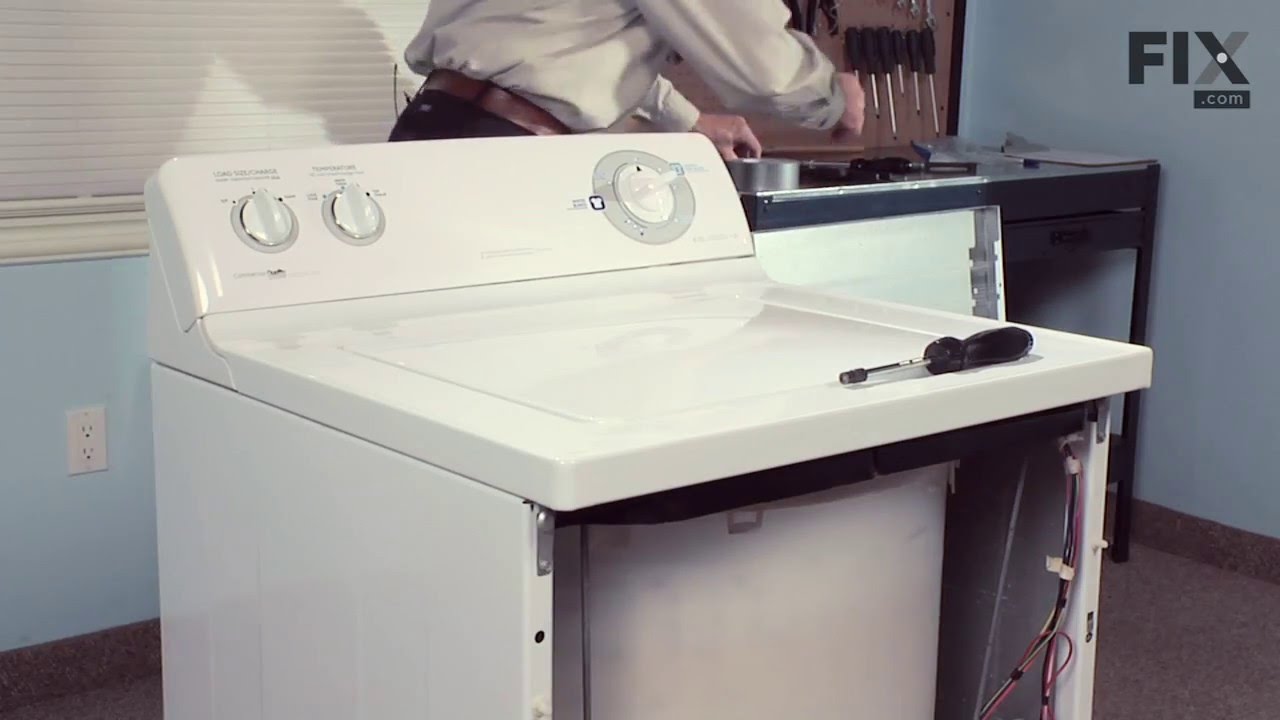
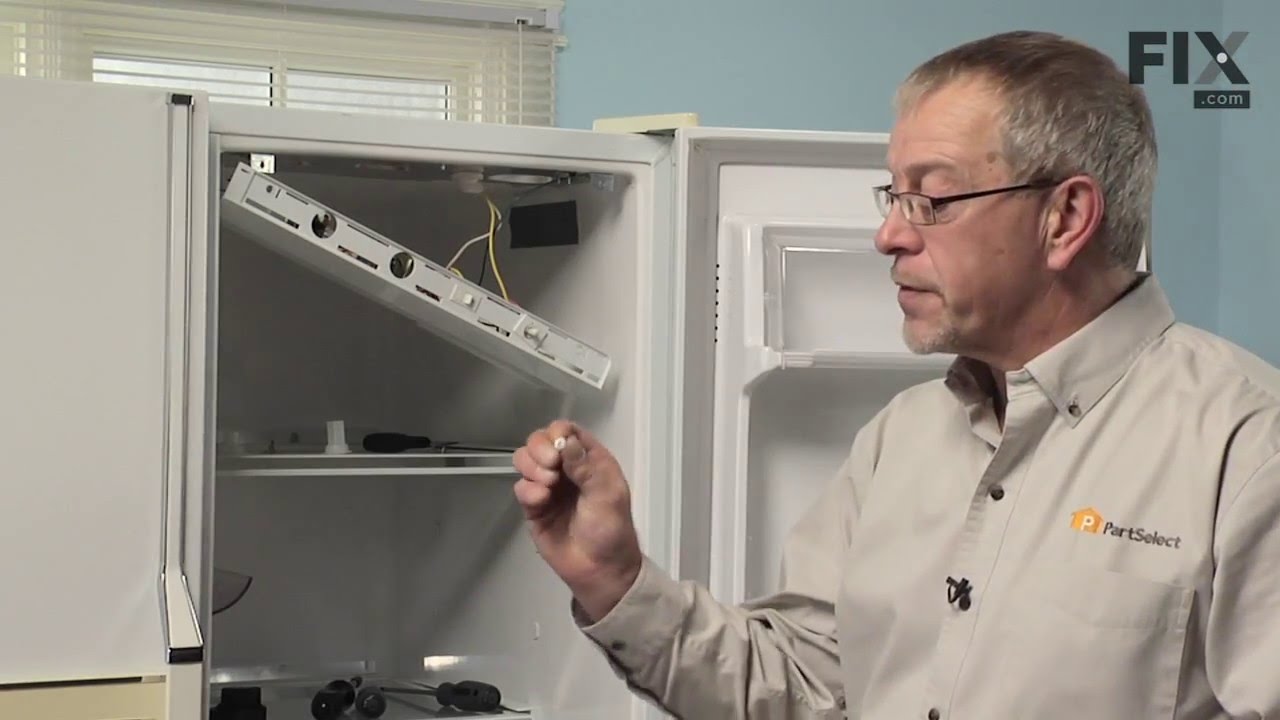
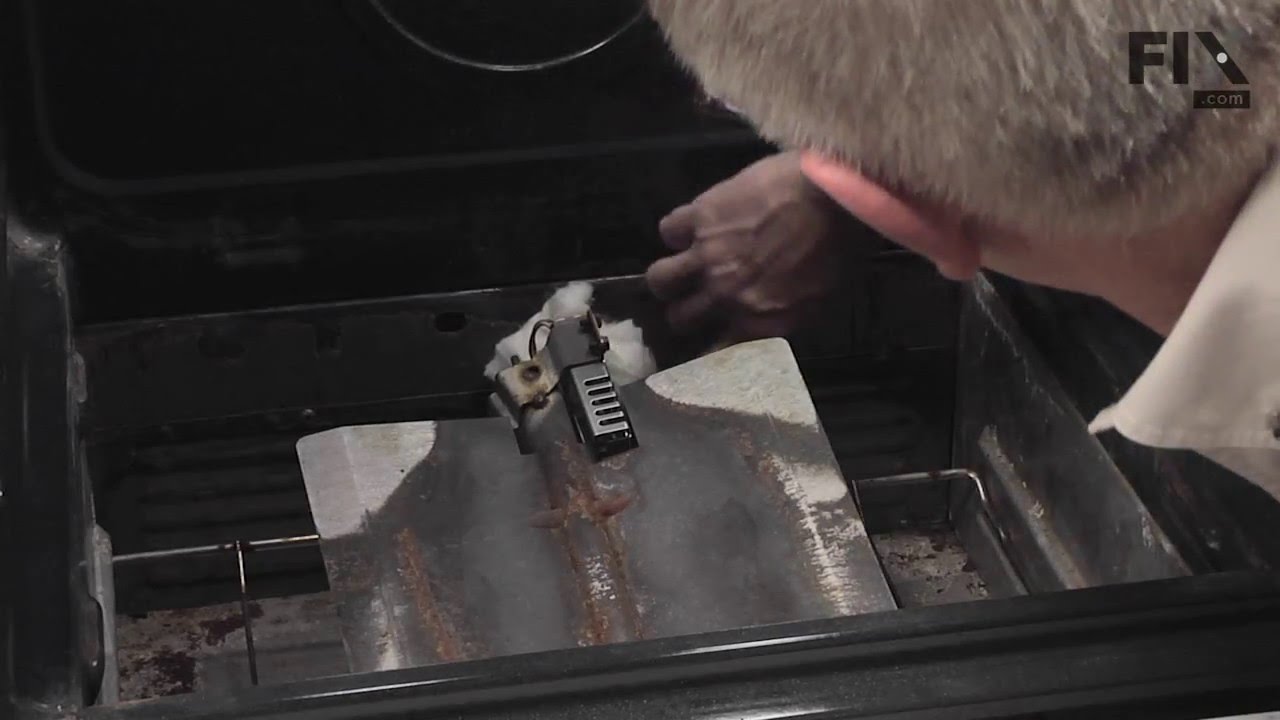
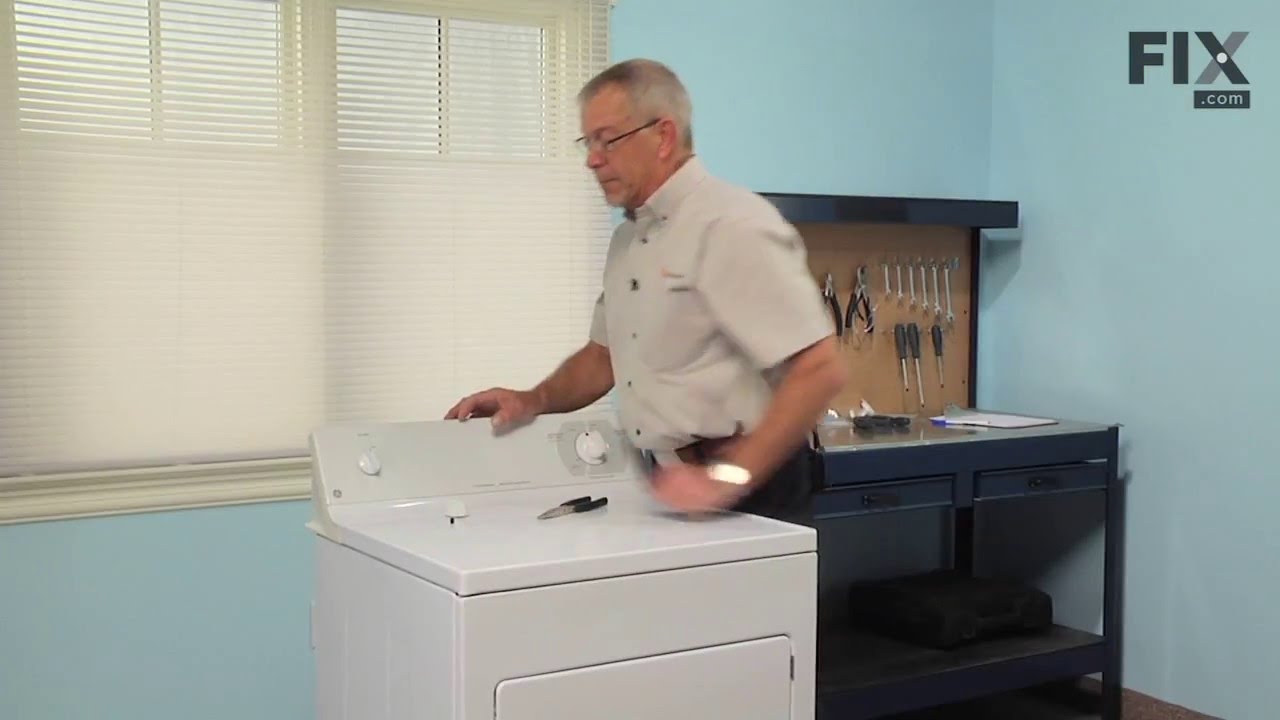
See how others fixed this model. Time, tools, difficulty, and steps that lead to victory!
View More