



 My Orders




S2100E1WW General Electric Washer - Overview
Diagrams for S2100E1WW
See every part. Know exactly what you need.


Enter a part description. DIY Heroes keep it simple, eg. "belt" or "pump".
Search filter:
Clear Filter
Your search term must have 3 or more characters.

$39.42
Special Order
DAMPENING STRAP 2PACK
Part #WH01X39337
The tub dampening straps support the wash tub and reduce vibration by keeping the tub at the center of the cabinet. If your washer shakes and moves, or is making a loud banging noise during the wash cycle, the washing machine tub could be off-balance, meaning one or more of these straps may be loose, or broken. Other symptoms include: the...Read more washer leaking, not agitating, or pumping but not spinning. These straps are sold individually. However, we recommend that you replace all 4 straps at the same time. It is also recommended that you check the tub for cracks where these straps mount.
Read less

$13.92
In Stock
Timer Knob
Part #WH01X10310
This is a replacement timer knob for your washing machine. To complete this repair you will need a pair of needle nose pliers. Turn off power to the washer before you start. Pull off the timer knob and use your pliers to remove the retaining clip. The new knob will already have a clip in place. Line up the knob opening with the shaft and slide it on.

No Longer Available
D-Shaped Knob Clip
Part #WH01X10106
This clip ensures that the knob is securely fastened to the control shaft, allowing you to properly select the correct time and setting for your dryer. If your dryer will not start or shut off, the timer will not advance, or the dryer shuts off too soon, the issue may be the control knob itself. This clip is sold individually. Although th...Read moreis part fits with some different brands, be sure to check the list of brands below to make sure it fits with your dryer unit. Refer to the manual provided by the manufacturer for further installation instructions.
Read less

$44.23
In Stock
Agitator Coupling Kit
Part #WH49X10042
The agitator coupler connects the agitator to the agitator shaft. Common symptoms of a damaged coupler include: a grinding sound during the wash cycle, the washer refusing to agitate or spin, or the washing machine shakes and moves during the wash cycle. Unplug the washer and pull the agitator straight up. Remove the bolt that holds the c...Read moreoupler onto the shaft of the transmission and pull the coupler off. Be sure to clean any dirt, rust, or residue off the transmission spline grooves, and make sure the grooves on the agitator splines are clean and undamaged. We recommend using the gasket and bolt that come with the replacement coupling.
Read less

$36.37
In Stock
Drain Hose
Part #WH41X10096
The drain hose is black in color and made of flexible material. This is a part for your top-load washer. The hose measures 57 inches long. This part moves the water out of the washer and into the drain. If this parts cracks or becomes damaged it will leak during the drain cycle of your wash and you may find water on the floor. To access t...Read morehe hose, you will need to move the washer away from the wall to get to the back of the appliance. There will be two screws holding it in place that will need to be removed.
Read less

$61.55
In Stock
Drain Pump and Motor Assembly
Part #WH23X10030
This pump helps expel water from the washing machine and is activated after the spin speed is maintained for a specific period of time. If you notice that your washing machine will not drain, there is a good chance that you will have to replace the drain pump. The drain pump is located inside the washing machine, near the bottom. To acces...Read mores the drain pump for this repair, you will need to remove the front panel. Before you begin this repair, be sure that the power source is disconnected and the water source is shut off.
Read less

$22.24
In Stock
Tub Seal
Part #WH02X10383
The main tub seal is located between the transmission and the outer tub. Its the primary water seal in the outer tub for the transmission-shaft. If your washer is leaking during the fill cycle, or at agitation time, your tub seal may need to be replaced. You can check if the tub seal needs to be replaced by watching that area during an ac...Read moretual fill cycle. Take off the front panel, or if it is a front-loading washer, the rear panel. Without touching the washing machine, observe the place where the shaft of the transmission comes into the tub and the weep holes at the housing of the rear bearing. If there is water leaking, the tub seal is at fault.
NOTE: This seal is difficult to replace and should probably be installed by a qualified technician.
Read less

$30.53
In Stock

$16.05
In Stock
Tub Bearing Washer
Part #WH2X1197
This is a tub bearing and it is meant to work in conjunction with your washing machine. The purpose of this part is to aid in keeping the inner tub of your washing machine spinning smoothly during a wash cycle. The most common reasons for needing to change your tub bearing is if your appliance is noisy or shaking/moving during the wash cy...Read morecle, another common symptom is leaking water. This part is sold individually and measures to have an inner diameter of roughly 1 inch, and an outer diameter of roughly 2 inches.
Read less

No Longer Available
Split Ring
Part #WH02X10265
This split ring is supplied by the original equipment manufacturer, and it is designed to secure the tub bearing in washing machines. It is a circular metal ring, with an outer diameter of 2 inches. The ring has a split or gap, which allows it to expand and contract for easy installation and removal. It is typically located on the inner s...Read moreide of the washing machine outer tub, where it provides stability and prevents the washer from excessively shaking during use. It is normal for the split ring to become worn, corroded, or damaged due to age, exposure to moisture, and excessive stress. A faulty split ring will lead to a noisy, unstable washer and eventually cause the tub assembly to fall out of alignment. Remove the washer panels to access the outer tub and split ring. Carefully detach the damaged split ring from the tub and position the new split ring in its place. Ensure that it is properly aligned and securely fastened before reattaching the panels.
Read less

$43.94
In Stock
Tub Bearing
Part #WH2X1198
This tub bearing goes in your washing machine. You will find it on the bottom of the outer tub, where the transmission goes through the tub. If you hear metal on metal when the washer is spinning, you may need to replace the tub bearing. This bearing is made of metal, and is approximately 3 inches wide and 2 inches tall.

$29.47
In Stock
Common Symptoms of the S2100E1WW
How this model fails, and the parts that fix it.
Will not agitate
Fixed by
these parts
these parts


Show All
Leaking
Fixed by
these parts
these parts


Show All
Will not drain
Fixed by
these parts
these parts


Show All
Will Not Start
Fixed by
these parts
these parts


Show All
Shaking and Moving
Fixed by
these parts
these parts
Show All
Burning smell
Fixed by
these parts
these parts

Show All
Spinning Issues
Fixed by
these parts
these parts

Show All
Touchpad does not respond
Fixed by
these parts
these parts
Show All
Noisy and Marks Left on Clothes
Fixed by
these parts
these parts

Show All
Marks left on clothes
Fixed by
these parts
these parts
Show All
Spins slowly
Fixed by
these parts
these parts
Show All
Cycle Not Advancing
Fixed by
these parts
these parts
Show All
Draining Issues
Fixed by
these parts
these parts
Show All
Noisy
Fixed by
these parts
these parts
Show All
Watch our pros, then fix it yourself.
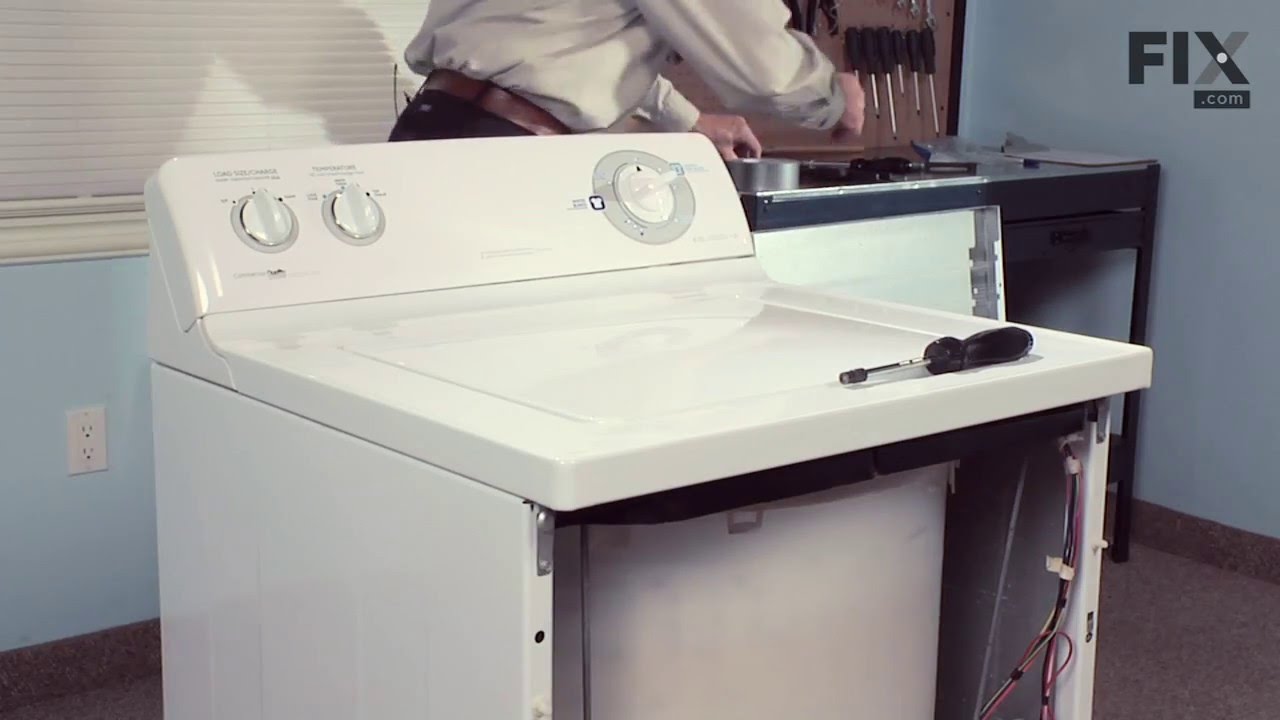
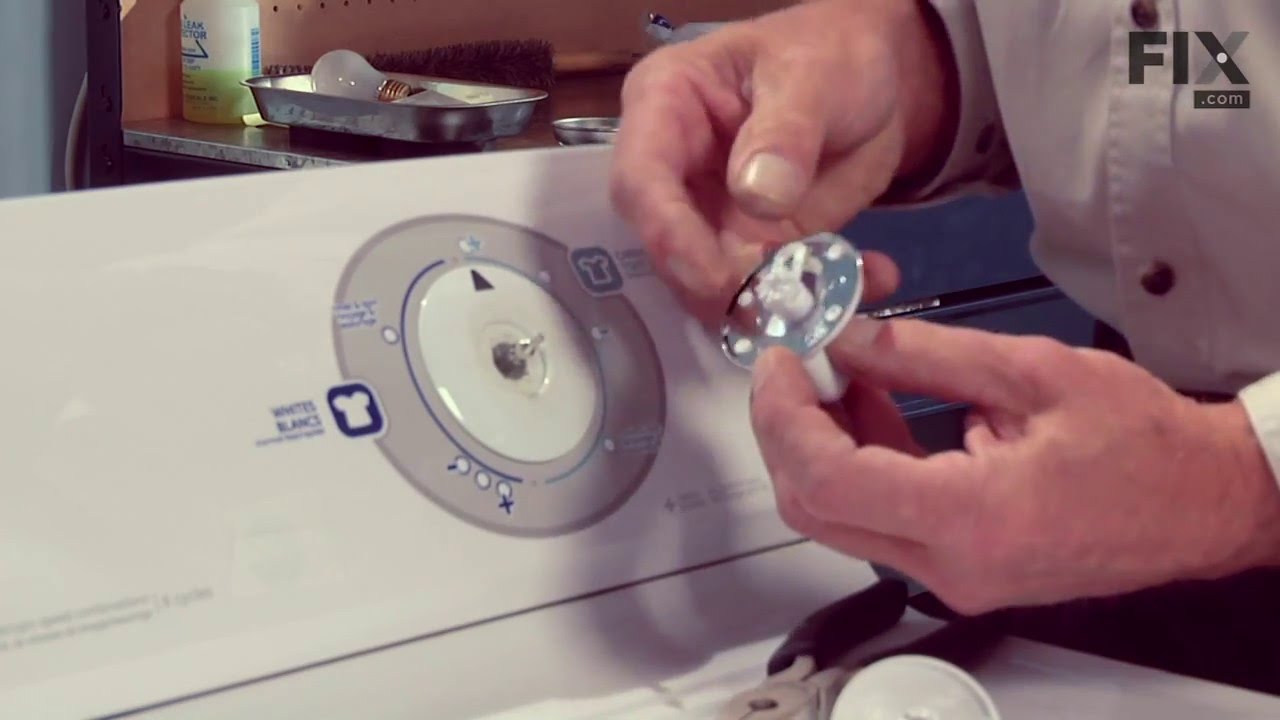
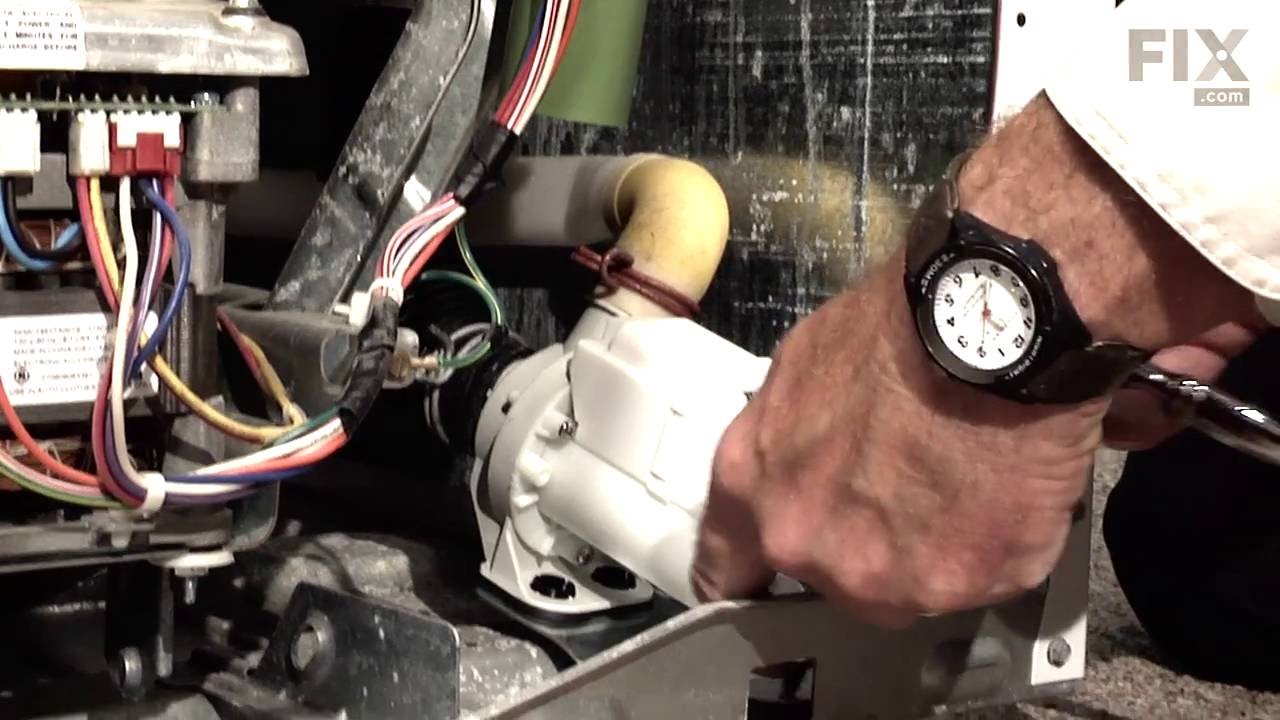
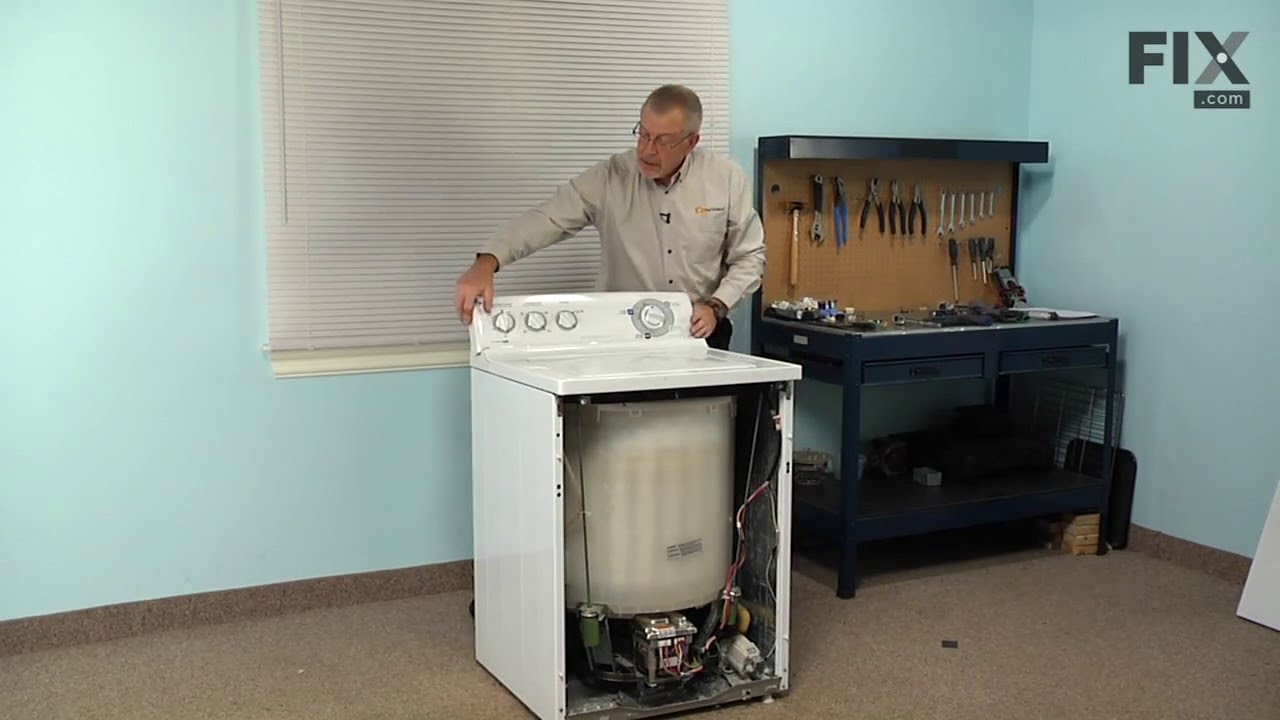
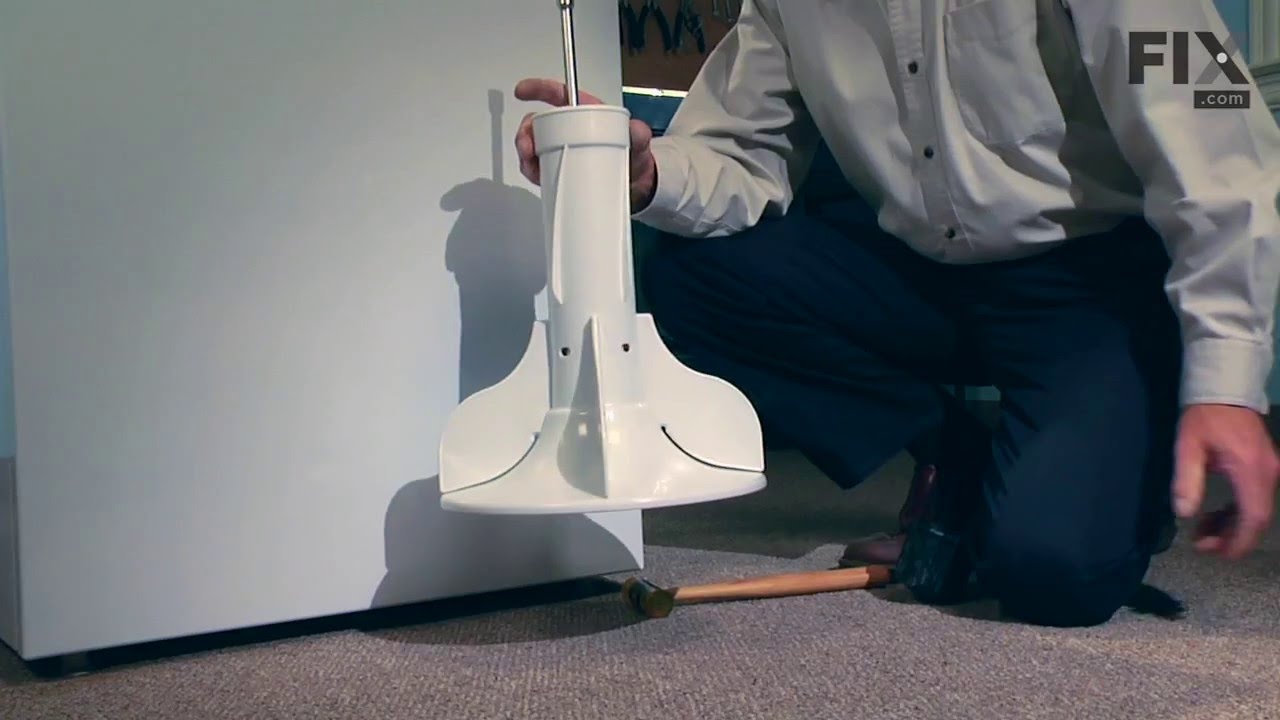
See how others fixed this model. Time, tools, difficulty, and steps that lead to victory!
View More
Search repair tips from other customers using simple keywords like "replace", "fit", "remove", "inspect". DIY doesn't mean you have to do it alone!
Search filter:
Clear Filter
Your search term must have 3 or more characters.
broken dampening strap and loose agitator
286 of 308 people
found this instruction helpful.
first remove the front washer cover by finding the two pressure clips that hold it to the top lid. gently push the putty knife into the clips one at a time. this will raise and separate them from the front panel. the panel will tilt forward and u can now remove it from the bottom clips by sliding it up and out. to open the top cover u rem
... Read more
ove the two 1/4 in screws on the sides of the front panel and lift the top. make sure to secure it in place or unplug the single electrical connection at the rear and remove the whole top from the clips, its really simple and the most convenient mehtod. to remove the straps u can now get to all four without much interference. there are two size screw heads so make sure u have a nut driver or small socket set. after changing the straps i went to change the agitator coupling. the agitator pulled directly up without a problem. just put your two hands under and pull straight up with one good jolt. the plastic coupler has one bolt in the middle that came out easily with a small socket set. my problem arose when the plastic coupler would not come off the metal shaft. after a short time of pulling and prying i finally decided to cut it off. using a small hacksaw and taking my time i put two cuts into the coupler. they were on opposite sides and where vertical, running along the steel shaft. i could now split it in two and it came off very easily and quickly. now when putting on the new one make sure the splines line up. push as far down as u can then use the center bolt to seat the gear all the way down. the agitator also has to be lined up just right. it also has splines on the interior that allow it to line up with the coupler and merely push down until it reseats itself in place. replace the top of the washer and then the front panel. don't forget to rebolt the top panel to the frame. push the front panel in until it snaps into place. full replacement time was about 40 minutes and actually not bad with the right tools.
Read less
Other Parts Used:


Was this helpful?
Thank you for voting!