



 My Orders




S2100E0WW General Electric Washer - Overview

Enter a part description. DIY Heroes keep it simple, eg. "belt" or "pump".
Search filter:
Clear Filter
Your search term must have 3 or more characters.

No Longer Available
D-Shaped Knob Clip
Part #WH01X10106
This clip ensures that the knob is securely fastened to the control shaft, allowing you to properly select the correct time and setting for your dryer. If your dryer will not start or shut off, the timer will not advance, or the dryer shuts off too soon, the issue may be the control knob itself. This clip is sold individually. Although th...Read moreis part fits with some different brands, be sure to check the list of brands below to make sure it fits with your dryer unit. Refer to the manual provided by the manufacturer for further installation instructions.
Read less

$44.23
In Stock
Agitator Coupling Kit
Part #WH49X10042
The agitator coupler connects the agitator to the agitator shaft. Common symptoms of a damaged coupler include: a grinding sound during the wash cycle, the washer refusing to agitate or spin, or the washing machine shakes and moves during the wash cycle. Unplug the washer and pull the agitator straight up. Remove the bolt that holds the c...Read moreoupler onto the shaft of the transmission and pull the coupler off. Be sure to clean any dirt, rust, or residue off the transmission spline grooves, and make sure the grooves on the agitator splines are clean and undamaged. We recommend using the gasket and bolt that come with the replacement coupling.
Read less

$29.47
In Stock

$15.00
Special Order

$48.45
In Stock

No Longer Available

$15.00
Special Order

$26.40
In Stock
Dishwasher Hose Clamp Kit
Part #WH1X2036
This is a water hose clamp kit for a variety of appliances including dishwashers and washers. This is a genuine replacement part. The kit includes two hose clamps. The smaller of the two is 1 inch in diameter while the larger one is 2 inches in diameter. The hose clamps secure the end of the water hose in place to prevent the hose from le...Read moreaking. If you notice leaking from the hose of your appliance, you may need to replace this kit. Protect your hands with work gloves during this repair to avoid injury.
Read less

$16.05
In Stock
BAFFLE SCREW AND WASHER
Part #WE02X30757

$230.02
In Stock
Timer
Part #WH12X10202
The timer controls most of the operations of the washer: water level, tub filling and emptying, length of cycles, and cycle setting sequences.

$76.95
In Stock

$16.05
Special Order
Common Symptoms of the S2100E0WW
How this model fails, and the parts that fix it.
Will not agitate
Fixed by
these parts
these parts


Show All
Leaking
Fixed by
these parts
these parts


Show All
Will Not Start
Fixed by
these parts
these parts


Show All
Burning smell
Fixed by
these parts
these parts
Show All
Spins slowly
Fixed by
these parts
these parts
Show All
Watch our pros, then fix it yourself.
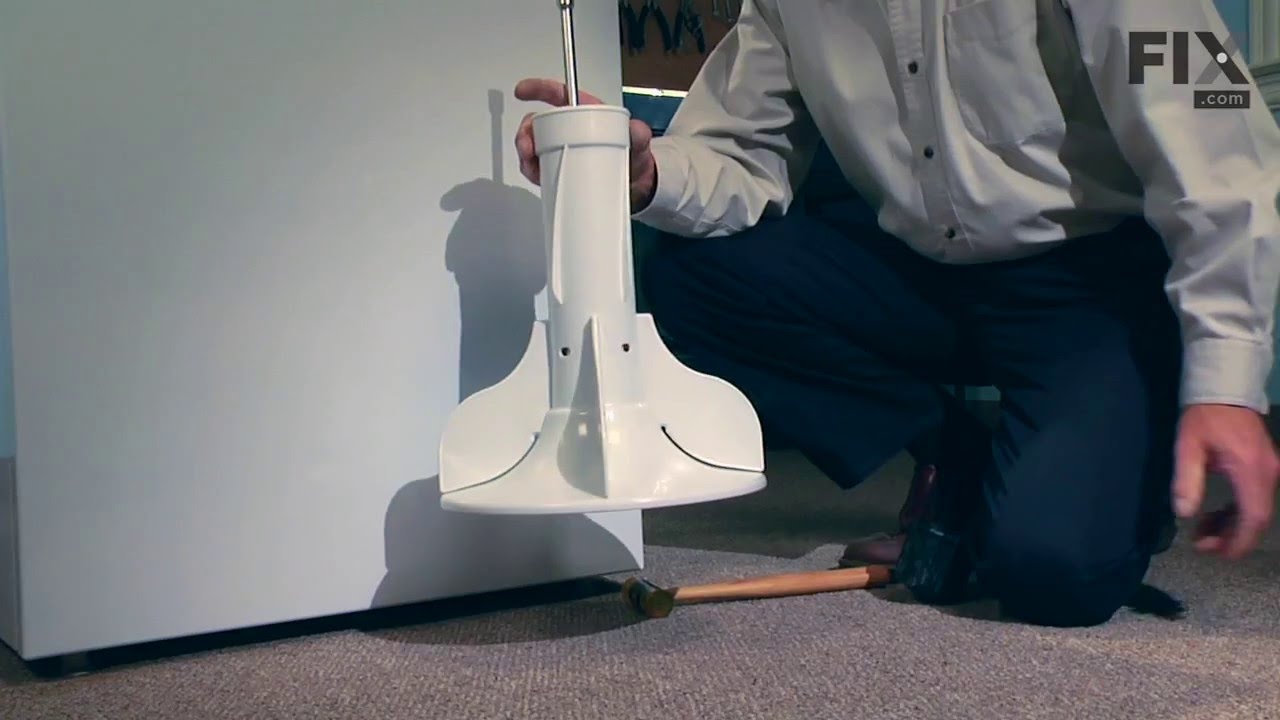
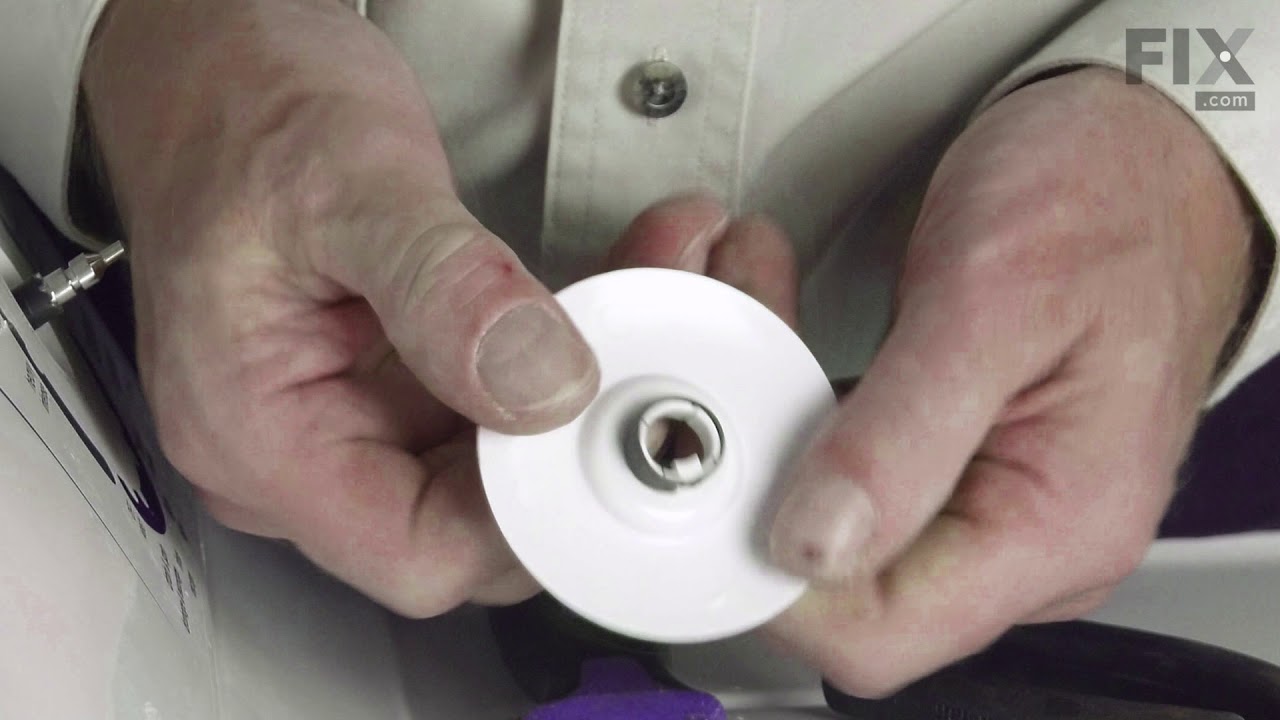
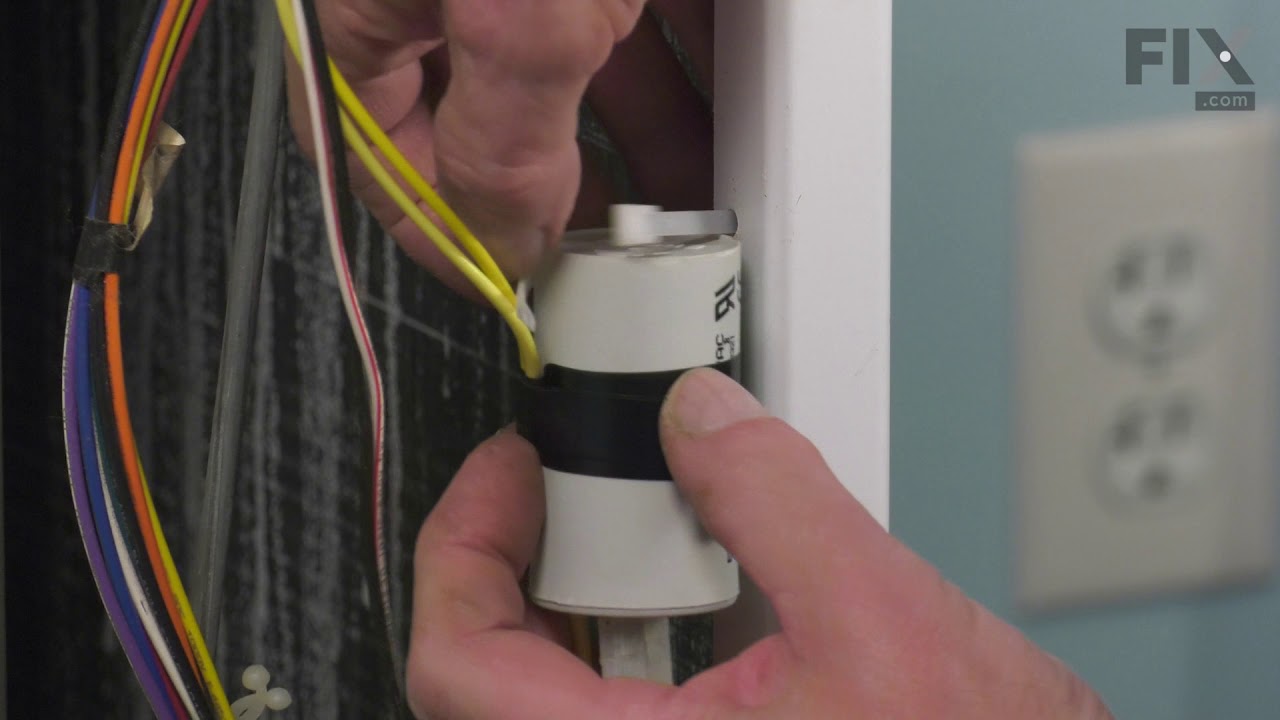
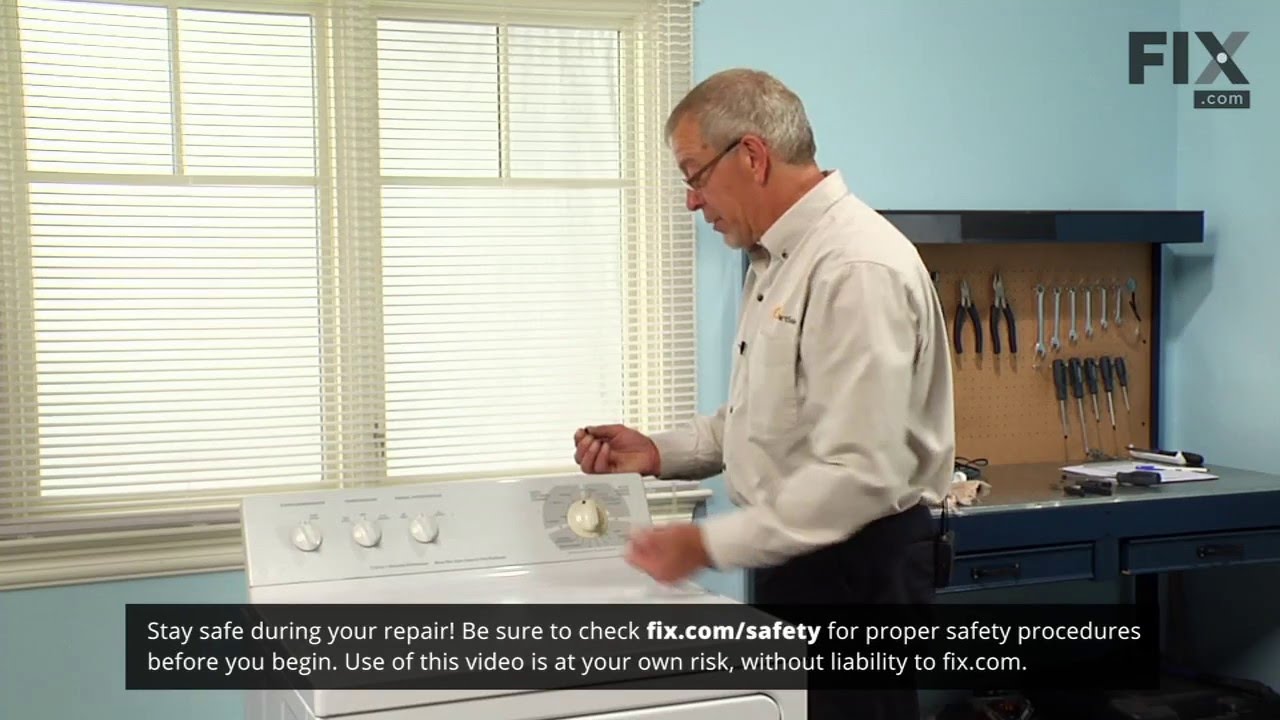
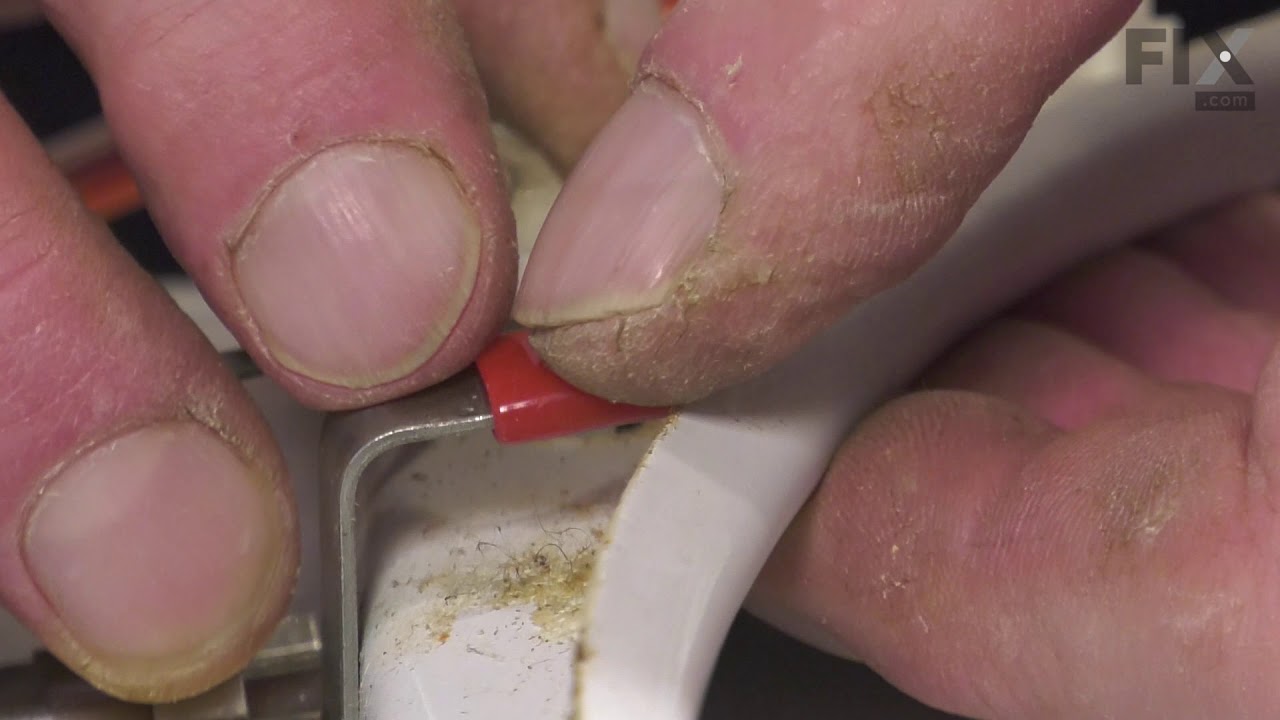
See how others fixed this model. Time, tools, difficulty, and steps that lead to victory!
View More
Search repair tips from other customers using simple keywords like "replace", "fit", "remove", "inspect". DIY doesn't mean you have to do it alone!
Search filter:
Clear Filter
Your search term must have 3 or more characters.
agitator was no turning
34 of 36 people
found this instruction helpful.
Repaired Agitator - required to pull from the bottom pulling on one side a little more then the other. Once you got loose it comes right off. Under neith there is a bolt that holds on agitator coupler. remove the bolt with wrench or socket wrench and then the agaitator coupler. Replace with new agitator coupler ,make sure grooves are alig
... Read more
ned when putting on the rotor. Tap the top of the agitator coupler lightly until it is completely seated. Put the bolt on with wrench or socket wrench. Put the agitator back on over the agitator coupler and agin make sure grooves are alighned and push down until it feels it is seated. When done, give it a light pull to make sure it is secure and then you are done.
Read less
Other Parts Used:

Was this helpful?
Thank you for voting!