



 My Orders




RY52905 Ryobi Pole Saw - Overview


Enter a part description. DIY Heroes keep it simple, eg. "belt" or "pump".
Search filter:
Clear Filter
Your search term must have 3 or more characters.

No Longer Available
Oil Tank Cover
Part #090038001003
Genuine OEM replacement part, this item is sold individually. This part is used to cover the Gear Case & Cover Assembly. It has two holes at the top, one for part of the Gear Case and another for the Oil Cap With Retainer. This part contains the oil needed for the Gear Case to keep it lubricated. It is secured to the Gear Case by four screws, part number 985895001.

$6.40
In Stock
Spring
Part #638033001
This OEM spring, also known as a recoil or rewind spring, is housed in a container and is used to retract the starter rope on various lawn equipment models. Over time and through use, the spring will eventually lose its tension, and will break. If your starter rope has no resistance when pulling it, the starter spring is likely broken. Me...Read moreasuring at approx. 3-inches by 3-inches, this spring is suitable for use with a variety of lawn equipment models and is sold individually.
Read less

$34.70
In Stock
Guide Bar
Part #671834023
This genuine OEM guide bar supports the cutting chain on your handheld lawn equipment. It extends from the main body of your machine, holding the chain securely. It is 12 inches long but designed for a maximum cutting length of 10 inches. To determine if a guide bar is broken or damaged, look for visible cracks, bends, or excessive wear. ...Read moreCheck if the guide bar is misaligned or feels loose when attached to the chainsaw. A broken guide bar can cause binding, difficulty cutting, or excessive vibration. Not replacing a damaged guide bar can lead to safety risks, reduced performance, and increased wear. To replace a guide bar, you will need a screwdriver and a wrench. Start by loosening the tension on the blade. Next, remove the bar clamp assembly and lift the blade out of the old bar, taking care to free it from around the sprocket. Finally, remove the old bar. Please note that this guide bar is sold separately from the cutting chain.
Read less

No Longer Available
Grommet
Part #98792
This is a genuine OEM replacement part, sold individually. This Bumper helps keep the fuel tank in place, and minimizes vibration of the fuel tank. This part is used with a variety of string trimmers, compatible with the models listed below.

$40.31
Special Order
Carburetor
Part #308054013
This carburetor assembly in your lawn equipment mixes air and fuel to create a combustible mixture for the engine. A broken carburetor assembly can cause engine issues like running too lean or too rich, sputtering, stalling, fuel leaks, or a strong fuel odor. It is crucial to replace a faulty carburetor assembly promptly to avoid safety h...Read moreazards from fuel leaks and prevent engine failure due to fuel flooding. Replacing the carburetor requires a socket set. To replace the carburetor, use a socket set to remove the screws on the air filter base and disconnect the fuel lines before lifting it out of your machine. This OEM-verified assembly is sold separately from its fasteners.
Read less

No Longer Available
Fuel Tank Assembly
Part #308181008
This OEM fuel tank assembly is used on some Ryobi Gas Powered String Trimmers and Brushcutters. This part is made out of Plastic and it includes the Fuel Tank, Fuel Lines, Fuel Cap, and a Fuel Filter. It is a common part in gas trimmers that is used to hold the fuel needed for the engine. It is very important to replace the fuel tank if i...Read moret is cracked or damaged to avoid further damage or serious injuries. Make sure to drain the gas tank before starting a repair.
Read less

No Longer Available
Air Box Cover
Part #518777001
This is a genuine OEM approved replacement part designed for use with Ryobi trimmers and pruners. The purpose of an air box cover is to secure and protect an air filter. It is made out of black plastic and it is sold individually. This cover snaps into slots of the housing, no tools are needed to replace this cover.

$4.08
Special Order
Gasket
Part #900994004
This is a genuine OEM replacement part, it is sold individually. The purpose of the 900994004 Carburetor Gasket is to prevent an air leak, which would cause the engine to run poorly. It is advised to replace these gaskets when replacing or repairing the carburetor.

No Longer Available
Gasket
Part #900954001
This crankcase cover gasket seals the crankcase cover of your lawn equipment engine, preventing air or fuel leaks and maintaining proper internal pressure. It is sized at 2 1/2 inches by 2 1/2 inches and is commonly found where the crankcase cover attaches to the engine block. You can tell if a crankcase cover gasket is broken if there is...Read more oil around the edges of the cover. Your machine may also experience a loss of power or unusual noise. If the gasket is not replaced, your machine may have fuel leaks or decreased performance. Debris and contaminants will also enter the engine, reducing the lifespan of your machine. When replacing the gasket, use a wrench or socket to unthread any bolts securing the crankcase cover. You will then be able to take the gasket off your machine. Bear in mind that this OEM gasket is sold individually.
Read less

No Longer Available
Air Filter Base
Part #518766001
Genuine OEM replacement part, this item is sold individually. This part is installed in between the carburetor and the air box cover It is the Air Filter for the outdoor equipment listed below. It has a fine mesh material for the Air Filter. Once this filter gets dirty and or clogged it can be blown clean or brushed clean. If it develops...Read more a hole in it or gets torn, it should be replaced ASAP, or it could cause damage to the carburetor and engine.
Read less

No Longer Available
Fuel Cap
Part #300758006
Genuine OEM replacement part, this item is sold individually. This Fuel Cap is is on the fuel tank on the outdoor products shown below. This is a vented Fuel Cap. It includes a gasket inside the Cap.

$6.86
In Stock
Clutch
Part #300960002
This is an OEM sourced replacement part used on gas trimmers. A centrifugal clutch is a part that uses centrifugal force to connect two concentric shafts, with the driving shaft nested inside the driven shaft. Today's centrifugal clutches will function even when they shouldn't, far beyond the point of when they need to be replaced. Keepin...Read moreg an eye on equipment performance will determine when the centrifugal clutch requires attention. Please note the clutch drum, spacer and washer are all sold separately. This clutch is made out of metal and it is sold individually. To replace this item you would need a screwdriver and pliers.
Read less
Watch our pros, then fix it yourself.
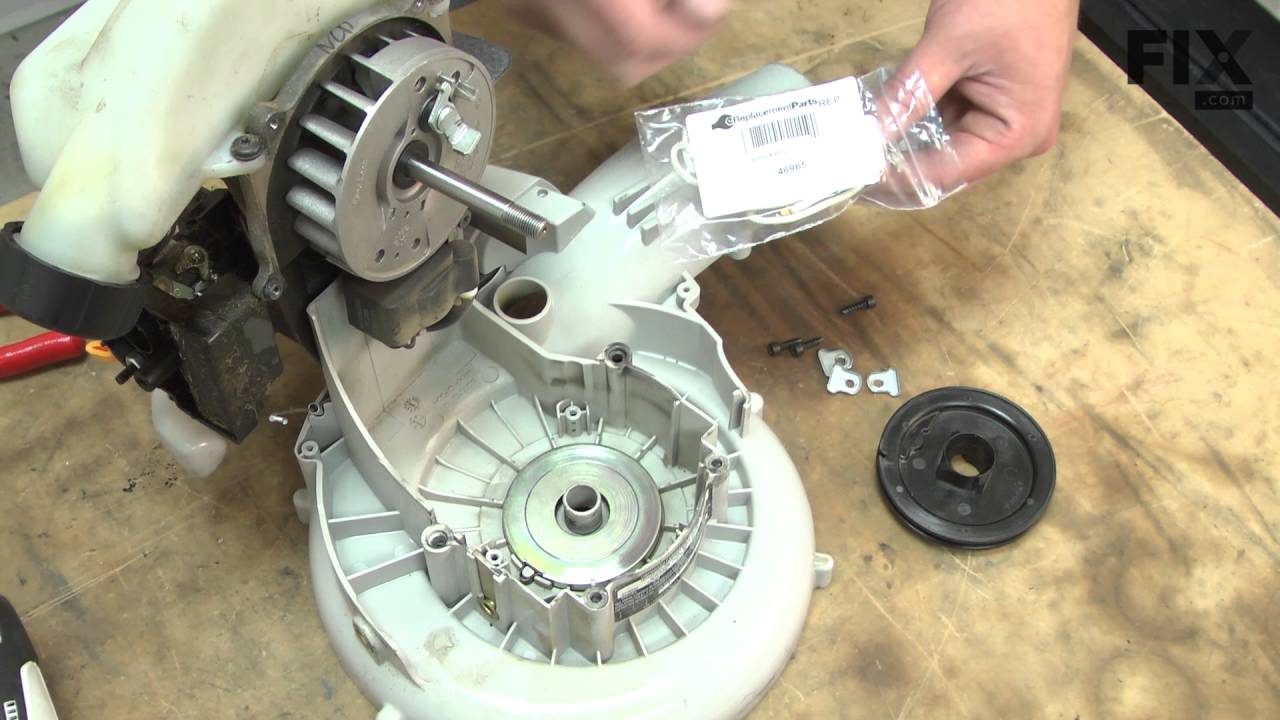
See how others fixed this model. Time, tools, difficulty, and steps that lead to victory!
View More