


 My Orders




RY28061 Ryobi Brush Cutter - Overview


Enter a part description. DIY Heroes keep it simple, eg. "belt" or "pump".
Search filter:
Clear Filter
Your search term must have 3 or more characters.

$6.40
In Stock
Spring
Part #638033001
This OEM spring, also known as a recoil or rewind spring, is housed in a container and is used to retract the starter rope on various lawn equipment models. Over time and through use, the spring will eventually lose its tension, and will break. If your starter rope has no resistance when pulling it, the starter spring is likely broken. Me...Read moreasuring at approx. 3-inches by 3-inches, this spring is suitable for use with a variety of lawn equipment models and is sold individually.
Read less

$6.40
In Stock
PRIMER BULB
Part #561635001
This is a genuine Ruixing replacement part, it is sold individually. By pressing the bulb, it will purge the carburetor of air. Fuel will be forced up from the fuel tank through the fuel line then into the carburetor. Then the excess fuel will be forced back into the fuel tank through the fuel return line. At some time the primer will l...Read moreose its elasticity or crack and need to be replaced. We have an article and video on How to Replace a Primer Bulb, in our Repair Center. That can be found on the front page of our site.
Read less

$6.40
In Stock
CARBURETOR GASKET
Part #901552001
This carburetor gasket is an OEM replacement part for use in a variety of lawn and garden outdoor equipment. It seals the area between the carburetor and the intake manifold to prevent air and fuel from leaking. Over time, the gasket may wear down, crack, or warp due to normal aging, exposure to heat and chemicals, or improper installatio...Read moren. A faulty gasket will cause air and fuel to leak, resulting in hard starting, rough idling, fuel wastage, and overall lower engine performance. To replace the gasket, remove the air filter cover, air filter, and carburetor. Carefully pull off the old gasket, and thoroughly clean the sealing surface of all residues. Place the new carburetor gasket onto the intake manifold, and firmly press it in place. Reassemble the equipment parts in reverse order to complete your repair.
Read less

No Longer Available
Line Trimmer Carburetor
Part #308054043
This carburetor is for line trimmers.
Carburetor mixes air and gas before the fuel mix goes to the engine.
Wear work gloves to protect your hands and work in a well-ventilated area during this repair.

$6.47
In Stock
SWITCH (MOMENTARY CONTACT)
Part #760700002
This is a genuine manufacturer-sourced component that is specially designed for use with Ryobi, Ridgid and Homelite equipment. It is an identical replacement for a missing or faulty switch that was originally installed on a new unit, please make sure to refer to the appropriate diagrams of your model for the correct location and applicati...Read moreon of this item. Keep in mind this high-quality plastic body switch is sold individually.
Read less

No Longer Available
Air Filter Base
Part #518766001
Genuine OEM replacement part, this item is sold individually. This part is installed in between the carburetor and the air box cover It is the Air Filter for the outdoor equipment listed below. It has a fine mesh material for the Air Filter. Once this filter gets dirty and or clogged it can be blown clean or brushed clean. If it develops...Read more a hole in it or gets torn, it should be replaced ASAP, or it could cause damage to the carburetor and engine.
Read less

$5.28
In Stock
Bolt (m5 X 70mm)
Part #660454007
This bolt helps to secure air filter and carburetor assemblies to the short block. It is sourced from original equipment manufacturer for use with string trimmers. Usually this bolt would need replacement if it is lost or has stripped threads or head socket. To install or remove this bolt a hex key/allen wrench would be needed.

$6.86
In Stock
Clutch
Part #300960002
This is an OEM sourced replacement part used on gas trimmers. A centrifugal clutch is a part that uses centrifugal force to connect two concentric shafts, with the driving shaft nested inside the driven shaft. Today's centrifugal clutches will function even when they shouldn't, far beyond the point of when they need to be replaced. Keepin...Read moreg an eye on equipment performance will determine when the centrifugal clutch requires attention. Please note the clutch drum, spacer and washer are all sold separately. This clutch is made out of metal and it is sold individually. To replace this item you would need a screwdriver and pliers.
Read less

No Longer Available
Air Box Cover
Part #518777004
Genuine Ryobi replacement part, this item is sold individually. The Air Box Cover is placed over the Air filter Base. It has air vents in it to provide air so the carburetor can receive an ample supply of air to operate properly. It also partially covers the carburetor to help keep it clean from debris and foreign material.

$6.40
In Stock
Trimmer Intake Gasket
Part #901551001
Genuine OEM replacement part, this item is sold individually. The purpose of the 901551001 Intake Gasket is to create a seal between the Heat Dam and the cylinder head. Over time because of the heat it is exposed to this gasket will deteriorate and will have to be replaced.

$24.08
In Stock
IGNITION MODULE
Part #850108008
It is an authentic replacement ignition module. It is sourced from original equipment manufacturer for use with Ryobi trimmers/brushcutters. The purpose of an ignition module also known as armature-magneto is to provide electric current for the ignition system by producing pulses of high voltage for the spark plugs. It is made out of meta...Read morel with rubber spark plug boot. Includes one (1) module per order. To complete this repair you would need screwdriver set. • Remove the spark plug boot • Remove the air filter housing • Remove other shrouds/housings • Disconnect ignition wires • Disconnect spark plug boot • Face flywheel magnet to ignition module position • Install new module in place • Reassemble and test the unit
Read less

No Longer Available
Upper Boom Assembly
Part #308470013
This is a genuine OEM sourced replacement part designed for use with Ryobi string trimmers/brush cutters. This item is made out of metal and it is sold individually. It is the upper shaft that is attached to the motor and it also houses the front handle. To complete this repair no tools are needed. • The attachment connects to the pow...Read moreer head by means of a coupler device • Loosen the knob on the coupler of the power head shaft and remove the hanger cap from the attachment • Push in the button located on the attachment shaft. Align the button with the guide recess on the power head coupler and slide the two shafts together. • Rotate the attachment shaft until the button locks into the positioning hole. • NOTE: If the button does not release completely in the positioning hole, the shafts are not locked into place. Slightly rotate from side to side until the button is locked into place.
Read less
Watch our pros, then fix it yourself.
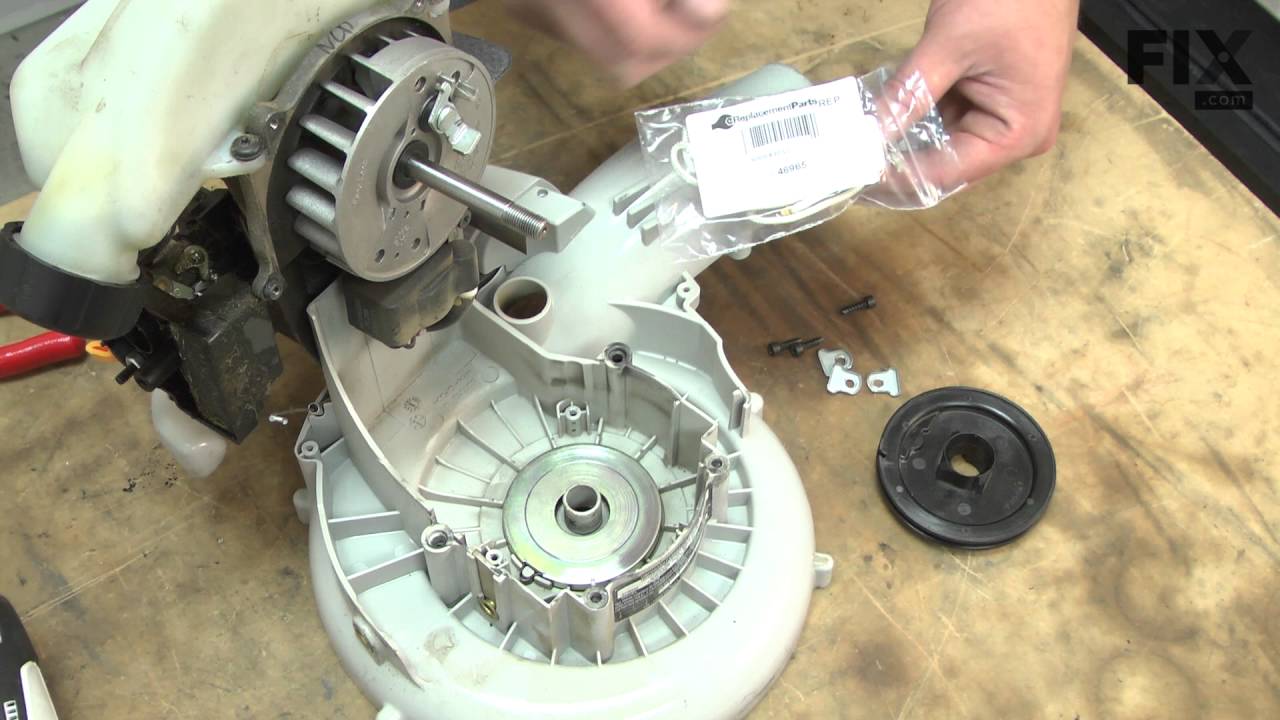
See how others fixed this model. Time, tools, difficulty, and steps that lead to victory!
View More