



 My Orders




RY28041 Ryobi Trimmer - Overview


Enter a part description. DIY Heroes keep it simple, eg. "belt" or "pump".
Search filter:
Clear Filter
Your search term must have 3 or more characters.

$6.40
In Stock
Spring
Part #638033001
This OEM spring, also known as a recoil or rewind spring, is housed in a container and is used to retract the starter rope on various lawn equipment models. Over time and through use, the spring will eventually lose its tension, and will break. If your starter rope has no resistance when pulling it, the starter spring is likely broken. Me...Read moreasuring at approx. 3-inches by 3-inches, this spring is suitable for use with a variety of lawn equipment models and is sold individually.
Read less

$6.40
In Stock
PRIMER BULB
Part #561635001
This is a genuine Ruixing replacement part, it is sold individually. By pressing the bulb, it will purge the carburetor of air. Fuel will be forced up from the fuel tank through the fuel line then into the carburetor. Then the excess fuel will be forced back into the fuel tank through the fuel return line. At some time the primer will l...Read moreose its elasticity or crack and need to be replaced. We have an article and video on How to Replace a Primer Bulb, in our Repair Center. That can be found on the front page of our site.
Read less

No Longer Available
Hanger Cap
Part #518019002

No Longer Available
Fuel Tank Assembly
Part #308675051
This genuine fuel tank and cap assembly is found in your trimmer. The fuel tank holds the gasoline needed for your machine, while the cap seals it to prevent leaks and evaporation. It also prevents dirt and debris from getting into the engine and causing costly damage to it in the long run. You can usually find this assembly at the rear o...Read morer top of your trimmer, near the engine or handle. If the cap does not seal the tank properly and fuel spills from the assembly, it may be broken. A faulty cap can let debris or moisture into the tank, leading to contamination and engine issues. If the tank is damaged and can not hold enough fuel, your machine will have reduced runtime and require frequent refueling. To replace a damaged assembly, you will need a wrench or screwdriver to remove any bolts, clips, or screws holding the assembly in place. Be prepared to catch any fuel spillage with a container. Slide off any retaining clips or use pliers to release any clamps along the fuel lines before slowly pulling the assembly off your machine. These replacement parts are sourced directly from the original equipment manufacturer. This fuel tank and cap assembly also includes the fuel lines and the filter.
Read less

$6.40
In Stock
Spring
Part #06713
Springs are used within outdoor power equipment to provide tension and shock absorption, depending on their application and use. This spring is designed for use within trimmers/brush cutters and is made to provide tension on the spool reel mechanism, and in some cases may be used to advance the line whenever portions of it are cut off. Th...Read moreis spring measures approximately 1.3-inches in length when extended and comes as an individual part. If you notice the line/spool in your trimmer is not advancing or is coming too quickly, the spring may be damaged and need replacing. Since this spring is a high-use part, it is not uncommon for it to lose tension over time and need to be replaced. To replace the spring, you will need to unscrew the covering cap, remove the spool feeding reel, remove the old spring and install the new spring with the rest of the assembly. Make sure to feed the line back into the appropriate feeding holes prior to operation of the trimmer.
Read less

$6.40
In Stock
CARBURETOR GASKET
Part #901552001
This carburetor gasket is an OEM replacement part for use in a variety of lawn and garden outdoor equipment. It seals the area between the carburetor and the intake manifold to prevent air and fuel from leaking. Over time, the gasket may wear down, crack, or warp due to normal aging, exposure to heat and chemicals, or improper installatio...Read moren. A faulty gasket will cause air and fuel to leak, resulting in hard starting, rough idling, fuel wastage, and overall lower engine performance. To replace the gasket, remove the air filter cover, air filter, and carburetor. Carefully pull off the old gasket, and thoroughly clean the sealing surface of all residues. Place the new carburetor gasket onto the intake manifold, and firmly press it in place. Reassemble the equipment parts in reverse order to complete your repair.
Read less

No Longer Available
Trimmer String Head Adapter
Part #678019002
Genuine OEM replacement part, this part is sold individually. This part is where the stringhead assembly is mounted on the Trimmers shown below. It attaches to the spindle. The thread mount on the spindle is a left hand thread.

No Longer Available
Line Trimmer Carburetor
Part #308054043
This carburetor is for line trimmers.
Carburetor mixes air and gas before the fuel mix goes to the engine.
Wear work gloves to protect your hands and work in a well-ventilated area during this repair.

$32.02
In Stock
Gear Head
Part #308210009
This Gear gear head assembly is designed to transfer power from the drive shaft to the cutting head, allowing the string trimmer or brush cutter to operate smoothly and efficiently. Housed in a durable gearcase, it supports reliable rotation and helps maintain consistent cutting performance during use. Replacing a worn or damaged gear hea...Read mored can resolve issues such as loss of power to the cutting head, excessive noise, or erratic operation, restoring dependable performance. A properly functioning gear head also helps reduce strain on the drive system, contributing to longer service life and more efficient trimming results.
Read less

No Longer Available
Air Filter Base
Part #518766001
Genuine OEM replacement part, this item is sold individually. This part is installed in between the carburetor and the air box cover It is the Air Filter for the outdoor equipment listed below. It has a fine mesh material for the Air Filter. Once this filter gets dirty and or clogged it can be blown clean or brushed clean. If it develops...Read more a hole in it or gets torn, it should be replaced ASAP, or it could cause damage to the carburetor and engine.
Read less

$5.28
In Stock
Bolt (m5 X 70mm)
Part #660454007
This bolt helps to secure air filter and carburetor assemblies to the short block. It is sourced from original equipment manufacturer for use with string trimmers. Usually this bolt would need replacement if it is lost or has stripped threads or head socket. To install or remove this bolt a hex key/allen wrench would be needed.

$6.86
In Stock
Clutch
Part #300960002
This is an OEM sourced replacement part used on gas trimmers. A centrifugal clutch is a part that uses centrifugal force to connect two concentric shafts, with the driving shaft nested inside the driven shaft. Today's centrifugal clutches will function even when they shouldn't, far beyond the point of when they need to be replaced. Keepin...Read moreg an eye on equipment performance will determine when the centrifugal clutch requires attention. Please note the clutch drum, spacer and washer are all sold separately. This clutch is made out of metal and it is sold individually. To replace this item you would need a screwdriver and pliers.
Read less
Watch our pros, then fix it yourself.
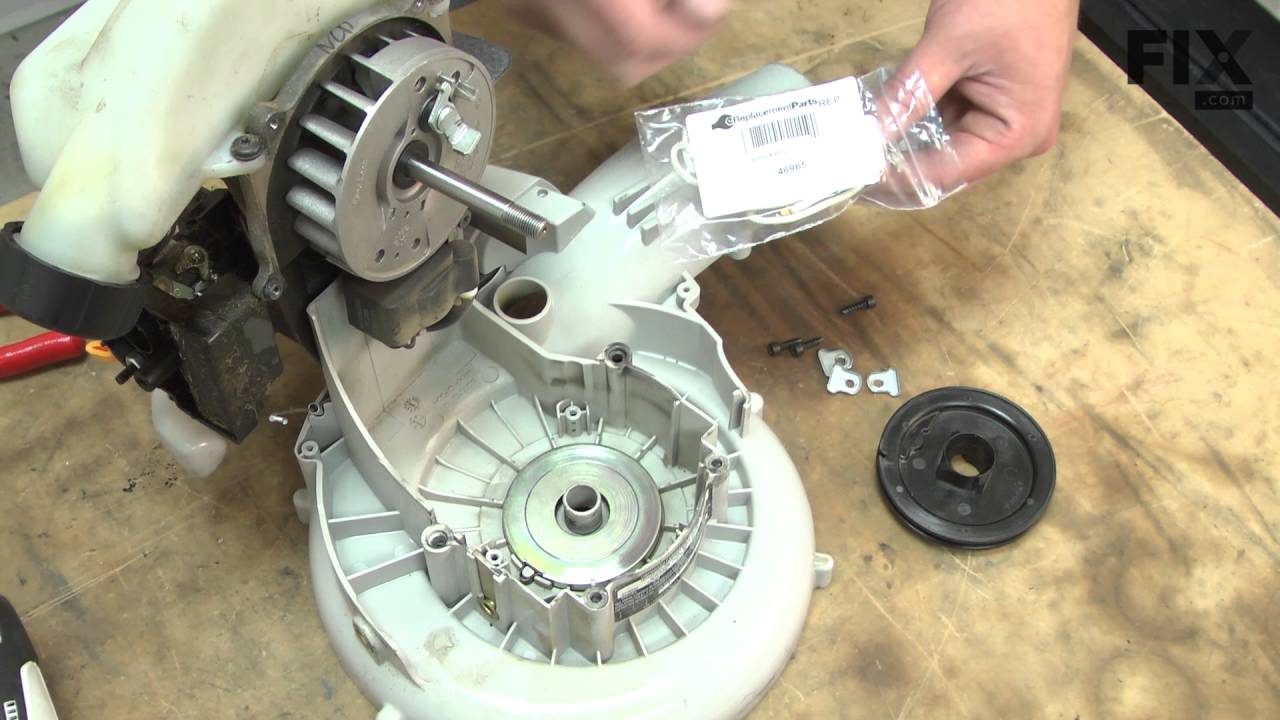
See how others fixed this model. Time, tools, difficulty, and steps that lead to victory!
View More