



 My Orders




RY09055 Ryobi Leaf Blower / Vacuum - Overview


Enter a part description. DIY Heroes keep it simple, eg. "belt" or "pump".
Search filter:
Clear Filter
Your search term must have 3 or more characters.

No Longer Available
Cap-fuel
Part #310816005
This replacement fuel cap is supplied directly from the original equipment manufacturer for use with Toro handheld lawn and garden equipment. It is specially designed to keep the fuel in the tank, this part provides an identical replacement for a missing or damaged component which came with the new unit. Please note this high-quality plastic item is sold individually.

$6.40
In Stock
Starter Rope 42 In.
Part #900849012
This authentic OEM starter rope measures 42-inches and is for use with various models of outdoor power equipment. Made of nylon, this rope wraps around the starter recoil spring and when pulled, is used to start the engine. This rope is sold as an individual part, so any necessary grips are sold separately.

$6.40
In Stock
Spring
Part #638033001
This OEM spring, also known as a recoil or rewind spring, is housed in a container and is used to retract the starter rope on various lawn equipment models. Over time and through use, the spring will eventually lose its tension, and will break. If your starter rope has no resistance when pulling it, the starter spring is likely broken. Me...Read moreasuring at approx. 3-inches by 3-inches, this spring is suitable for use with a variety of lawn equipment models and is sold individually.
Read less

$6.40
In Stock
PRIMER BULB
Part #561635001
This is a genuine Ruixing replacement part, it is sold individually. By pressing the bulb, it will purge the carburetor of air. Fuel will be forced up from the fuel tank through the fuel line then into the carburetor. Then the excess fuel will be forced back into the fuel tank through the fuel return line. At some time the primer will l...Read moreose its elasticity or crack and need to be replaced. We have an article and video on How to Replace a Primer Bulb, in our Repair Center. That can be found on the front page of our site.
Read less

No Longer Available
Ignition Module
Part #850108009
It is an authentic OEM sourced replacement part designed for use with Homelite and Ryobi string trimmers and backpack blowers. This ignition module also known as an armature-magneto produces pulses of high voltage for the spark plugs. It is made out of metal with rubberized wire and the spark plug boot. To complete this repair you will n...Read moreeed a screwdriver set. • Remove the housing/covers from the unit • Remove the spark plug • Bind the cylinder • Remove the air filter cover and side cover • Remove the throttle cable from the carburetor • Disconnect the wires • Remove old ignition coil • Install new ignition coil • Set the gap • Reassemble and test the unit
Read less

$8.19
In Stock
Fan
Part #518265003
This replacement fan is an authentic manufacturer sourced part. It is specially designed for use on Homelite and Ryobi blowers. This is the main fan that produces the air flow. Please note washers and lock nut used to secure this fan are all sold separately. This blower fan is made out of black plastic and it is sold individually per orde...Read morer. To complete this repair you will need a screwdriver and a wrench. • Ensure the blower is not powered up • Remove the cover screws • Separate the cover from the housing • Remove the lock nut that secures the fan • Replace old fan with a new one • Reassemble and test the blower
Read less

No Longer Available
Line Trimmer Carburetor
Part #308054043
This carburetor is for line trimmers.
Carburetor mixes air and gas before the fuel mix goes to the engine.
Wear work gloves to protect your hands and work in a well-ventilated area during this repair.

$2.99
Special Order
Fuel Filter
Part #310976001
This fuel filter is a genuine OEM part that is compatible with various lawn equipment models and is sold as an individual part. Fuel filters are used to remove dirt and debris from fuel entering the carburetor and engine and are made of metal with a fabric filter material, meaning this filter will eventually clog and need to be replaced. ...Read morePlease note that the fuel filter should be inspected regularly, not solely when it is clogged. The filter will be attached to the fuel line within the fuel tank and if your equipment is having starting, revving, or idling issues, the fuel filter may be the reason why. To replace it, simply use a hook to pull the old filter out from the fuel tank, use pliers to remove any clamps attached to the end of the fuel line, and pull the filter off. Attach the new filter to the fuel line, along with the clamp, and set the filter back into the tank.
Read less

$15.53
Special Order
Leaf Blower Leaf Bag
Part #900960001
This is a genuine Homelite replacement part, it is sold individually. The Leaf bag is used on the models listed below. It is attached to the main hosing of the blower. When using the leaf bag, you will want to use the tubes of your choosing that are on the part diagram, for the job you are doing

$2.99
In Stock
MOMENTARY CONTACT SWITCH
Part #760338004
This is an authentic OEM sourced replacement momentary contact switch. It is specially designed for Homelite and Ryobi blowers and vacuums. It is the part of the tool handling on and off function of the tool. Please note, these mechanical switches have will over time wear out requiring replacement. This switch has a plastic body and it is sold individually. To replace this item no tools would be needed.
$6.40
In Stock
STARTER PULLEY
Part #521316001
This manufacturer approved replacement starter pulley is designed for use with gas blowers/vacuums. This recoil pulley is susceptible to a normal wear due to constant wear and will eventually require replacement. It is made out of plastic and it is sold individually. Please note, housing, rope and starter grip are all sold separately. To complete this repair you will need a screwdriver and an allen wrench/hex key.

$6.40
Special Order
Trimmer Intake Gasket
Part #901551001
Genuine OEM replacement part, this item is sold individually. The purpose of the 901551001 Intake Gasket is to create a seal between the Heat Dam and the cylinder head. Over time because of the heat it is exposed to this gasket will deteriorate and will have to be replaced.
Watch our pros, then fix it yourself.


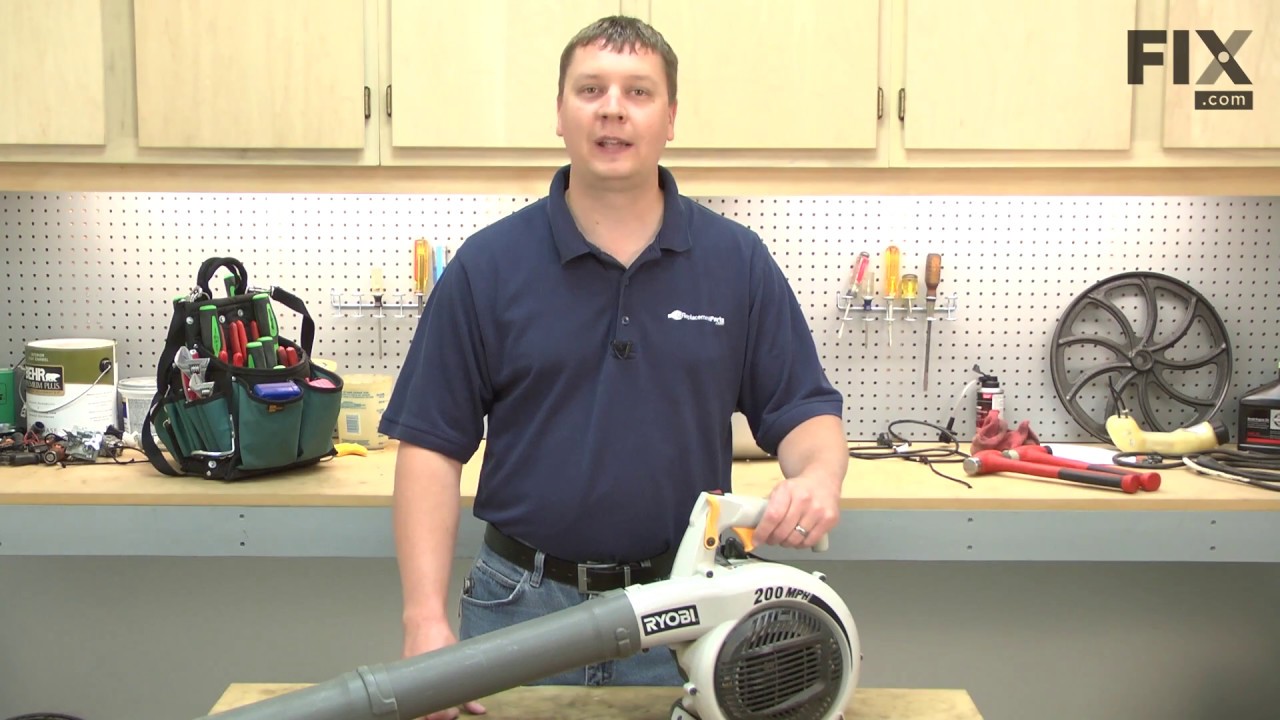

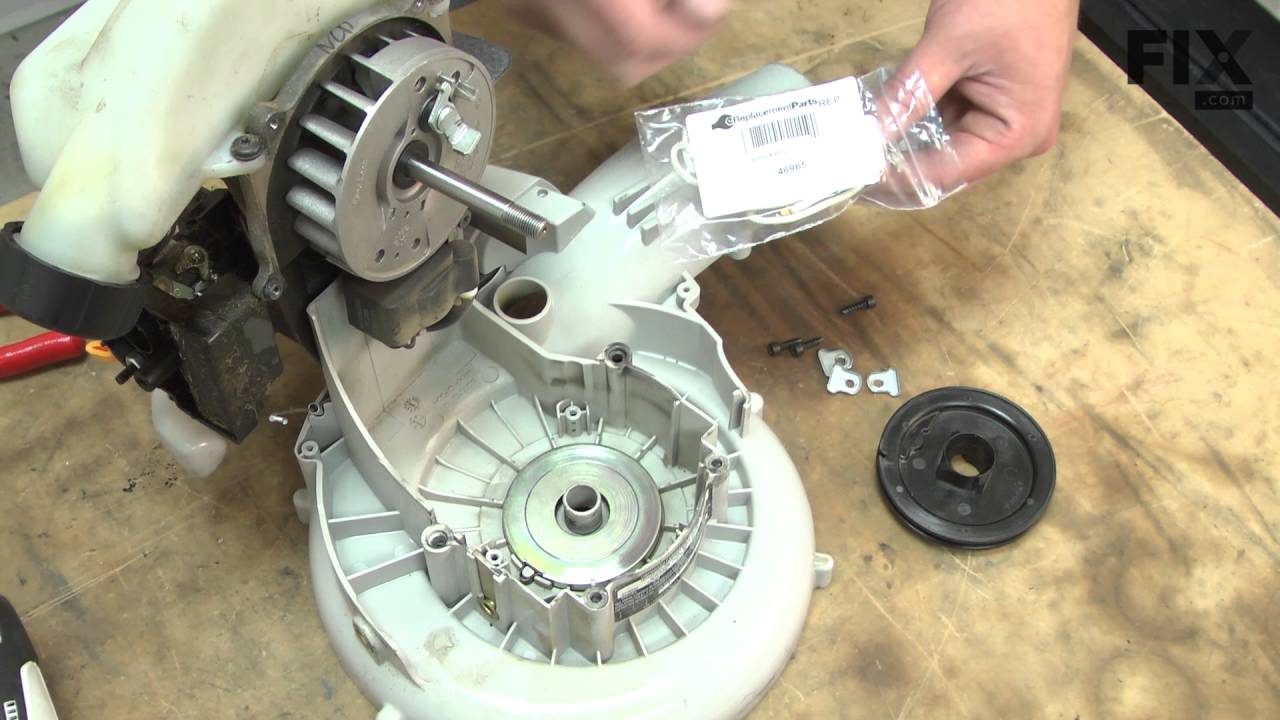
See how others fixed this model. Time, tools, difficulty, and steps that lead to victory!
View More