


 My Orders




RVRF3361SS4 Frigidaire Refrigerator - Overview
Diagrams for RVRF3361SS4
See every part. Know exactly what you need.


Enter a part description. DIY Heroes keep it simple, eg. "belt" or "pump".
Search filter:
Clear Filter
Your search term must have 3 or more characters.

$68.15
In Stock
Refrigerator Water Inlet Valve
Part #242252702
This refrigerator water inlet valve assembly controls water flow to the ice maker and door dispenser. Its three electric coils open and close separate water paths, sending water where it is needed. A leaking or blocked valve may cause weak dispenser flow, small ice cubes, slow ice production, or water pooling behind the refrigerator. Repl...Read moreacing a faulty assembly helps restore steady water flow and stops unwanted filling between uses. Unplug the refrigerator and shut off the water supply before replacing the valve. This is an OEM part sourced directly from the manufacturer.
Read less

$30.70
In Stock
Upper or Lower Mullion Hinge Pin
Part #241779401
When split refrigerator doors do not open or close properly, a cracked, broken, or missing flipper-mullion hinge pin may be the cause. This OEM pin secures the flipper mullion between the doors so it can pivot. It is for the upper or lower hinge position.

$83.79
In Stock
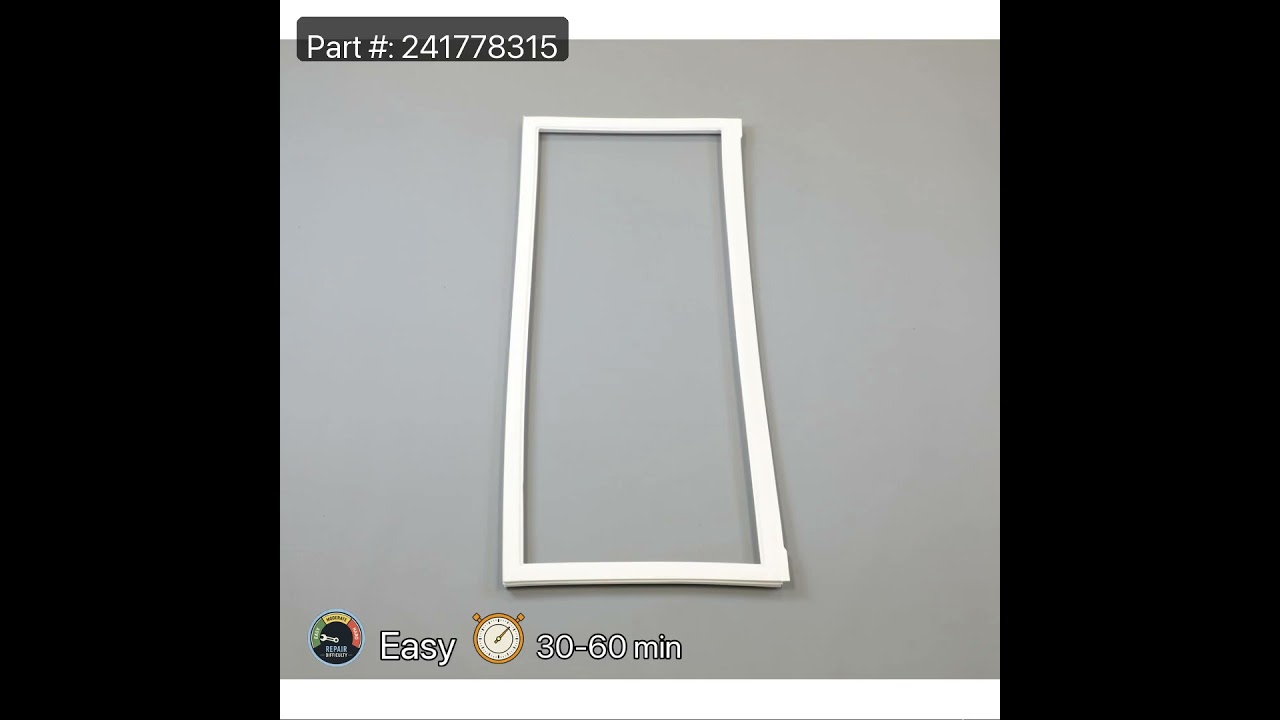
GASKET-DR,MAGNETIC FF GREY 36
Part #241778315
A magnetic gasket around the fresh-food doors helps keep cold air in and warm air out. Temperature fluctuations or a poor seal can point to a worn or damaged gasket. This gray OEM part is for 36-inch French-door refrigerator models. The 36-inch designation refers to the refrigerator width family, not the gasket measurement. Confirm it fits your refrigerator.

$53.85
In Stock
Evaporator Fan Blade
Part #5308000010
This evaporator fan blade moves cooled air through the refrigerator or freezer compartments when driven by the fan motor. A cracked, warped, or loose blade may vibrate, strike nearby parts, or fail to move enough air. Unusual ticking or humming noises and warmer compartment temperatures may be reasons to inspect the fan assembly. Check fo...Read morer ice buildup and motor or mounting problems as well, since these can cause similar symptoms. Disconnect power before accessing the blade and follow the appliance instructions for fitting it securely on the motor shaft. This is an OEM part sourced directly from the manufacturer.
Read less

$71.20
In Stock
GASKET,FREEZER DRAWER,GREY
Part #5304537408
This light gray freezer drawer gasket is designed to create a secure, airtight seal around the freezer drawer, helping to maintain consistent internal temperatures and prevent warm air from entering. Compatible with select refrigerator models, it plays a vital role in preserving food quality and improving energy efficiency. If the origina...Read morel gasket is cracked, worn, or has lost its flexibility, replacement is recommended. Common signs of a faulty gasket include frost buildup, excess condensation, and increased appliance run time.
Read less

$39.94
In Stock
Adjustable Leveling Foot - Black
Part #216396900
This part could be found underneath a fridge, dryer, or freezer. The original foot may be cracked, broken, or perhaps missing altogether. If you notice the appliance is uneven to the floor or wobbling, it may indicate that the levelling foot needs to be replaced. You will need pliers and a block of wood to perform this task. There will be...Read more one adjustable foot found in the package. Lift the dryer and place the wood to keep it propped up. You may need to use the pliers to remove the old foot. Screw the new foot into place using your hand. Once the new leveling foot is in place, lift the appliance and remove the block. Test the machine out to ensure it is now sitting level.
Read less

$25.25
In Stock

$25.25
In Stock
Mounting Screw
Part #5304453707

$26.35
In Stock
Hinge Mounting Hexagonal Screw
Part #240578902
Secure hinge attachment helps keep a refrigerator or freezer door supported during opening and closing. This hinge mounting screw fastens the hinge bracket to the cabinet framework and features a hex washer head for tightening with a nut driver or socket. Its thread size is 1/4-20, with a length of 5/8 inch. Missing hardware, stripped thr...Read moreeads, or a damaged head may leave the hinge loose. Replacing a damaged screw helps restore a firm connection and stable door support when the cabinet threads remain intact. This is an OEM part sourced directly from the manufacturer.
Read less

$43.95
In Stock
Mullion Hinge
Part #241779802
Between a refrigerator’s split doors, the center mullion hinge secures the seal baffle to help keep the doors aligned and the refrigerator at the proper temperature. This OEM replacement includes mounting hardware. Check your refrigerator’s model to confirm fit.

$30.74
In Stock
Condenser Fan Blade
Part #241639502
Move heat away from the cooling system with this refrigerator condenser fan blade. It attaches to the motor near the compressor and pushes air across the condenser coils, helping them release heat. Cracked blades, bent edges, or a loose center opening may cause clicking, vibration, or reduced airflow. Replacing a damaged blade helps resto...Read morere balanced rotation and proper heat removal for steady cooling. Unplug the refrigerator before removing the rear access panel, and ensure the replacement turns freely without touching nearby parts. This is an OEM part sourced directly from the manufacturer.
Read less

$109.95
In Stock
Condenser Fan Motor
Part #242018301
Heat leaves the refrigerator cooling system with help from a fan driven by this condenser fan motor. The motor turns the blade to move air across the condenser coils and compressor, supporting normal heat release during operation. A worn or failed motor may produce unusual humming or grinding sounds, stop the fan, or contribute to warmer ...Read moretemperatures and extended running times. Replacing a faulty motor helps restore airflow. This is an OEM part sourced directly from the manufacturer.
Read less
Common Symptoms of the RVRF3361SS4
How this model fails, and the parts that fix it.
Leaking
Fixed by
these parts
these parts


Show All
Ice maker not making ice
Fixed by
these parts
these parts

Show All
Not dispensing water
Fixed by
these parts
these parts

Show All
Door won’t open or close
Fixed by
these parts
these parts


Show All
Noisy
Fixed by
these parts
these parts


Show All
Fridge too warm
Fixed by
these parts
these parts

Show All
Door Sweating
Fixed by
these parts
these parts
Show All
Frost buildup
Fixed by
these parts
these parts
Show All
Ice maker won’t dispense ice
Fixed by
these parts
these parts
Show All
Fridge and Freezer are too warm
Fixed by
these parts
these parts
Show All
Freezer not defrosting
Fixed by
these parts
these parts

Show All
Freezer section too warm
Fixed by
these parts
these parts
Show All
Fridge too cold
Fixed by
these parts
these parts
Show All
Ice maker dispenses too little ice
Fixed by
these parts
these parts
Show All
Too warm
Fixed by
these parts
these parts
Show All
Leaks water
Fixed by
these parts
these parts
Show All
Watch our pros, then fix it yourself.
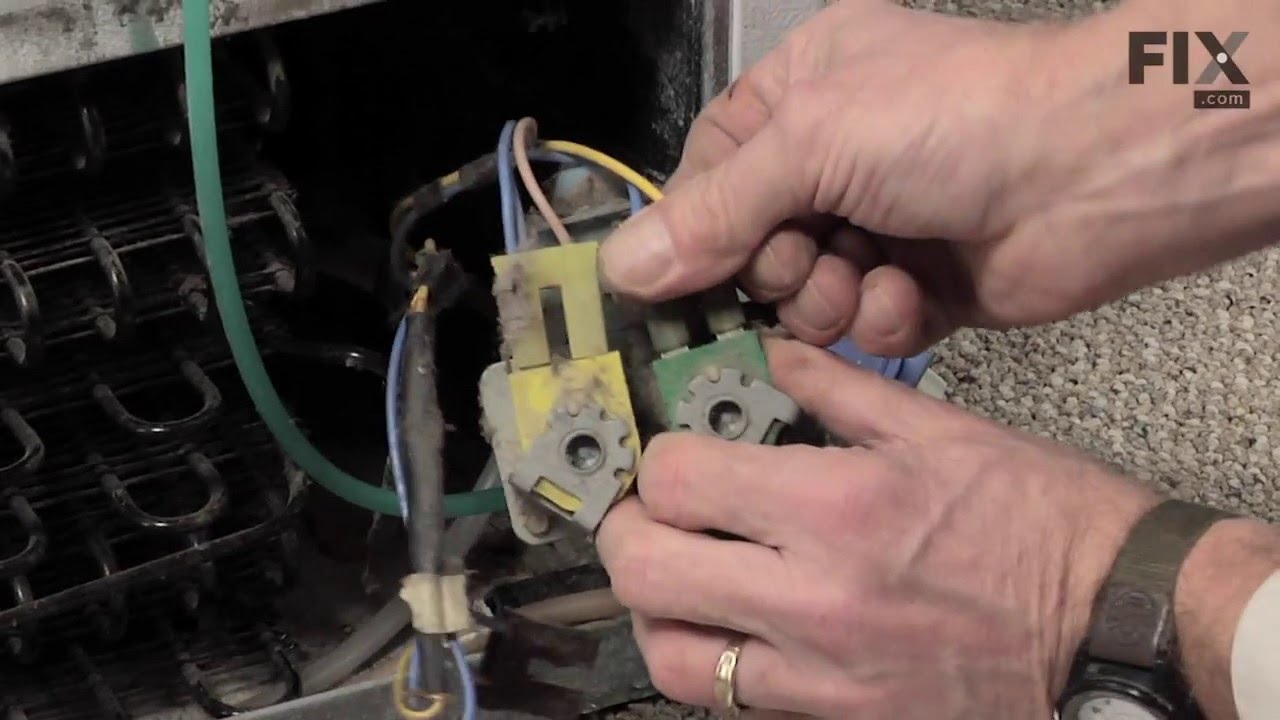
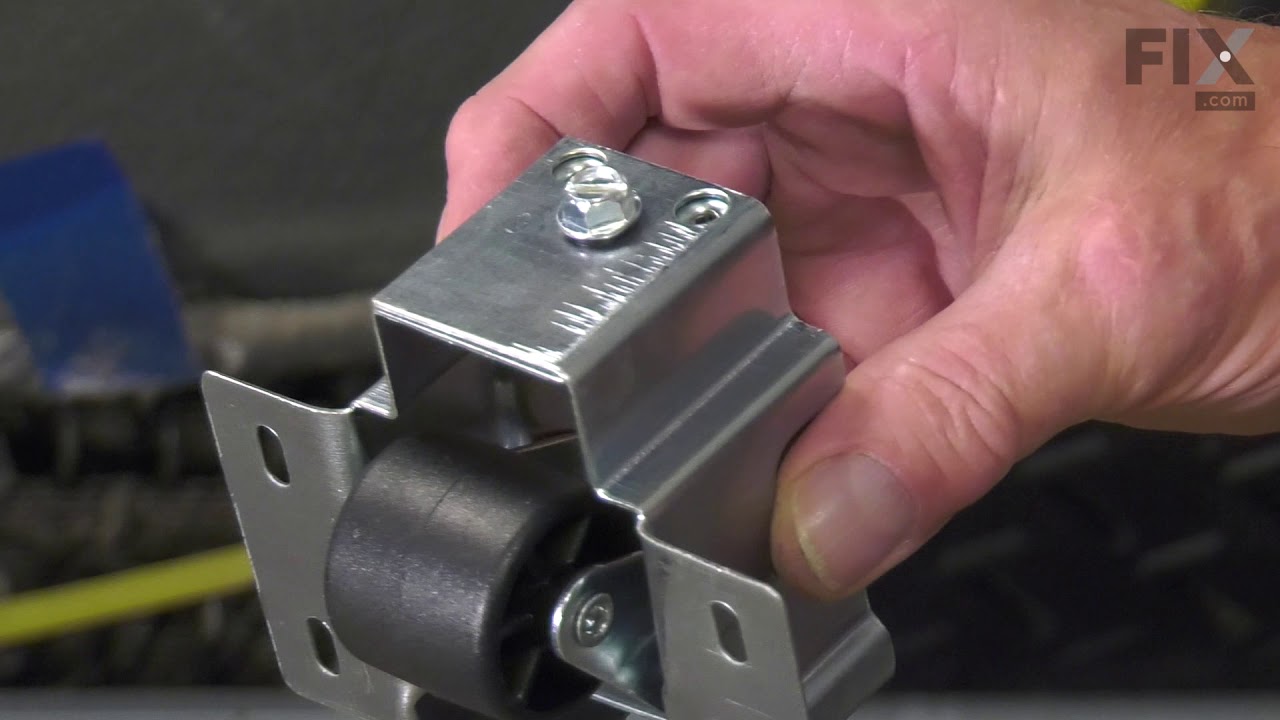
See how others fixed this model. Time, tools, difficulty, and steps that lead to victory!
View More