


 My Orders




RV1840CD1 (ASSEECI) LG Washer - Overview
Diagrams for RV1840CD1
See every part. Know exactly what you need.


Enter a part description. DIY Heroes keep it simple, eg. "belt" or "pump".
Search filter:
Clear Filter
Your search term must have 3 or more characters.

$19.30
In Stock
Thermal Fuse
Part #6931EL3003D
This thermal fuse acts as a high-limit thermostat, and shuts off the heating element when the dryer overheats by cutting off power to the dryer. If the thermal fuse has blown, the dryer will not start. These fuses cannot be reset, so if yours has blown, you will need to replace it. A common reason for the thermal fuse to blow on a dryer i...Read mores if the exhaust vent on your dryer is restricted or blocked. Hot air will be confined in the dryer and the fuse will trip and stop the electricity from flowing to the gas valve or heating element.
Read less

$103.35
Special Order
Dryer Thermistor
Part #6323EL2001B
This dryer thermistor temperature sensor helps monitor and regulate the temperature inside a dryer. This part includes the wire harness. If your dryer overheats, does not produce enough heat, or takes too long to dry, then the thermistor might be defective or damaged. This can cause a fault code and could begin either prolonging or shorte...Read morening drying time. As a safety precaution, make sure to unplug the dryer from the power source before beginning this installation, and wear gloves to protect your hands. Refer to the installation instructions provided by the manufacturer for further guidance.
Read less

$51.61
In Stock
Blower Thermostat
Part #6931EL3002M
The thermostat is a part for your dryer, and it is roughly 1 inch long by roughly 1.5 inches wide. The purpose of the thermostat is to measure the temperature of the air inside your dryer drum. As the air is being measured, it will turn the heat on or off in order to maintain a stable temperature within the drum. The most common reason yo...Read moreu would need to replace your thermostat is if your dryer is not receiving enough heat, or any heat at all.The tools you will need to complete this repair include a Phillips screwdriver, and a flat-head screwdriver.
Read less

$77.22
In Stock
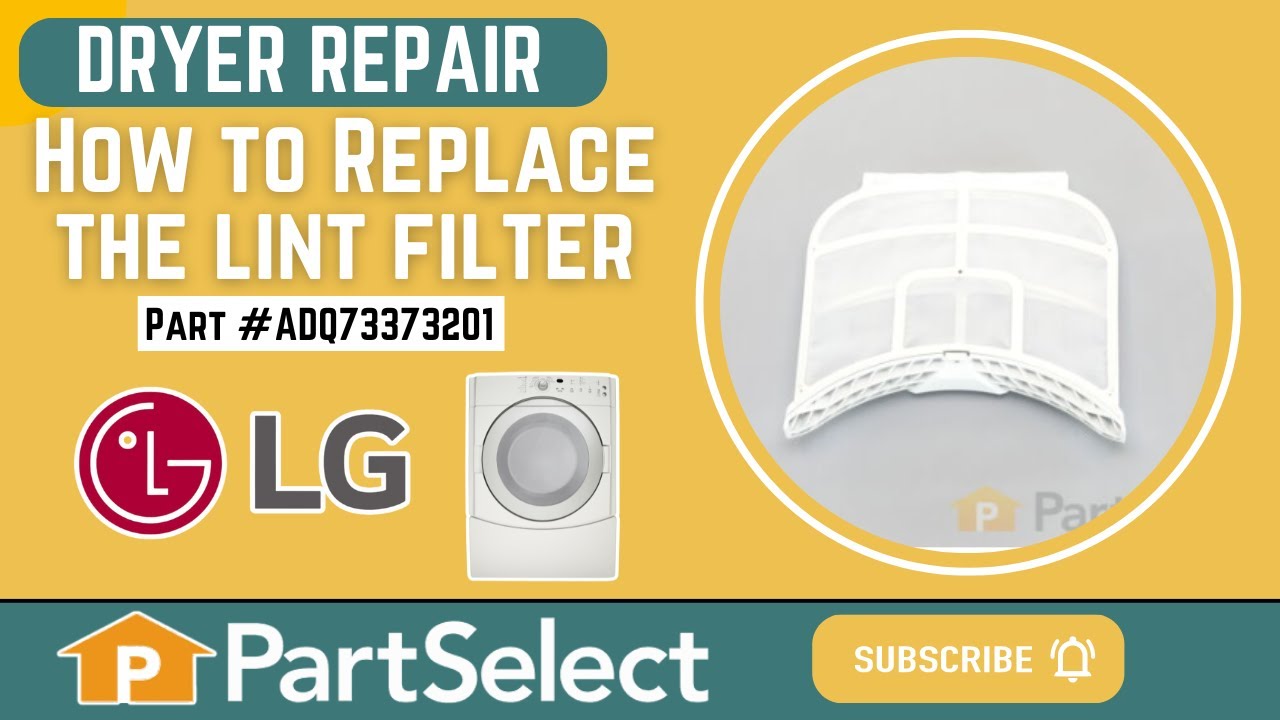
Lint Filter
Part #ADQ73373201
This lint filter assembly for your dryer catches lint and debris from your clothes. You can find it near the door. It helps keep the air flowing properly and stops lint from blocking the exhaust ducts. If it is broken or clogged, your clothes will take more time to dry, and there is a risk your dryer could overheat, leading to a fire. Thi...Read mores is a genuine replacement part from the original manufacturer and is sold individually.
Read less

$55.29
In Stock
Dryer Thermostat Assembly
Part #6931EL3001F
This is a thermostat for various models of LG dryers. This thermostat specifically is the rear high limit thermostat, and it is designed as a safety device to shut off power to your dryer if the internal temperature gets too high. This thermostat comes with a mounting bracket, so you only need the securing screws to fully install it, alon...Read moreg with connecting the appropriate wire, after removing the old thermostat. If your dryer is no longer heating properly, or will not start, this thermostat may have been used and is no longer operational. Replacing this thermostat will require you to partly disassemble your dryer, as it is located on the heating element housing. This thermostat is a genuine OEM part and is sold individually.
Read less

$47.40
In Stock

$30.53
In Stock

$243.42
In Stock
Heating Element Assembly
Part #5301EL1001J
They are all strung with a coiled wire made of a nickel and a chrome alloy. This wire receives, but resists, a controlled electric current and as a result, the wire heats up. The heat produced is used to dry the clothes in your dryer

$9.62
In Stock
Dryer Leg
Part #4778EL3001B
This plastic adjustable dryer leg is used to support the weight and adjust the height of your dryer to keep it level. To install the leg, tip the dryer back and screw it into the bottom of your dryer unit. Please note that this dryer leg is sold individually.

$76.17
In Stock
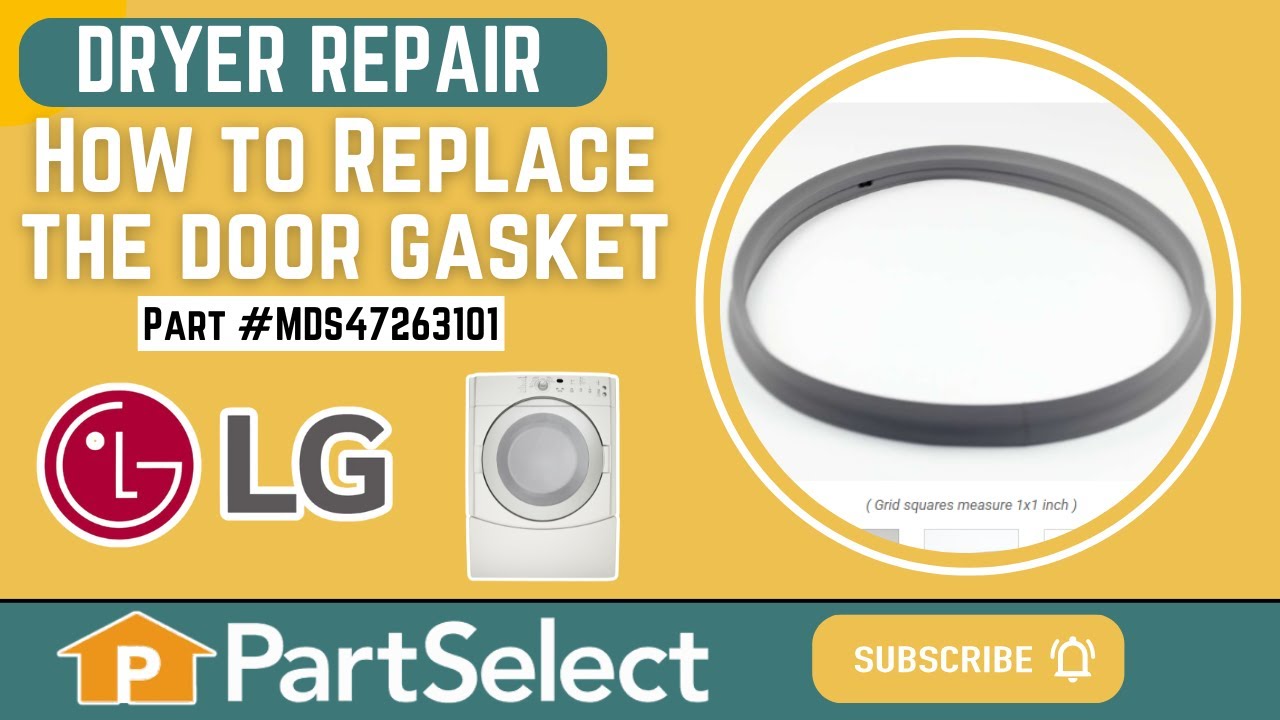
Gasket
Part #MDS47263101
This door seal is a genuine replacement part for LG dryers. It is a gray, rubber seal that fits around the the opening of the dryer door. It is responsible for creating an airtight seal when the dryer door is closed. This seal helps prevent heat from escaping from the dryer drum during use. It also helps prevent lint, which is produced du...Read morering drying, from escaping into the laundry area. Over time, it is normal for the door gasket to experience wear and tear, leading to issues such as heat loss, and inefficient drying. It is recommended to replace your door seal if it is showing visible signs of damage or if it can no longer remain attached to the door.
Read less

$29.47
In Stock
Locker Assembly
Part #4027EL1001B

$84.91
In Stock
Common Symptoms of the RV1840CD1
How this model fails, and the parts that fix it.
Not Heating
Fixed by
these parts
these parts


Show All
Noisy
Fixed by
these parts
these parts


Show All
Won’t Start
Fixed by
these parts
these parts

Show All
Door won’t close
Fixed by
these parts
these parts

Show All
Watch our pros, then fix it yourself.
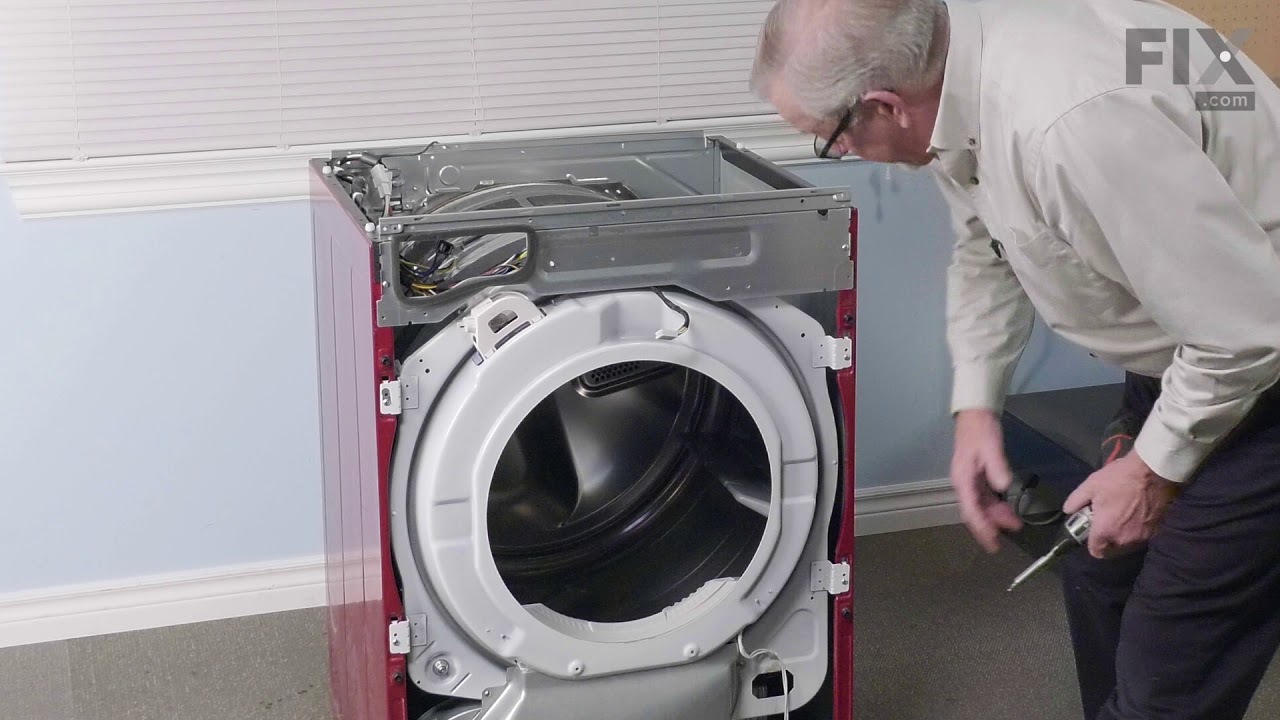
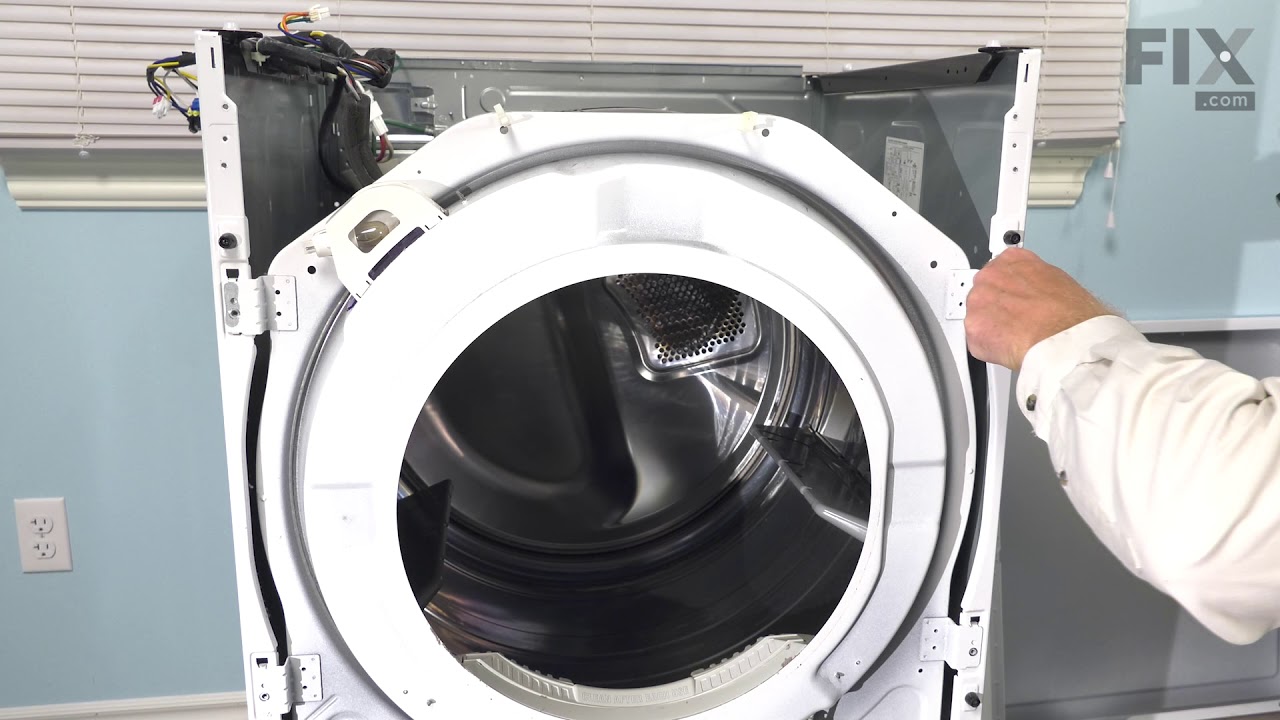
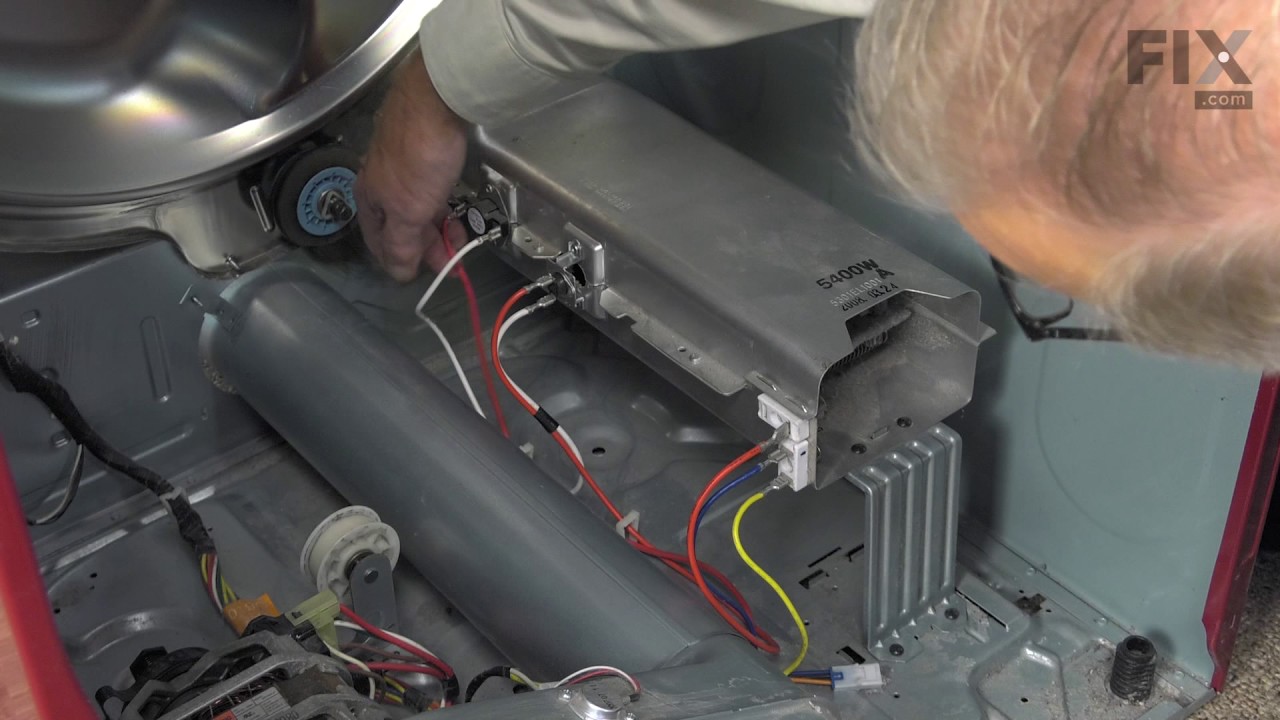
See how others fixed this model. Time, tools, difficulty, and steps that lead to victory!
View More