


 My Orders




RTW4740YQ0 Roper Washer - Overview
Diagrams for RTW4740YQ0
See every part. Know exactly what you need.


Enter a part description. DIY Heroes keep it simple, eg. "belt" or "pump".
Search filter:
Clear Filter
Your search term must have 3 or more characters.

$6.40
In Stock
Agitator Directional Cogs
Part #80040
This kit is used for replacing the agitator directional cogs (Agitator Dogs, Agitator Repair Kit, Washer Agitator Dogs, Agitator Dog Ears). The agitator is what creates the thrusting motion in your washer to tumble your clothes during the washer cycle. Your agitator will rotate one way, and not the other. The agitator dogs are what preven...Read moret the agitator from rotating in both directions, while allowing it to rotate in one direction. Your agitator cogs may be malfunctioning if you can manually rotate the agitator in both directions. If broken they will need to be replaced. Cogs can be found by simply removing the softener dispenser and then removing the agitator cap. The are attached to the agitator. This replacement part features 4 agitator directional cogs. There are 4 cogs per package that are made up of high-quality plastic. This part comes in white/beige.
Read less

$21.45
In Stock
Agitator Repair Kit
Part #285811
This kit (Medium Cam Agitator Repair Kit, Washer Agitator Cam Repair Kit, Cam Agitator) is used to repair the agitator. These parts are located inside the agitator auger near the top. You will need to remove the softener dispenser first if your model is equipped with one. This part is driven by the output shaft of the transmission to mov...Read moree the clothes during a wash cycle. The agitator auger rotates one way but not the other, which forces the laundry down and out for a constant tumbling during the wash cycle. The agitator is subjected to a lot of force during the washer wash cycle. Constant and frequent use of the appliance can cause damage, especially during heavy loads. If you’re experiencing a noisy agitator, or an agitator that spins freely in both directions, then it may be in need of repairs. If your agitator is no longer agitating properly, your clothes will not tumble, and will not be washed properly. The agitator repair kit includes an agitator cam, 4 directional cogs, a bearing, thrust spacer, inner cap seal, and a washer. It is constructed of plastic and rubber, and comes in black/white.
Read less

$7.65
In Stock
Thrust Spacer
Part #285587
This is a genuine OEM thrust spacer for your washer, and is also commonly known as a retainer ring. The spacer is about 2.5 inches in diameter, is made of plastic, and is white in color. It is used in the agitator assembly of many direct drive washing machine models. The spacer is fitted between the agitator and the agitator auger to supp...Read moreort it as it moves. This part is sold individually. Although it is not included in this part, you should have some dual-action agitator grease for the repair as well.
Read less

$9.62
In Stock
Washer Inner Cap Seal
Part #WPW10072840
This is an inner cap seal, but may also be known as an O-ring, and it is a part for your washing machine. Some symptoms replacing this part will fix include: leaking from your appliance, uncontrollable shaking and moving, loud noise, pumps but will not spin, or if your appliance will not agitate. This model is off-black in color and 3 inc...Read morehes in diameter. You will find this part inside the agitator in the middle of your washing machine. It is recommended to wipe down the barrier before putting the new seal on.
Read less

$38.96
In Stock
Washer Drive Pulley
Part #W10721967
This splutch cam kit is a genuine replacement assembly designed for select Whirlpool, Maytag, and affiliated brand washing machines. It plays a critical role in the wash and spin cycles by engaging the drive motor to rotate the washer basket. The kit includes the clutch assembly, cam ring, spring, basket drive gear, pulley, and mounting n...Read moreut. Replacing this component can resolve issues such as noisy operation, slow or failed spinning, poor agitation, and excessive moisture in clothes after a cycle. In some cases, a burning smell may also indicate a failing clutch. Installation requires basic tools and should be performed with the appliance disconnected from power. Compatibility should be confirmed using your washer’s model number.
Read less

$50.56
In Stock
Lid Latch Assembly
Part #W10404050
This washer lid switch is a critical safety component designed to halt the spinning motion of the tub when the lid is opened. Its primary function is to prevent accidental contact with moving parts during operation, reducing the risk of injury. The switch activates automatically, interrupting the spin cycle as soon as the lid is lifted. I...Read moref the switch becomes faulty, the washer may not spin or may continue spinning with the lid open, posing a safety hazard. Replacement is recommended if the switch is damaged or no longer functioning properly.
Read less

$65.73
In Stock
Washing Machine Suspension Rod Kit
Part #W10780048
This suspension rod kit is a genuine OEM kit specially designed for washing machines. Each kit includes a set of 4 rods, 4 suspension balls and 4 bushings. The suspension rods are responsible for supporting the washer tub and allowing it to move freely during the wash and spin cycles while minimizing vibrations and noise. The suspension r...Read moreods, balls and bushings may fail over time due to cracks, breaks, or excessive wear. If the suspension rod kit is faulty, you will likely notice excessive vibration or shaking during the spin cycle, loud banging noises, or the washer not balancing properly.
Read less

$29.47
In Stock
Washer Drive Belt
Part #WPW10006384
This genuine OEM drive belt is designed to transfer power from the motor to the drum in select Whirlpool, Maytag, Kenmore, and other compatible washing machines. Operating at 115 volts and 60 Hz, the belt enables the drum to spin and agitate during wash and spin cycles, ensuring effective cleaning and rinsing. Manufactured to Whirlpool’s ...Read morespecifications, this replacement part offers reliable performance and a precise fit. Common symptoms of a worn or broken belt include the drum not spinning, unusual noises, or a burning smell during operation. Replacing the belt can restore proper function and prevent further mechanical issues. Always verify compatibility with your specific model before ordering.
Read less

$18.22
In Stock
Washer Agitator Cap Barrier w/Seal
Part #WPW10074580
The O-Ring is included with this cap. It can be purchased separately as Part #WPW10072840.

$157.43
In Stock
Agitator Kit
Part #285565
This agitator kit does NOT include the fabric softener dispenser (part 8575076A). That must be ordered separately.

$9.62
In Stock
Tub Centering Spring - 2 Pack
Part #W10400895
Tub centering springs. Comes (2) per package. Helps keep tub balanced and centered with the main top.

$9.62
In Stock
Suspension Rod Support
Part #W10440729
These parts are the replacement suspension rod supports for your washer. They are made of plastic and are approximately 1 ½ inches in diameter. This package will come with an 8-piece set of suspension rod supports. There are 4 of each type. Be sure to consult the parts diagram for your washer for the complete list of parts included. The s...Read moreuspension rod supports help secure the suspension rods, so your washer operates smoothly. If your dryer shakes, moves, or is noisy during operation, you may need to replace the suspension rod supports. These are OEM parts sourced directly from the manufacturer.
Read less
Manuals & Care Guides for RTW4740YQ0
Click to downloadCommon Symptoms of the RTW4740YQ0
How this model fails, and the parts that fix it.
Will not agitate
Fixed by
these parts
these parts


Show All
Leaking
Fixed by
these parts
these parts


Show All
Spinning Issues
Fixed by
these parts
these parts


Show All
Shaking and Moving
Fixed by
these parts
these parts


Show All
Will Not Start
Fixed by
these parts
these parts


Show All
Spins slowly
Fixed by
these parts
these parts
Show All
Will not drain
Fixed by
these parts
these parts

Show All
Lid or door won’t close
Fixed by
these parts
these parts

Show All
Noisy and Marks Left on Clothes
Fixed by
these parts
these parts
Show All
Burning smell
Fixed by
these parts
these parts
Show All
Does not dispense fabric softener or detergent
Fixed by
these parts
these parts

Show All
Marks left on clothes
Fixed by
these parts
these parts
Show All
Locking Issues
Fixed by
these parts
these parts
Show All
Cycle Not Advancing
Fixed by
these parts
these parts
Show All
No hot or cold water
Fixed by
these parts
these parts

Show All
Water Filling Issues
Fixed by
these parts
these parts
Show All
Draining Issues
Fixed by
these parts
these parts
Show All
Not cleaning dishes properly
Fixed by
these parts
these parts
Show All
Timer Not Working
Fixed by
these parts
these parts


Show All
Watch our pros, then fix it yourself.
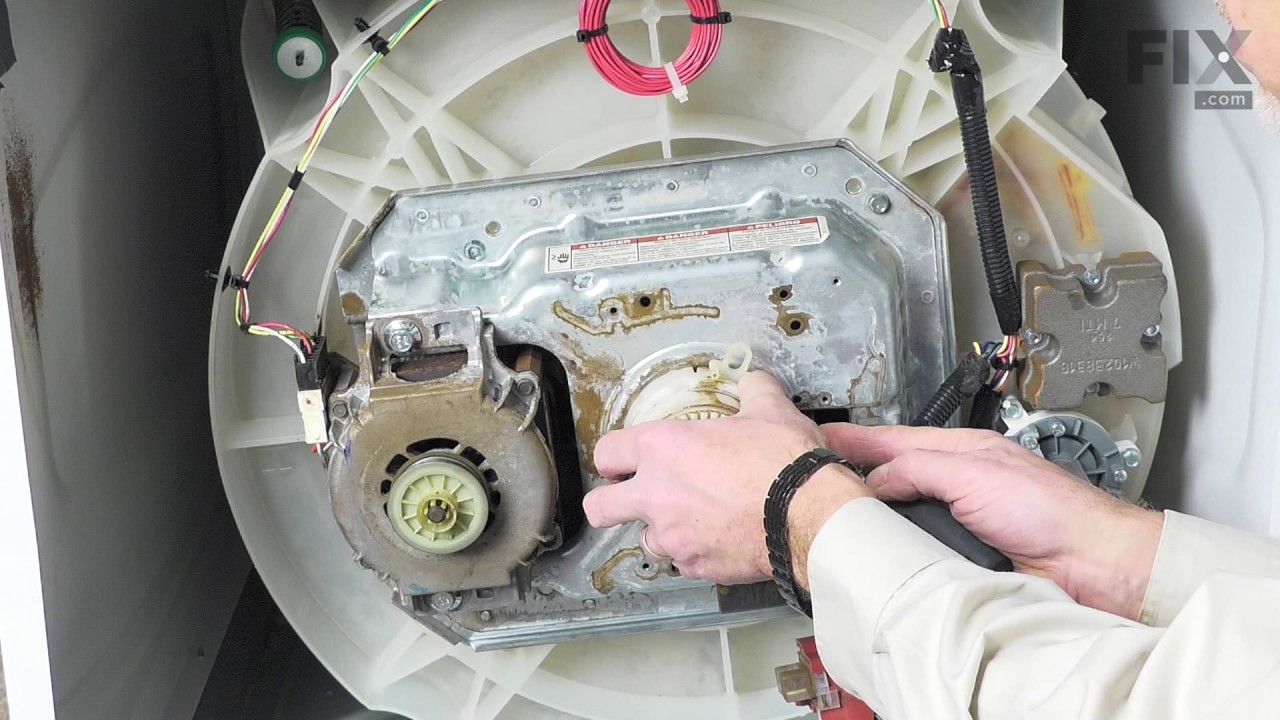
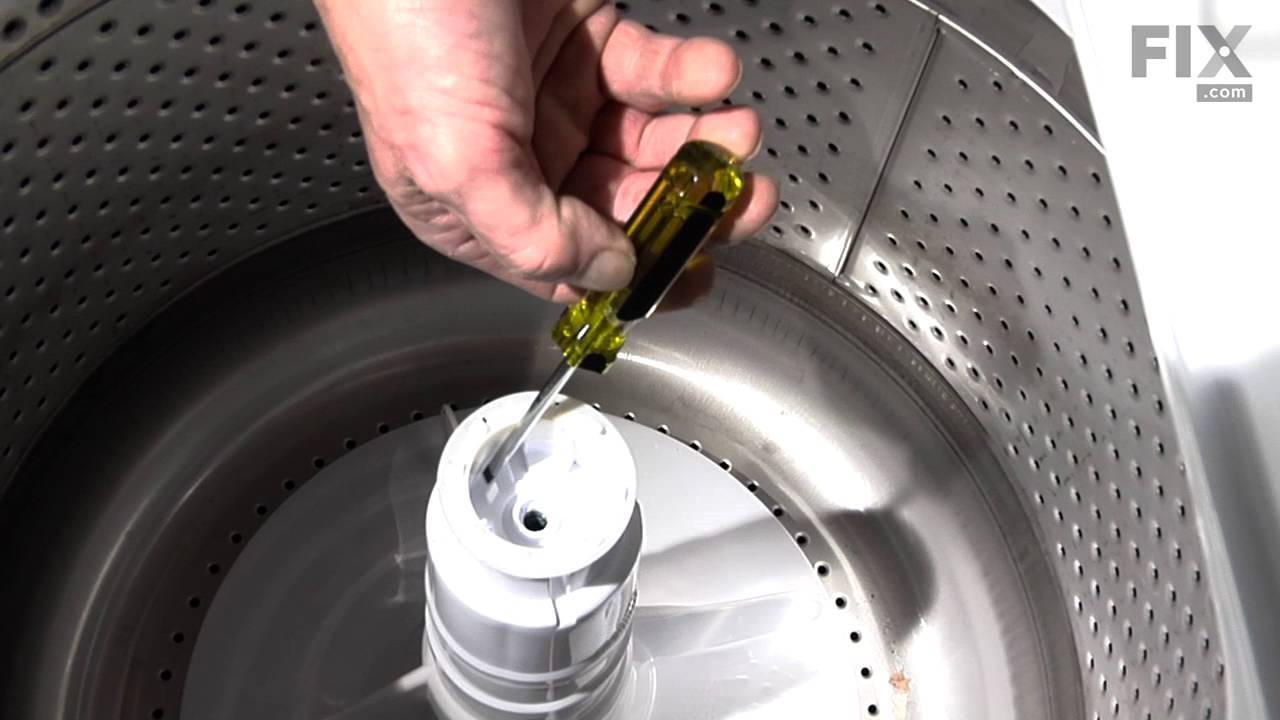
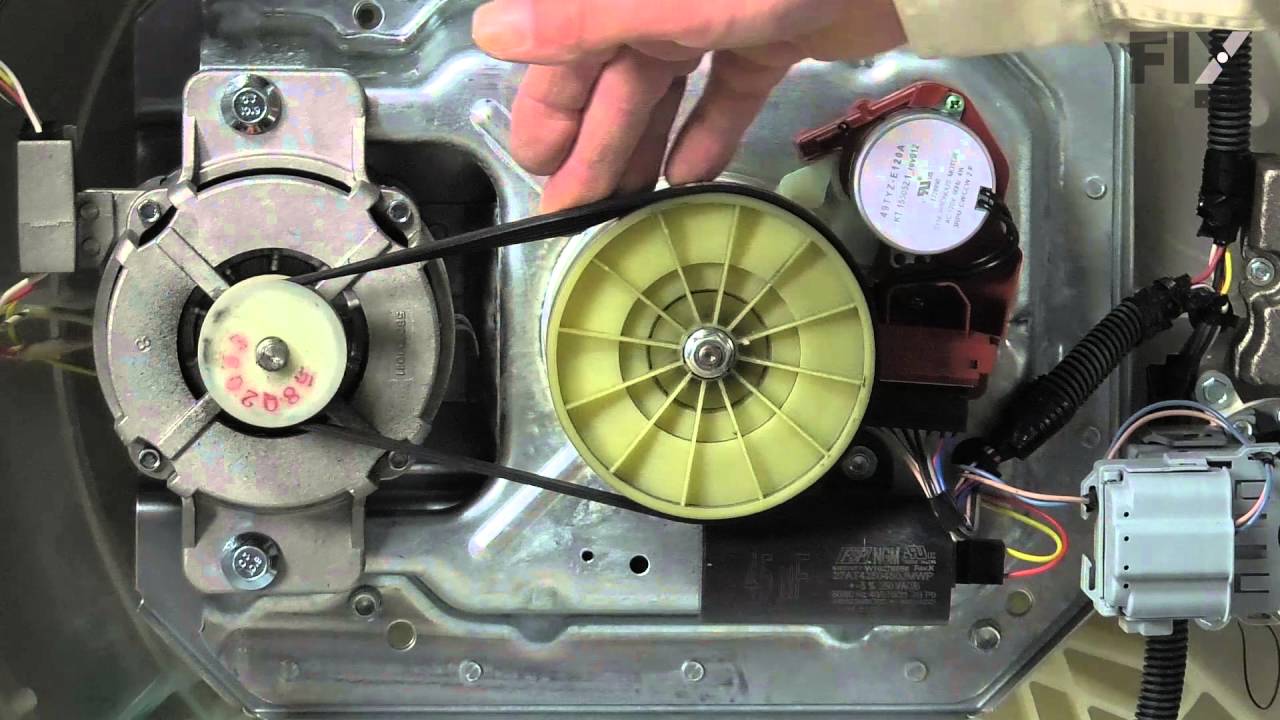
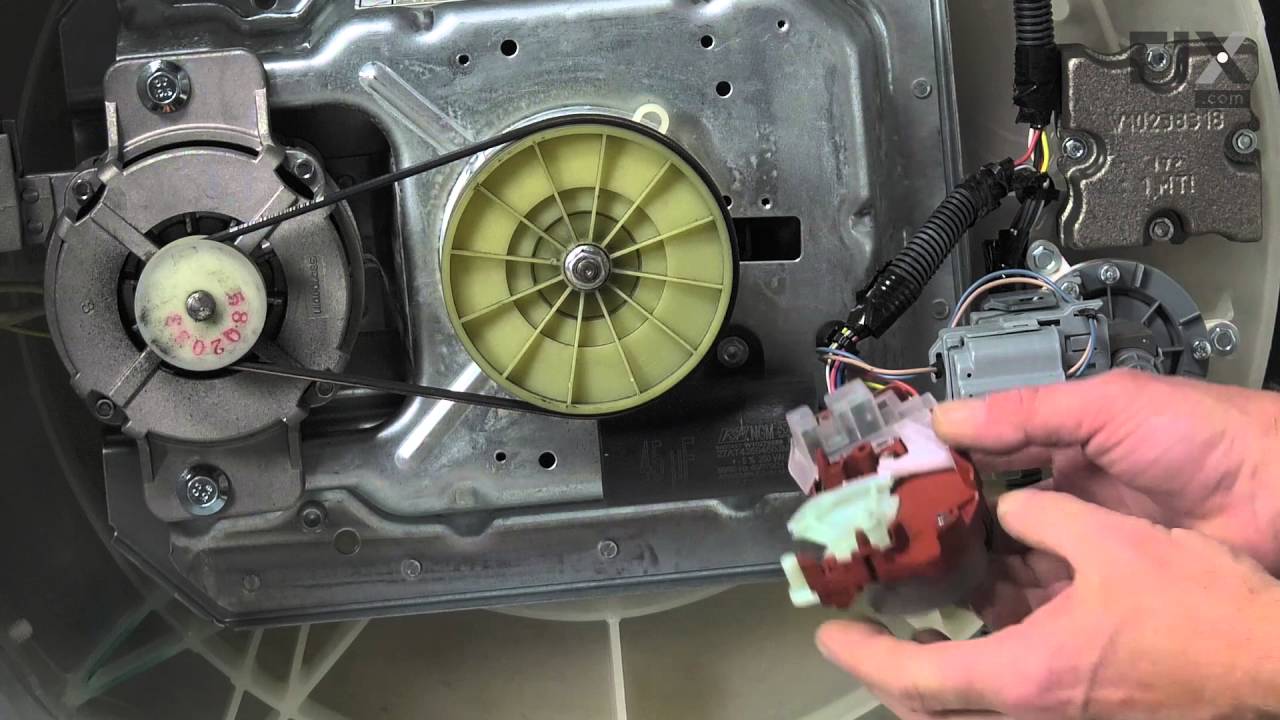
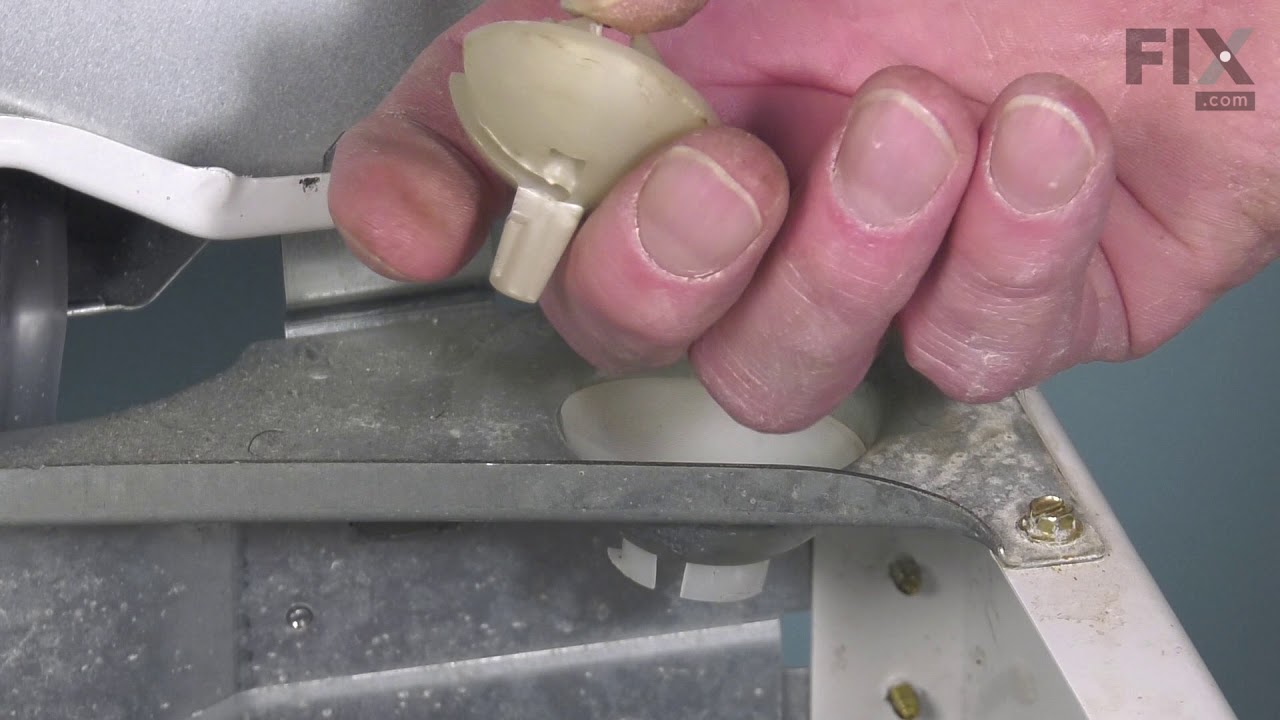
See how others fixed this model. Time, tools, difficulty, and steps that lead to victory!
View More
Search repair tips from other customers using simple keywords like "replace", "fit", "remove", "inspect". DIY doesn't mean you have to do it alone!
Search filter:
Clear Filter
Your search term must have 3 or more characters.
Washer not agitating
646 of 684 people
found this instruction helpful.
On top of the agitator is a flat cap that is held in place by the friction of an o-ring, there are no fasteners. I would imagine one could get under the lip with a small screwdriver or butter knife to pop it off but I chose simply using my fingernails so as to not disfigure the cap. Under the cap you will find the head of the only bolt
... Read more
that holds the assembly together it is a 7/16 head and because it is in a 4" deep well your will need a 6" extension for your ratchet. Once the bolt is out the top of the agitator, the assembly with the cogs removes by hand. Set the assembly upside down on the counter, slide the black plastic ring off, pull the cogs out with your fingertips, install the new cogs put a new black ring on and set the assembly back in the agitator. Reinstall bolt. As the bolt is down in a tube, you cannot set it in place with your fingers and it will fall out of the socket. To hold the bolt in the socket during positioning you can either put a gob of Vaseline on the bolt head to hold it in the socket or form a small piece of paper over the bolt head and set it into the socket, the friction of the paper will hold the bolt into the socket. Took me less then 10 minutes, good luck
Read less
Other Parts Used:

Was this helpful?
Thank you for voting!